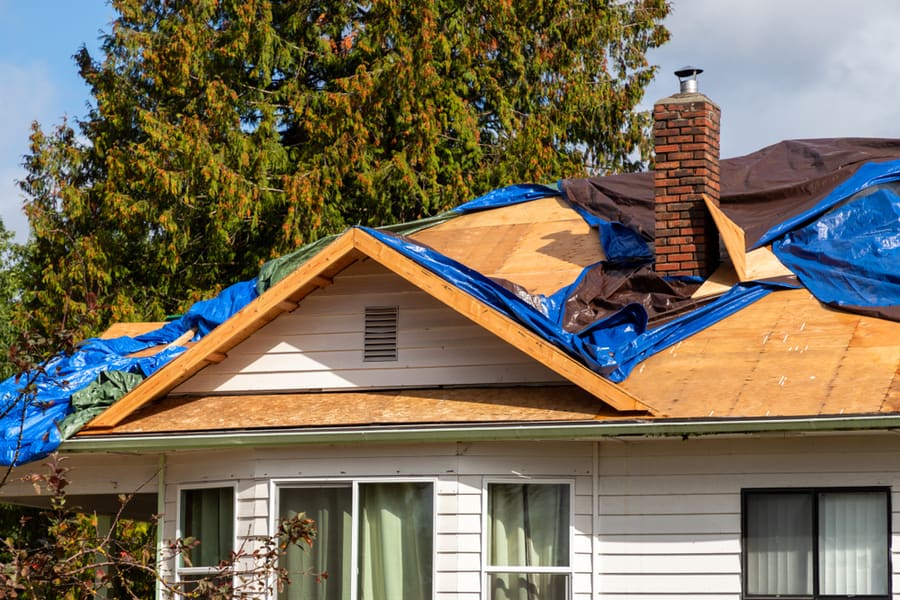
One of the most difficult parts of roofing a house is around the chimney.
However, if you have roof problems and are not chanced to address the issues immediately, you may go for a roof tarp to prevent additional damage.
So, how do you tarp a roof around a chimney?
A roof tarp, when attached correctly, can shield your roof from wind, snow, or new rain.
It also helps prevent holes from missing shingles or other roof defects from turning into leaks and can keep existing leaks from worsening.
However, lining the roof around the chimney with waterproof material will help protect it from water damage.
Below are the things to do to tarp a roof around a chimney:
- Examine the size of the chimney
- Select tarp
- Remove debris
- Unfurl the tarp
- Secure the tarp
Note: Tarping a roof is dangerous, especially if you don’t have the necessary equipment and training.
So, it’s best to leave it to a professional roofer. But, if you want to DIY, you can follow the steps below to tarp a roof around a chimney.
The steps to tarp a roof around a chimney are pretty straightforward. All you need is the right tarp material, safety equipment, a roofing shovel, and a measuring tape. Stay with us as we will enlighten you on tarping a roof around a chimney.
How to Tarp a Roof Around a Chimney
Protecting your roof with a tarp is a wise precaution to shield your home. Also, the fact that it doesn’t take time to attach a tarp makes it more exciting.
Below are the steps to take to tarp a roof around a chimney:
1. Examine the Size of the Chimney
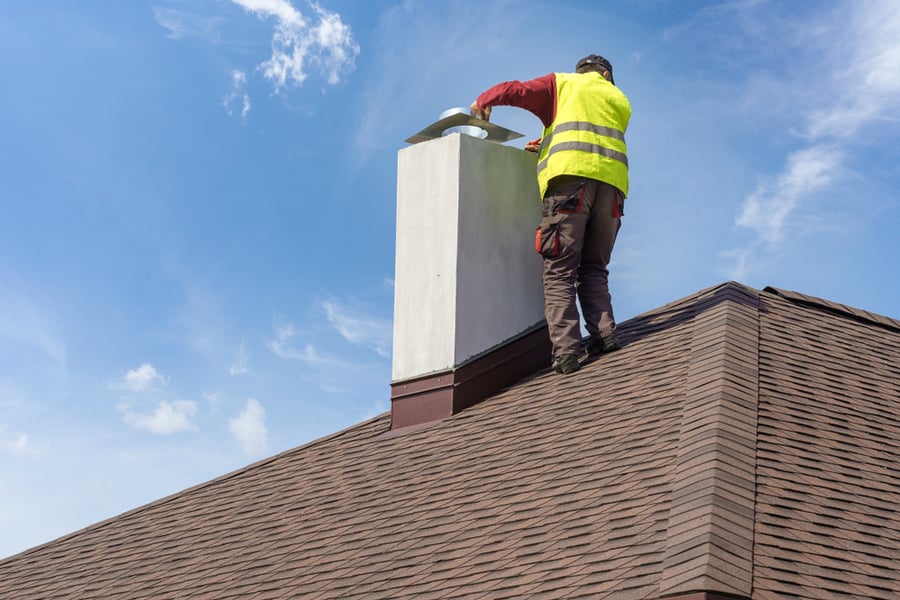
To begin, you must first inspect the roof to determine where around the chimney requires a tarp.
You can use tape to measure how big of a tarp you will need to cover the damaged region.
Do not make the mistake of climbing onto any area of the roof that appears damaged.
2. Select Tarp

After getting the actual size of the tarp you need, it’s time to make a selection.
The quantity of tarp required may also be determined by how quickly you can reach your roof and whether or not the harsh weather will come back.
The tarp is supposed to extend a few feet beyond the damage point to cover the intended area adequately.
It is even recommended that the tarp be approximately 600-900 mm longer than the overall length to make provision for walls that may extend beyond the structure.
When the tarp is positioned correctly, water will run down without dipping underneath it.
Although one person can do the roof tarp, it is advisable to seek help from one more person as the wind can blow the tarp away and potentially pull a person off the roof or into a dangerous zone.
3. Remove Debris
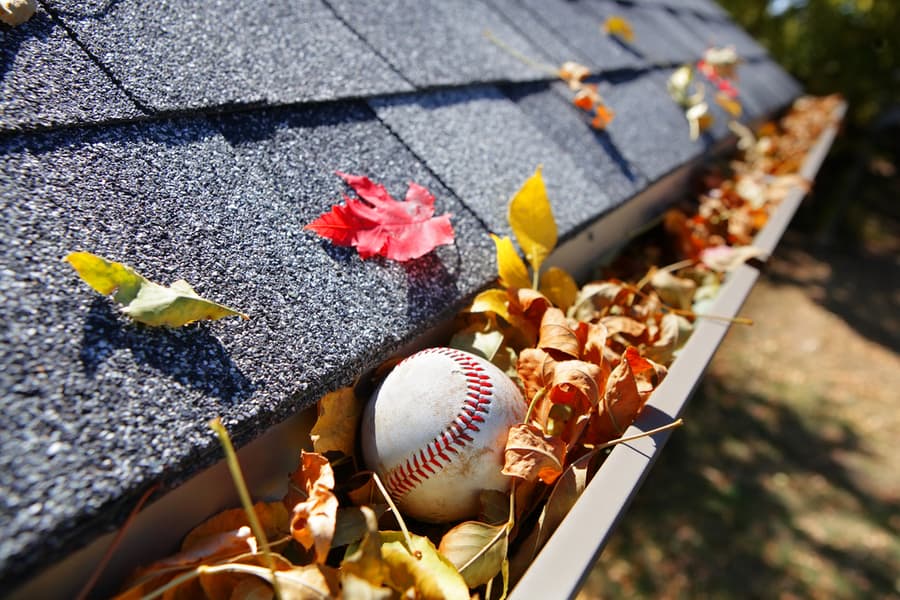
Grab a broom and head back up to the roof to get rid of debris, such as broken shingles, that can damage or tear the tarp during or after installation.
Leaving any debris behind can interfere with water circulation, clog gutters, and create the potential for further roof issues.
4. Unfurl Tarp

If you want to use an adhesive roof tarp, you may have to remove the backing from the glue to ensure proper adhesion.
However, adhesive tarps can be more challenging to install compared to the ice and water protectors that are most common.
You have to remove the shingles underneath the adhesive tarps because the adhesive can pull up some granules.
So, if you plan to use an adhesive tarp, you will have to go the extra mile to keep it in check.
5. Secure the Tarp
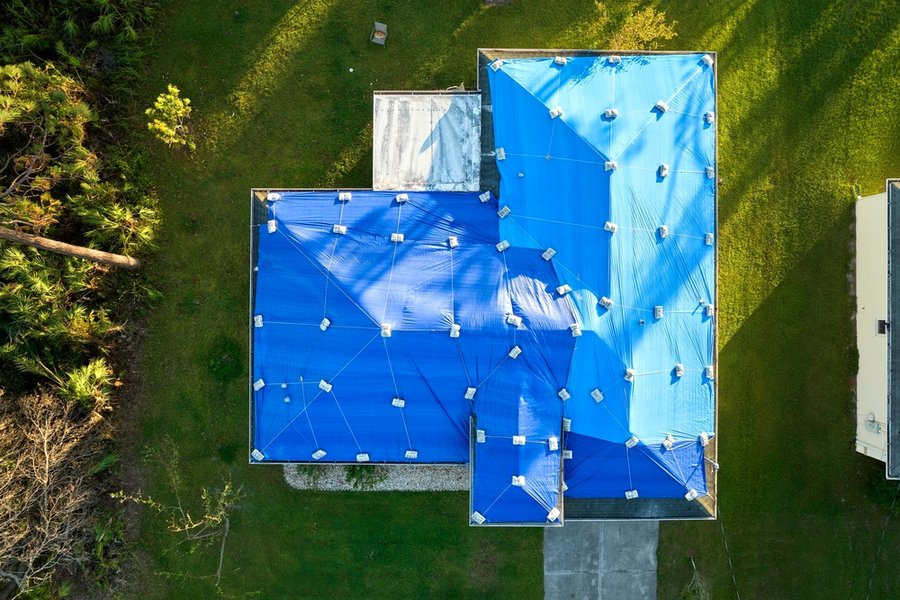
To ensure the tarp doesn’t flap on the roof, attach it around a board with screws or nails. The board acts as a weight for the tarp and pulls it down.
It is also worth noting that if you add a few nails to the tarp, it will likely rip at the point of nailing.
However, when the entire end of the tarp is supported around a board, pressure is distributed throughout, reducing the chance of it coming off.
Conclusion
You should never ignore a leak in your roof, especially around the chimney.
Over time, roof leaks can damage your insulation, compromise the strength of your ceiling, and cause mold. If left for too long, it can lead to bigger problems, causing the repair cost to increase drastically.
The chimney is usually the primary cause of roof leaks. Thankfully, fixing a leaking roof around a chimney is pretty straightforward.
However, if the leak persists after the repairs, do not hesitate to consult professionals.
Better still, you can avoid roof leaks by going for a brand-new roof. Over time, it will likely be the most cost-effective option.
Frequently Asked Questions
How Long Can You Leave a Tarp on Your Roof?
Roof tarping is a temporary solution that can help protect a home for a short time.
Even if the tarp is well installed, you should not use it longer than the manufacturers recommend, usually about three months.
Can Tarps Resist Heavy Wind?
It is worth noting that the longer the tarp is on the roof, the higher the chance of it tearing or being ripped off entirely during heavy rain, powerful wind, or freezing snow.
So, instead of waiting for the tarp to fail, you can start preparing for roof repairs so the tarp can be removed as soon as possible.
