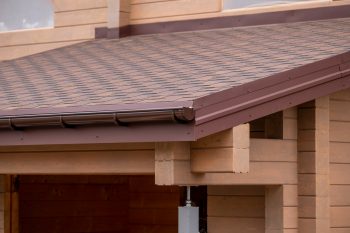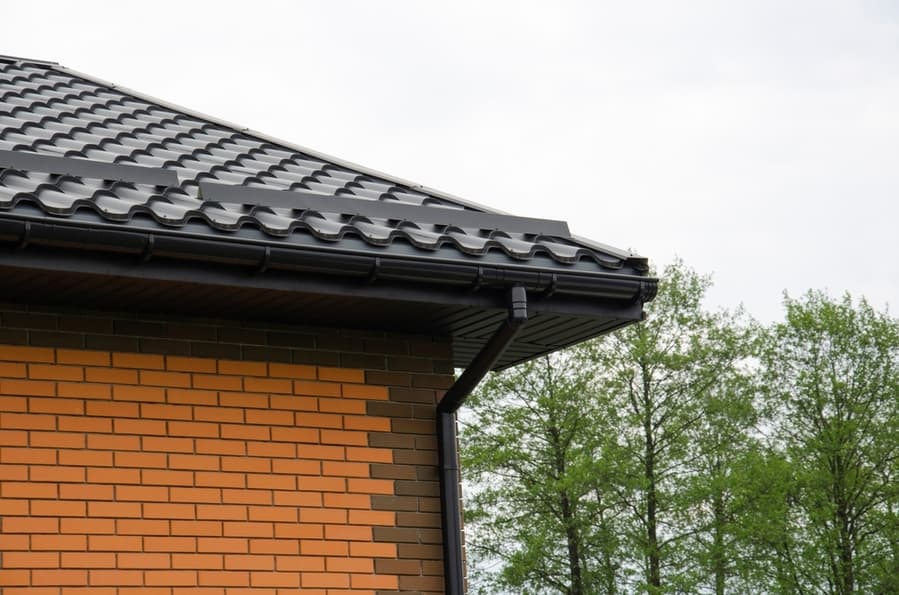
A roof overhang is the extending part of a roof that goes beyond the sides of the building.
Most houses have a roof overhang, but the length of the overhang varies depending on the architectural design of the building.
The overhang serves both functional and aesthetic purposes. It protects the windows, walls, doors, and entryway from rain and heat.
If your house has a short overhang or doesn’t have one entirely, it is critical that you do something about it.
This is especially critical if you live in a place with a wet climate. While it’s easy to install a new overhang on a building that is under construction, it can be tricky to extend the length of an existing overhang.
This is because it involves extending the length of the existing rafters and ensuring that the extension can support the overhang’s weight.
Extending your house’s overhang adds to its appeal and protects it from extreme weather conditions, such as rain and high temperatures, which can otherwise damage it.
Extending an overhang involves a complex process that should preferably be left to professionals.
However, with significant carpentry experience, one can follow the steps below to extend their overhang:
- Planning and preparing the roof.
- Removal of the fascia board and existing sheath material.
- Extending the rafters.
- Adding fascia and soffits.
- Roofing the overhang.
This article offers a comprehensive guide on how to extend a building’s overhang. We have also provided you with a list of the items you might need on an over-hang extension project and a few tips that might come in handy as you tackle the project.
How To Add a Roof Overhang
Without any overhang protection, your house can feel overly hot during summer, and the walls might begin to rot or harbor mold during the rainy seasons.
This is because an overhang provides shade for the windows, protecting your home from a heat wave.
Also, extended roof eaves ensure that rainwater doesn’t spill on the building’s walls, preventing it from seeping into the wall cavity.
Additionally, you can use the extended roof overhang to increase your outdoor living space. It is, therefore, vital to have the right length of overhang.
Extending a roof overhang is complex and risky when done by an inexperienced person. This is because if improperly done, the extended roof overhang can collapse.
It is best to engage a qualified professional to extend your roof overhang to ensure it is installed correctly and safely.
If you have roofing experience, here are the steps you can follow to extend your home’s roof overhang.
1. Planning and Preparing the Roof

The first step is to evaluate your roof’s situation and check whether the idea you want to implement is feasible.
It’s essential to plan how you will execute the project and how long it’ll take. You also must gather all the tools and materials you’ll need for the project.
The materials you’ll use for the project might include the following:
- Wood/Lumber
- Nails, screws, and fasteners
- Wood glue
- Utility knife
- Chalk
- Roofing felt
- Steady ladder
2. Removing the Fascia Board and Existing Sheath Material
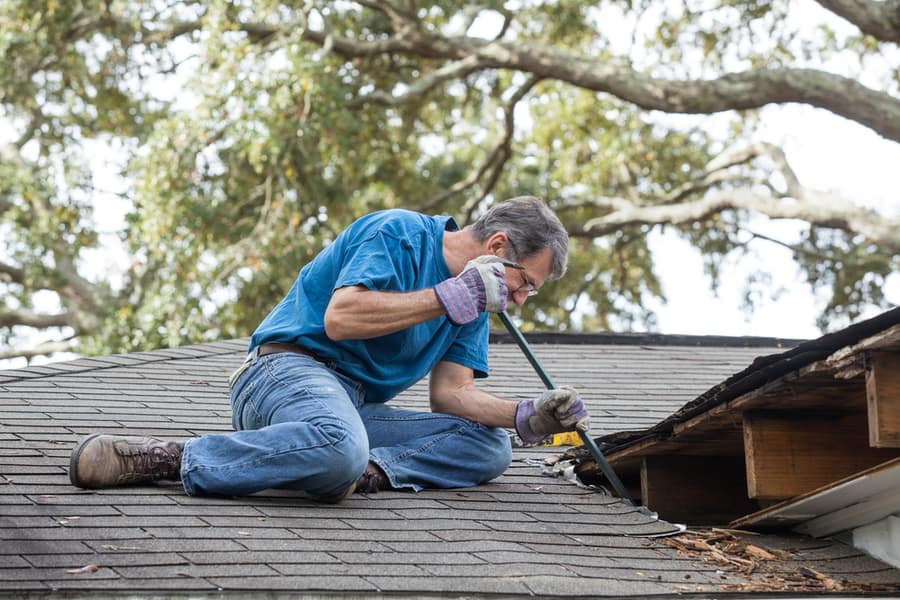
The fascia board needs to be removed to access the rafters’ tails.
If, after removing the fascia, you still don’t have enough room to work on the rafters, you’ll need to remove layers of the sheath and shingles.
You can remove three or more layers of the sheath.
Additionally, you have to remove the drip edge. However, ensure you do it carefully so that you can reuse it.
Once you’ve created enough room to work, assess if there is any damage on your roof and repair it before extending the rafters.
Alternatively, you can work on the roof from the inside by removing the drywall or a section of it from the ceiling, leaving the plywood/ roof sheathing on.
3. Extending the Rafters
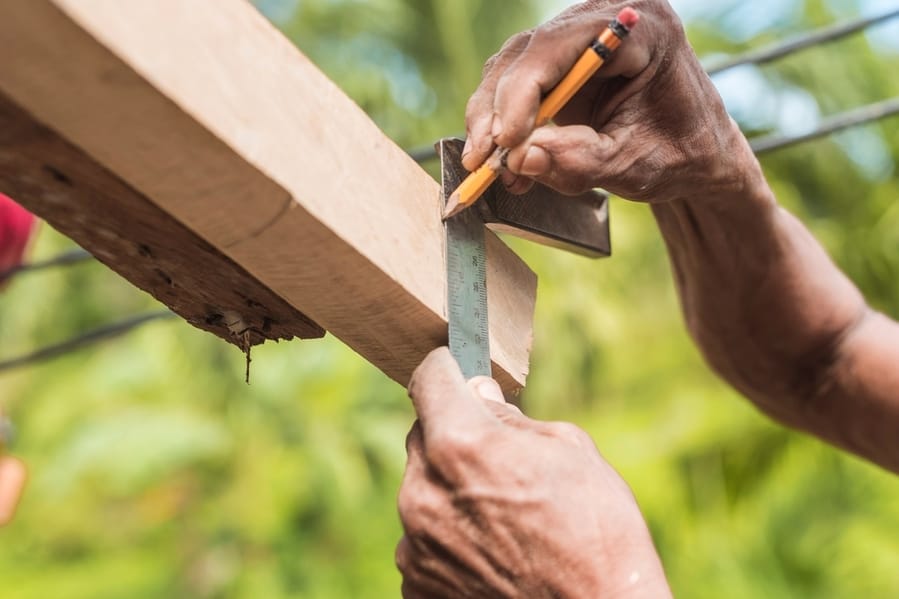
Ensure the extension rafters are three times the length of the overhang you want to create.
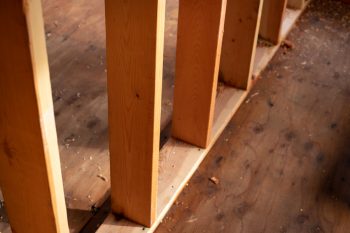
After cutting the rafters, position each against the existing rafters so that 2/3 of the rafter overlaps the existing rafter. The remaining 1/3 of the rafter outlines the new overhang.
To ensure that the overhang is stable and well-supported, it should be 2 feet or less.
It is vital that you use lumber of the same material and size as the existing rafters. However, this can change depending on the type of roofing you have.
For example, you may need two-by-eight or two-by-six extension rafters for a tile roof. Conversely, for a lighter roof, you can use the standard two-by-four.
To attach the new rafters to the old ones, nail them together using 16-penny exterior roofing nails while spacing them 6-8 inches apart to create a staggered or W-shaped pattern.
Alternatively, instead of fixing the new rafter extension directly to the existing rafter, you can add a wood block between them and then nail them together.
4. Adding Fascia and Soffits
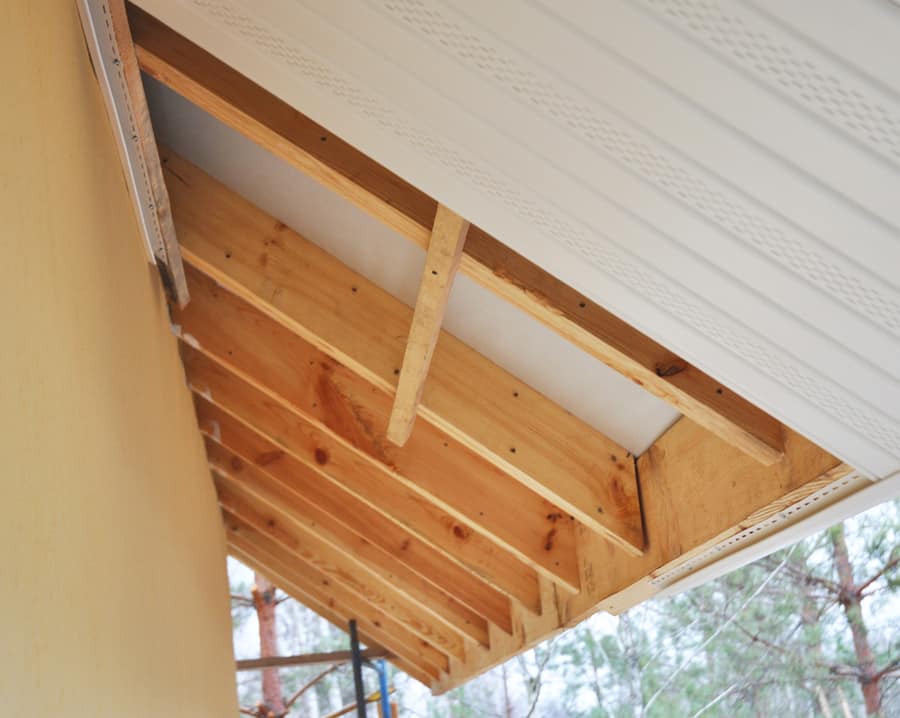
With the new overhang in place, it is time to add the finishes. Cut the extended rafters to size and install a two-by-four sub-fascia board along the tails of the overhang.
You can leave the roof eaves open or enclose them by installing a soffit.
A soffit is an overhang’s underside, and its material range from vinyl, wood, or metal. You’ll need to measure the overhang area to determine the amount of soffit material you need.
Afterward, screw in a J-channel of the soffit to the exterior wall of the roof, ensuring that it levels with the fascia’s bottom.
After that, resize the soffit material to the specific overhang measurements.
Once you have resized the soffit panels, slide each into the J-channel and screw each to the sub-fascia’s bottom.
Repeat for each soffit panel until you cover the entire overhang.
The next step is installing the fascia board and the drip edge. Installing the drip edge is straightforward, as you’ll only need to screw it into the sub-fascia panel.
Finally, fit the fascia board under the drip edge and screw it onto the sub-fascia panel.
5. Roofing the Overhang

The last step after you’ve fitted the fascia and soffits is to cover the newly created overhang and replace the sheaths you may have removed.
When money and time allow, it is best to remove the entire roof’s sheathing and shingles and replace them with new ones.
However, if this is not possible, install plywood sheathing within 1/8 thickness of the existing sheathing. This will make the sheathing as similar as possible.
Place the new shingles along the lower edge of the overhang and work upward as you advance toward the old shingles.
You can create a few vent holes to prevent moisture build-up when you are a few inches from overlapping the old shingles. You can also look around for broken or loose shingles and replace them.
Finally, slip the new shingles’ final layer under the existing tabs to create a seamless look.
Takeaway
A roof overhang protects the building against rain and high temperatures. It also adds to the property’s appeal.
However, extending a roof overhang is not an easy task, and you should preferably leave it to a roofing expert. A wrongly extended roof overhang can damage a building’s roof and cause water leakage.
Nevertheless, if you are handy and have the right tools, you can take on the project while tackling one side of the roof at a time.
Frequently Asked Questions
How Difficult is it To Extend a Roof Overhang?
Installing a roof overhang while the building is under construction is straightforward.
However, extending an overhang on an existing roof can be complex since you need to fit rafter extensions on the old rafters.
This requires professional expertise.
What is the Ideal Length of a Roof Overhang?
It depends on an area’s climate.
Minimal or no overhang is required for buildings in a dry climate. The overhang should be between 12 to 18 inches long for a moderate climate.
However, the overhang should go up to 24 inches/2 feet long for wet climate areas.
How Necessary Are Roof Overhangs?
Roof overhangs protect the house siding, windows, and doors against water and extreme heat. The overhangs also serve a decorative purpose for the building and provide extra outdoor living space.


