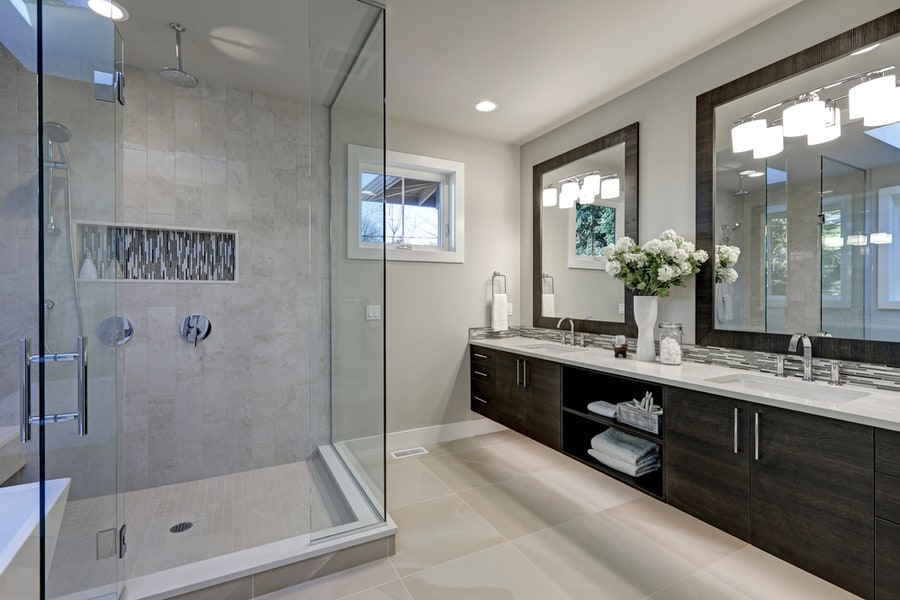
Whether you recently moved, renovated, or built a house, a standing water problem in the shower can be a frustrating problem.
If untreated, standing water can cause mildew, mold, fungi, and bacterial growth.
An improper slope causes a standing water problem in a shower.
So, how do you fix a shower floor slope?
If your shower is not properly sloped to the drain, there will be dead spots which you can fix in three ways.
- Remove the entire flooring and start over.
- Install new flooring.
- Remove the section of the floor near the drain and re-slope the base.
The last option is the best as it is more cost-efficient and requires less work.
This article explains how to fix a shower floor slope by removing the section near the drain and re-sloping the base.
Step-by-Step Guide on How To Fix a Shower Floor Slope
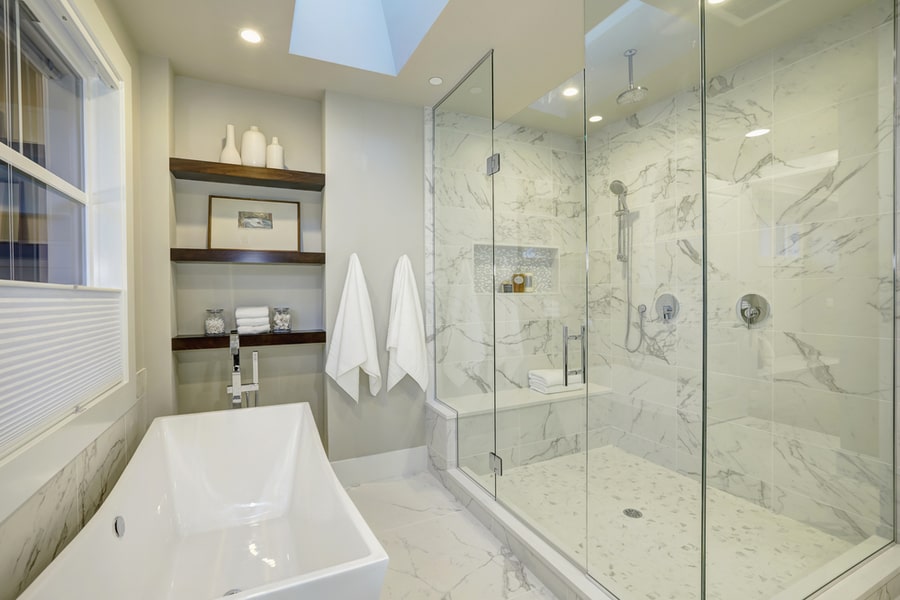
Porcelain tile flooring is the most common floor option used in showers. It is incredibly durable, can withstand heavy traffic, and is resistant to mold and moisture.
Also, tile floors are easy to clean and maintain, making them a perfect option for showers.
If the flooring in your shower is not laid correctly, leaving you with a dead spot where water stands, below is a step-by-step guide you can use to fix it.
Step 1: Remove the Shower Drain Cover
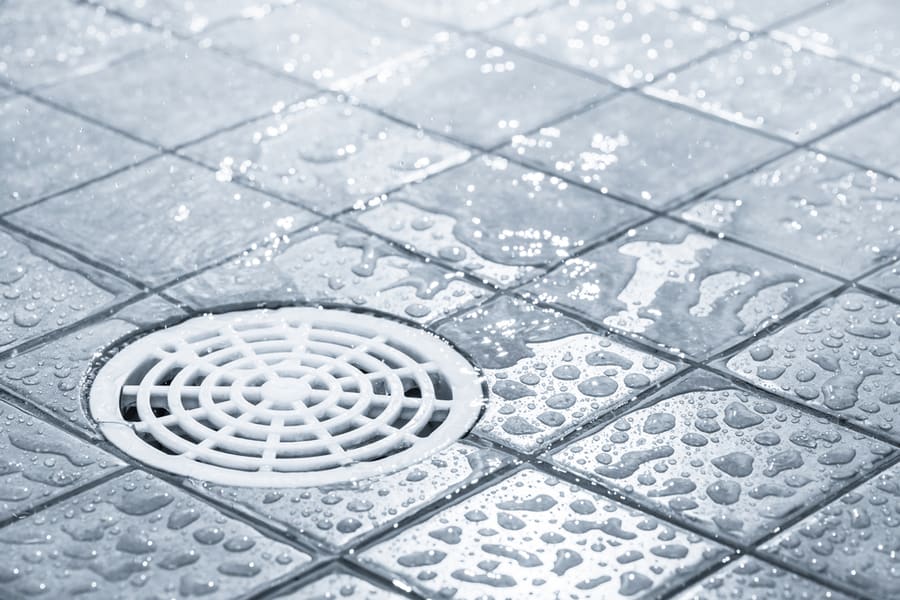
The first thing you want to do is to remove the shower drain cover. But before you remove the drain cover, stuff a rag into the drain hole to prevent debris from falling into the drainpipe.
With the drain pipe covered, use a bubble leveler to check the slope of the shower. Place the bubble leveler on the drain opening and slide across the tile surface.
When you measure the level of the slope from the drain to the furthest wall, it should be about 1/4 inch of the slope per foot. Mark the shower floor’s high and low areas with a permanent marker or a wax pencil.
Step 2: Remove Raised Tile Using a Chisel and Hammer
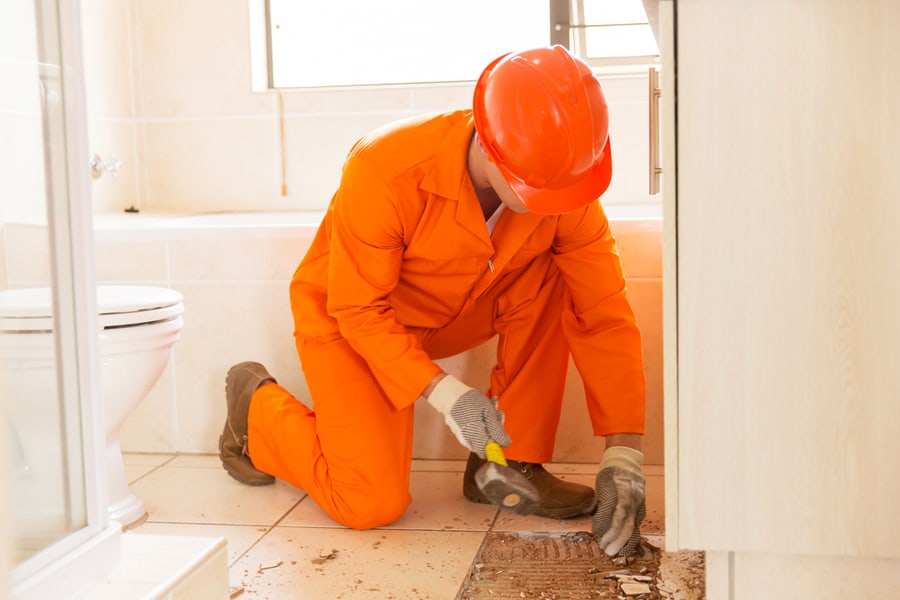
Next, you are to remove the raised tile so you can balance it.
You will need a chisel and hammer to remove the tile. But before you start, ensure you wear protective equipment, which includes a safety glass and working gloves.
Place the chisel on the grout near the drain, and hit it with a hammer to pry the tiles up. Don’t worry about damaging neighboring floor tiles; be as careful as possible.
When you remove the tiles, clean the caulking material under them and thoroughly clean the stall.
Step 3: Fix the Slope
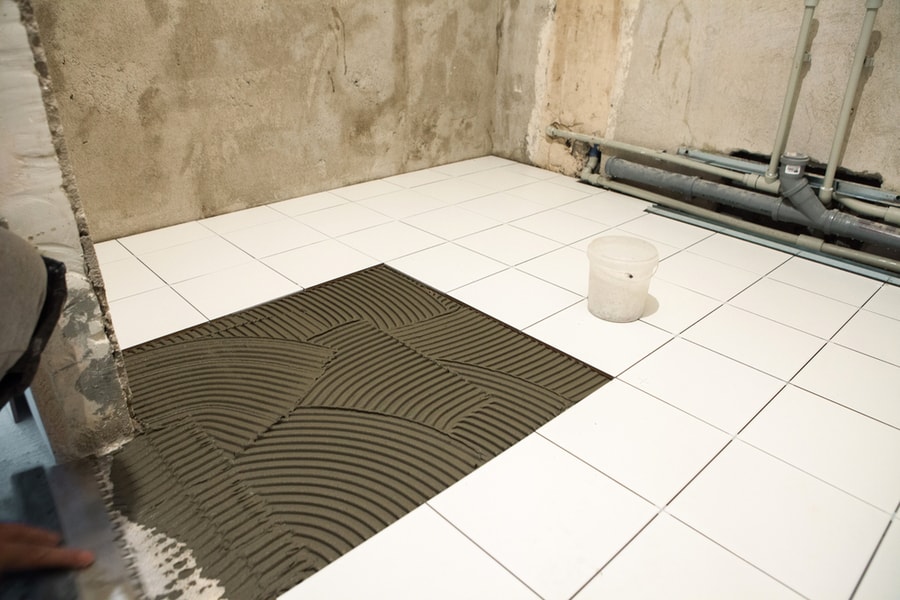
With access to the subfloor of your shower, you can now slope it properly into the drain. You will need a mortar to fix the slope.
A white mortar is best because it easily blends with most shower tile grout. But before you pour the mortar on the floor, ensure you dampen it with water.
Pour the mortar on the floor and use a flat trowel to level it into the surrounding tiles. Consider the slope when pouring the mortar building up the low and high areas.
Allow the mortar to dry before continuing. Use the level to check the floor slope, and add the mortar to the problem areas as needed to slope it to the drain.
Step 4: Prepare the Drain
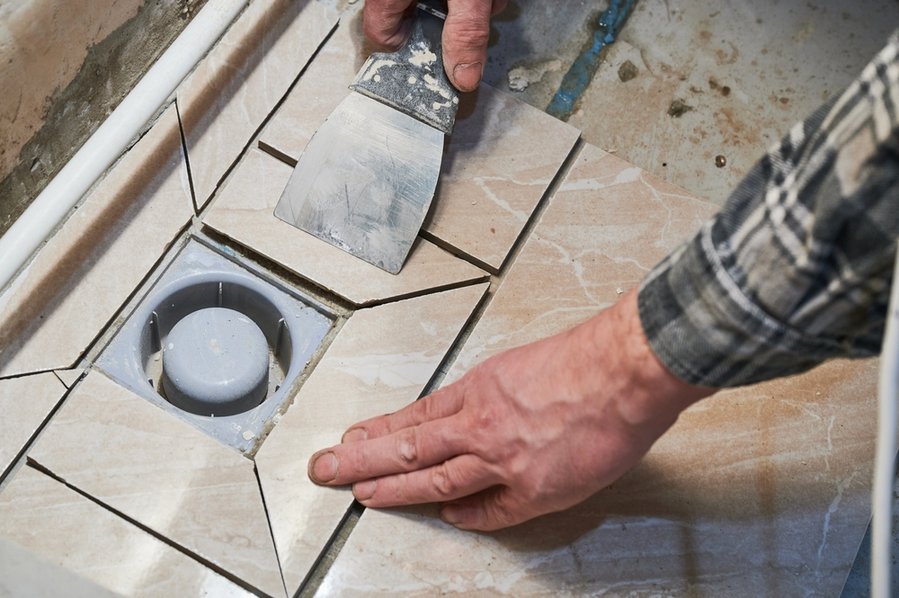
With the subfloor fixed and leveled into the drain, start by mounting the shower extension ring.
Use screws to fasten the extension ring on the drain opening. Get a 1/4-inch thick plastic extension ring with the same diameter as the opening of the existing drain. Most extension rings fit into a 4-inch diameter drain opening.
With the extension ring in place, it should flush with the new tile floor when it dries. If you want a square drain finish in your shower, use an adapter to convert the round drain cover into a square one.
Step 5: Install the Shower Tiles
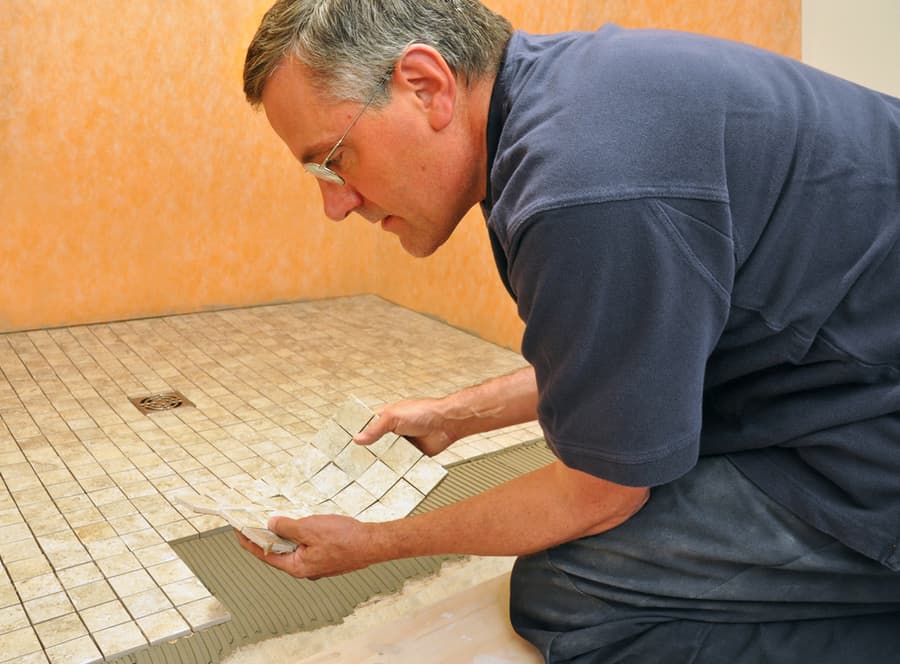
You can install the new tiles on the shower now that the drain is sorted out. For this, mix another bucket of mortar using the manufacturer’s wet-mix ratio.
Next, spread the mortar on the shower floor using a notched trowel and place the tile from the most visible corner.
Ensure the floor remains at the slope you designed while installing the tiles.
Fit the tiles around the drain last, ensuring it has the lowest point in the drain.
Step 6: Finish the New Shower Floor
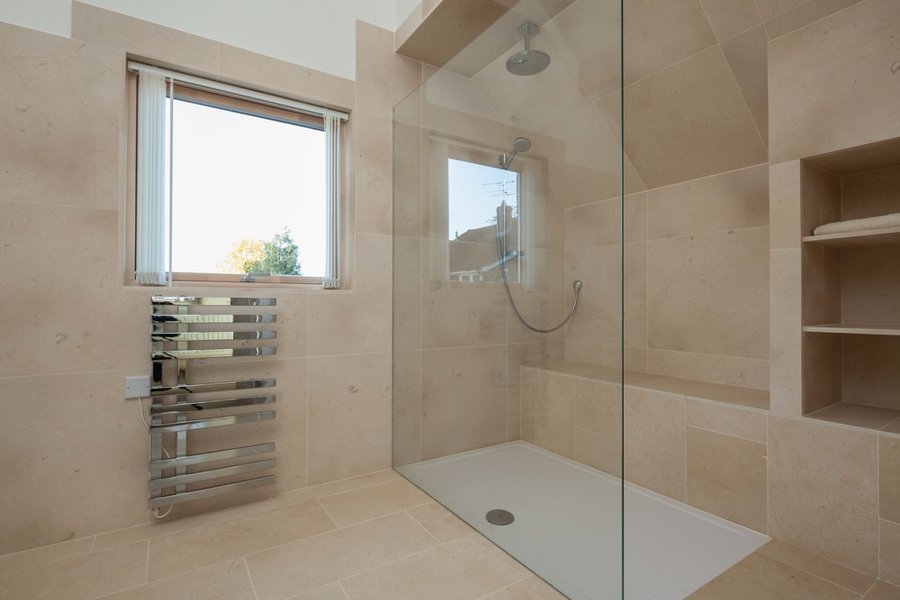
After installing the tiles correctly with the proper slope, finish the new floor with tile grout.
Mix the grout based on the manufacturer’s instructions, apply it on the floor, and press it into the edges of each tile.
Clean the grout with a damp sponge before it dries. When the grout dries, it will be harder to clean.
When you finish the floor, allow everything to sit for at least 24 hours.
Finally, clean and polish the tile’s surface to give it a nice shiny look.
Conclusion
Conclusively, if your shower drain is not well-sloped, it’s normal to have issues with standing water.
With the steps elaborated on in this guide, you should be able to fix the issue with ease.
You don’t have to worry about calling a professional for this, except if you want to use the opportunity to remodel your shower.
Frequently Asked Questions
Should I Install New Tiles on My Shower Tiles?
Sometimes, installing a new tile on an existing one, if conditions allow, is best. Installing new tiles on an existing one saves you the hassle and cost of removing the old tiles. But it is a must that the existing tiles are in good condition without cracks.
Can I Tile Over the Wall Tile?
When it comes to the wall tiles, it is a different ball game. While it might be alright to tile over an existing tile on the floor, doing so on the wall adds extra weight, which might not hold.
Similarly, if you tile over an existing wall tile, the extra thickness means you must adjust the glass enclosure, longer escutcheon screws, etc.
