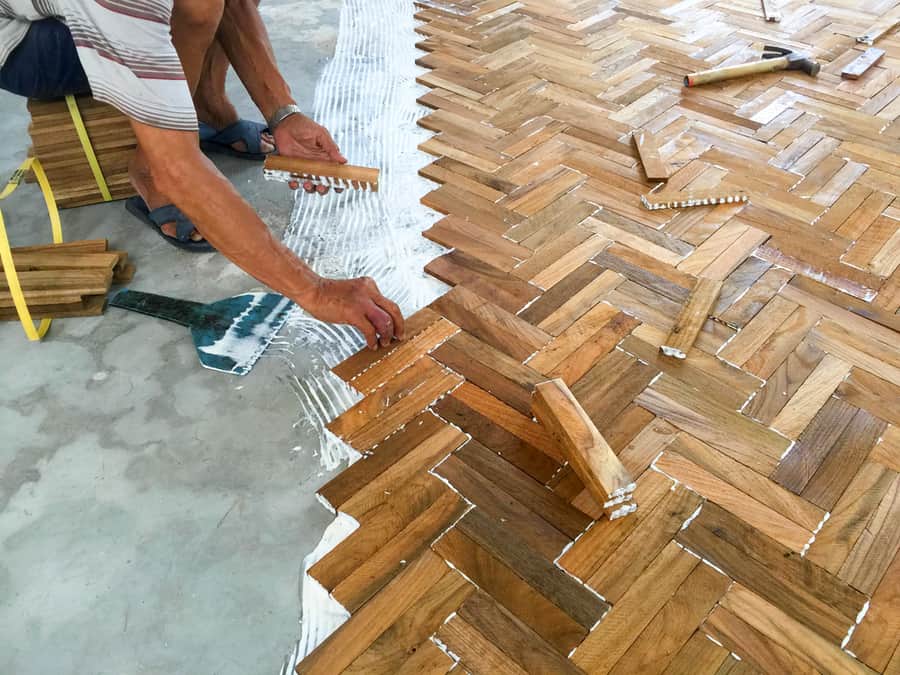
Stones like granites, quartz, and marble are timeless and ready additions to any home. Combining these stones with a wood base makes an excellent piece of art anyone will adorn.
But getting a good bond and an invisible seam is essential when working with marble and wood. So, how do you glue marble to wood?
To glue marble to wood, first, you need high-quality glue. Other basics to consider when you want to glue marble to wood include the following:
- Selecting the correct type of wood and marble.
- Preparing the surfaces.
- Applying the right amount of adhesive.
- Allowing enough curing time.
- Finishing the piece.
To complete this task, you will need simple tools like screws, drills, adhesives, a caulk gun, wooden planks, and marble slabs.
In this article, we’ll break down the process of how to glue marble to wood in simple steps.
Step-by-Step Guide To Glue Marble to Wood
Gluing marble into wood is a simple process. But it takes some know-how and little practice to perfect the art. Let’s take a closer look at why each step to gluing marble to wood is necessary.
Step #1: Select the Right Wood and Marble
The first thing you should do when you want to glue marble to wood is to be sure the wood plank can support the weight of the marble slabs. Marbles are often heavy, weighing about 13 pounds per square foot for a 3/4 inch thick slab, and a 2-centimeter thick marble weighs about 250kg.
The weight of the marble slab varies based on many factors such as thickness, minerals present in the marble stones, etc. Also, make sure the legs of the wood are sturdy and substantial to support the weight of the marble. Hardwood might be the ideal wood choice to support the marble’s weight.
Step #2: Clean the Surfaces
After choosing the right marble size and wood that can support the weight of the marble, you can begin to prepare the marble piece for gluing. The essence of cleaning is to ensure the surface is free of dust and debris, which can cause adhesive failure.
To clean the surface, use sandpaper to smoothen the surface of the wood. Then dip a soft cloth in denatured alcohol to wipe the marble and the wood. Rinse off the marble and wood with clean water.
Also, wipe the wood and marble surfaces with acetone to remove any coating on the marble or wood.
Step #3: Dry-Fit the Pieces
Gluing the marble and wood is permanent, so critical you get it right the first time. As such, it’s best you dry fit the pieces together to ensure the measurement is in other.
To dry-fit, the pieces, place the marble and the wood together without the glue. If there are any issues, you can correct them before applying the adhesive.
It would only ruin the piece you are working on if you want to correct any inconsistencies after gluing them. Removing the wood from the marble can be challenging once they are fitted together. So, it would be best to ensure the pieces line up before gluing them together.
Step #4: Select a Quality Adhesive
Another essential step in gluing marble and wood is using a suitable adhesive. There are several types of adhesives you can use to bond stone. Some glues have some unique benefits over other types of glue.
For example, when gluing a light-colored marble to wood, it’s essential to consider whether the glue creates an invisible seam.
Also, some adhesive turns yellow when exposed to UV rays. In another case, the adhesive can be absorbed into the pores of the stones, causing them to darken. A silicone-based bond is one of the best adhesives to glue marble to wood.
Step #5: Apply the Glue to the Pieces
To glue the pieces together, apply a thin layer of adhesive to the wood and marble. To make the job easier, apply the adhesive to wood and marble with a caulk gun. Also, use a paintbrush to spread the glue evenly to ensure it gets to every spot.
If you want to fit a large thick piece of marble on a wood base, it can be a lot of weight to support. So, it’s best to use metal angles to support the weight of the marble.
Similarly, if you notice the alignment of the marble and wood is off, use a putty knife to scrape the adhesive and start over.
Step #6: Clamp the Pieces and Let Them Cure for a Proper Length of Time
If you are not working with a hefty piece of marble, you will need clamps to hold the two pieces together. The clamp presses the marble to the wood to create a strong bond when it cures. The curing can take up to 24 hours or more, depending on your adhesive.
When you clamp the marble and adhesive, clean off any excess adhesive leaks from the side of the pieces. If left to cure, the glue that leaks from the side of the pieces will negatively influence the final product’s aesthetics.
Step #7: Finish the Wood
Finally, apply paint or a protective finish on the surface once the adhesive is dry. So, once the two pieces are glued together, ensure the wood is dust-free. And then, apply two coats of wood primer and allow it to dry completely.
When the primer is dry, pick a wood paint of your choice and paint over the wood. For example, if you use white marble, you can paint the wood with a darker color share to complement the beauty of the marble.
Conclusion
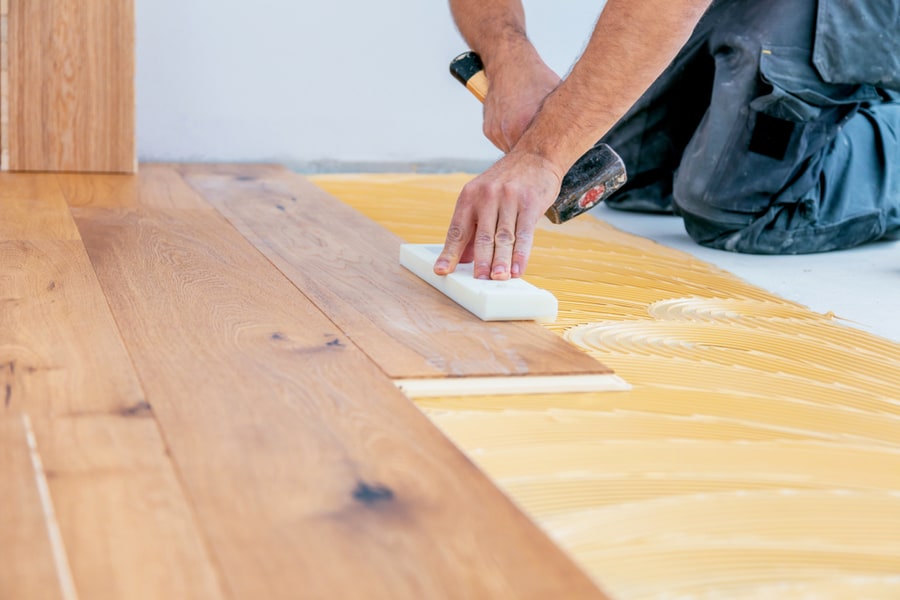
If you do a lot of DIY projects, gluing marble to wood is something you should try out. But remember that you must pick out the best wood, marble, and adhesive to create the best bond to get the best result.
Also, while the steps are pretty straightforward, it may need a couple of trial runs before you can master it eventually.
Frequently Asked Questions
Do You Need Safety PPE When Working With Wood and Marble?
You must wear personal safety equipment when working with wood and marble. When you are sanding wood or cutting marbles, it releases fine dust particles that can easily irritate your eyes or lungs. Moreover, the adhesive can be harmful to inhale as well.
Does Silicone Sealant Stick to Marble?
Despite the extremely smooth surface of marble, you can apply silicon sealant to it. But the silicone sealant must be 100% silicon to bond well.
The silicone connects to the lower substrate of the stone. So, you only need about 10% coverage to get a good bond.
