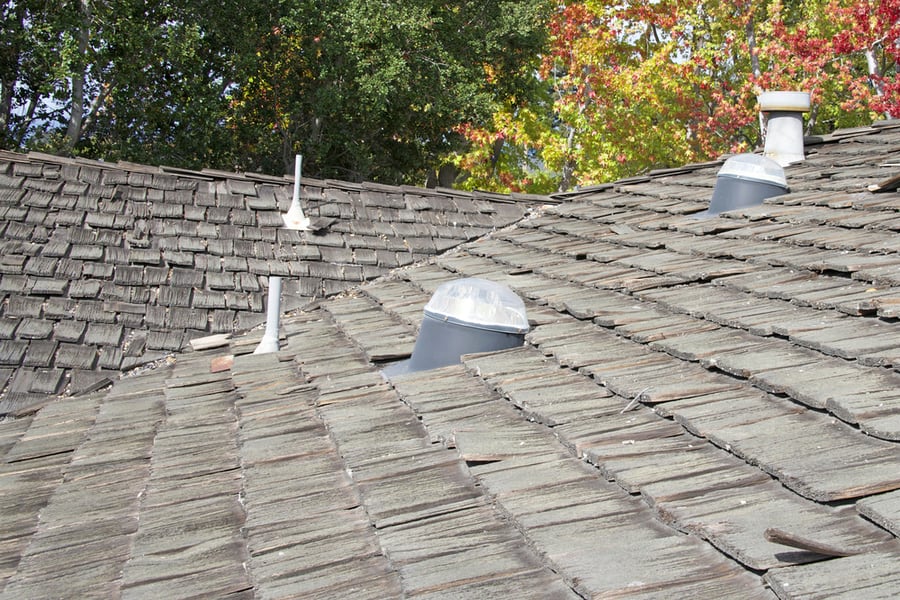
You may have noticed that the wooden shakes on your roof are cracked, warped, or missing altogether.
Don’t worry – as long as you know how to repair a wooden shake roof, you can take matters into your own hands and save yourself some money. But the question is: How do you go about it?
Repairing a wooden shake roof is easy. Here’s what you need to do:
- Identify the area that needs repair
- Climb the roof
- Get rid of the old shake
- Measure and cut the new shake
- Install the new shake
- Test your artistry
While sometimes it’s best left to professional roofers, repairing a wooden shake roof is something you, as a DIY homeowner, can do on your own. And in this article, I’ll break down every step of the process, so you can easily fix your roof in no time.
Gather the Necessary Materials
Working on a roof is a risky endeavor. So, before you get to work, gather all the necessary paraphernalia. It will keep you from climbing up and down the roof multiple times.
You need:
- Pair of gloves
- Replacement shake
- Hammer
- 16-inch nail bar/chisel
- Hacksaw/reciprocating saw
- Tape measure
- Galvanized roofing nails
- Extension ladder
- Attic ladder
- Calking compound
- Nail set
- Flashlight
- Wooden block (optional)
If you are among the DIY enthusiasts, all these materials should already be in your workshop. If not, you can get them from any hardware store near you.
Step-by-Step Guide on Repairing a Wooden Shake Roof
Once you have all the tools, you are good to go for repairing your wood-shaken roof. Here’s the procedure:
Step 1: Identify the Area That Needs Repair
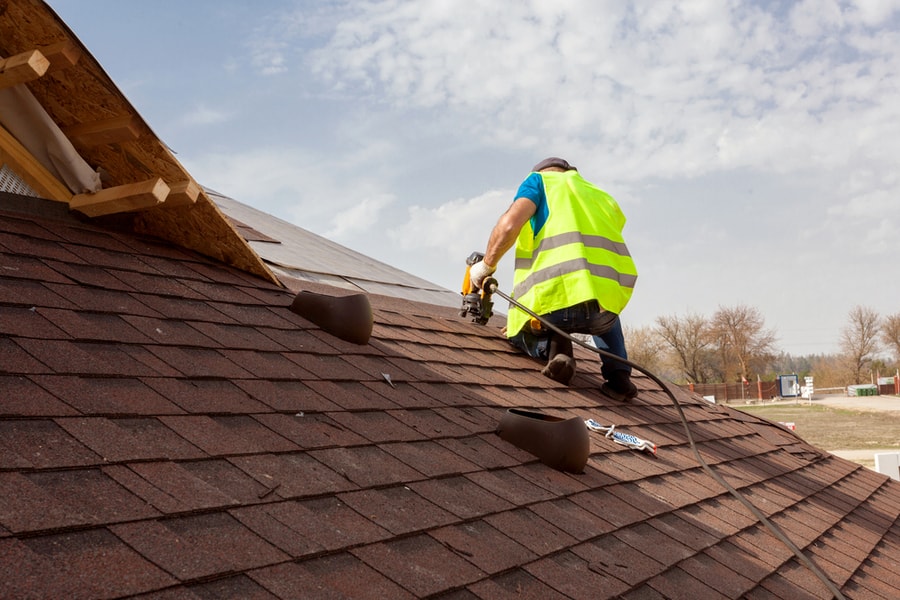
The first thing is to determine the area that needs your attention. You don’t want to do any guesswork up there, so get this first step right. It can be complex to pinpoint the problematic shake(s), but it’s still manageable.
The best way to do this is to find your way to the attic. But before climbing, get a flashlight and a tape measure.
Then, using the attic ladder, get up there and look for areas where you can see any punctures or streaming light. It will be easier when the sun is up, so try and do it during the day.
Once you have identified the area of the leak, take the measurements to see how far the affected shake is from the ridge of the roof.
Of course, you can also measure it from any other structure within the roof, from which you can easily trace the damaged shake once you get on top of the roof.
If the hole is large enough to let you drive something like a copper wire, for example, do that and use it as your reference point when you climb up the roof. It’s more accurate this way and will save you time.
Step 2: Climb the Roof
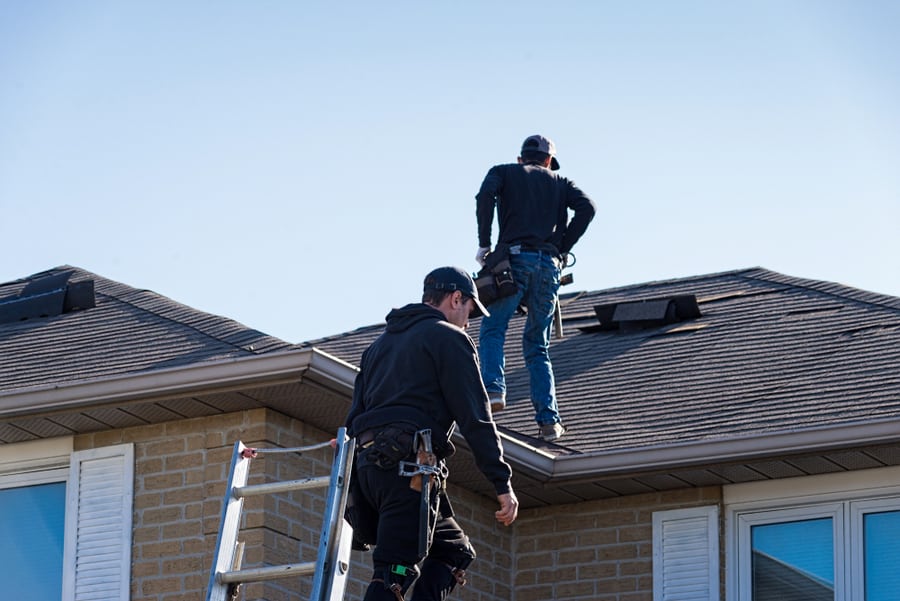
Once you’re done with the attic work, it’s time for some real action! But before your journey to the roof, check to see that all the items are ready and in place. And of course, don’t forget your pair of gloves!
With the help of your ladder, climb up the roof and go to the area that needs repair. You should easily see it from a distance if you used something to mark the spot. But if you didn’t, use the measurements to get there.
Once you’re in position, double-check the area and confirm that you got the spot right. Then, position yourself in a way that allows you to do your job comfortably without risking slips or falls. Don’t be in a hurry!
Step 3: Get Rid of the Old Shake
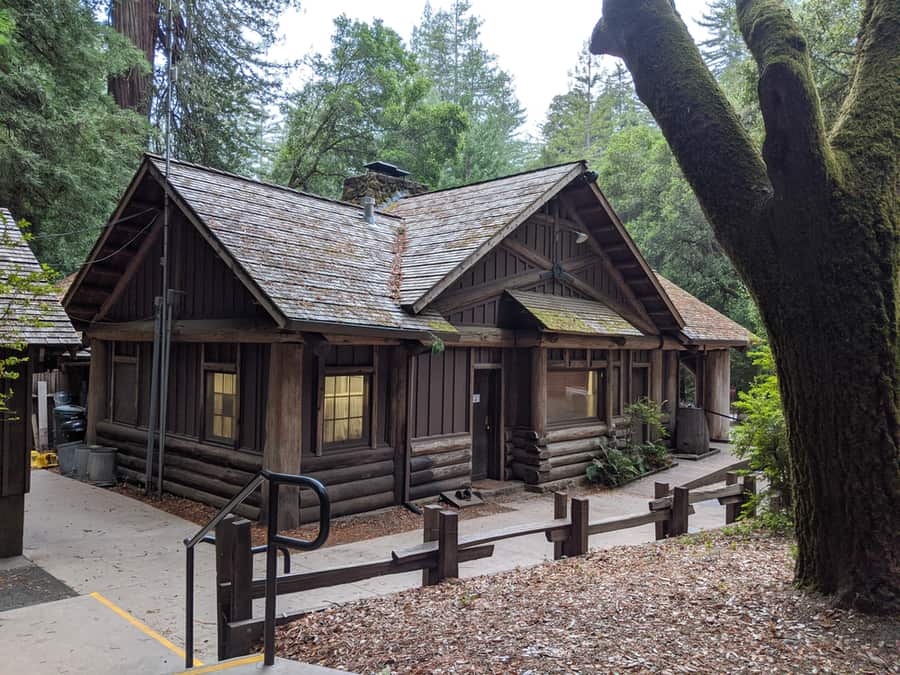
Before bringing in the new, get rid of the old shake first. Do it carefully and with minimum disruption to the other pieces around it.
To prevent damaging the surrounding shakes, put the wooden block just below the dramatic piece and use it to bear the force of the 16-inch nail bar.
Of course, your safety must come first before you consider protecting the neighboring shakes! So, ensure you’re on gloves before starting your project on the roof.
Once you’ve shielded the other shakes, use the 16-inch pry bar to lift the affected shake slowly from the bottom end. Position the bar correctly and make sure it takes most of the force. If you don’t have a pry bar, utilize a hammer and a chisel.
But then, when using the combo, you must do things a little differently and more cautiously. Tilt the chisel at the same angle as the roof pitch or slope.
That way, you will avoid puncturing the underlayment once you begin driving the chisel through the wood using the hammer.
After you’re done with the bottom end, move to the upper end and repeat the process to eliminate the entire shake.
And once you have the shake out, it’s time to start on the nails. Use a hacksaw or a reciprocating saw. And as usual, when working with the saw, take your time.
You should ensure that you get out all the nails so they don’t cause any problems when installing the new shake.
Step 4: Measure and Cut the New Shake
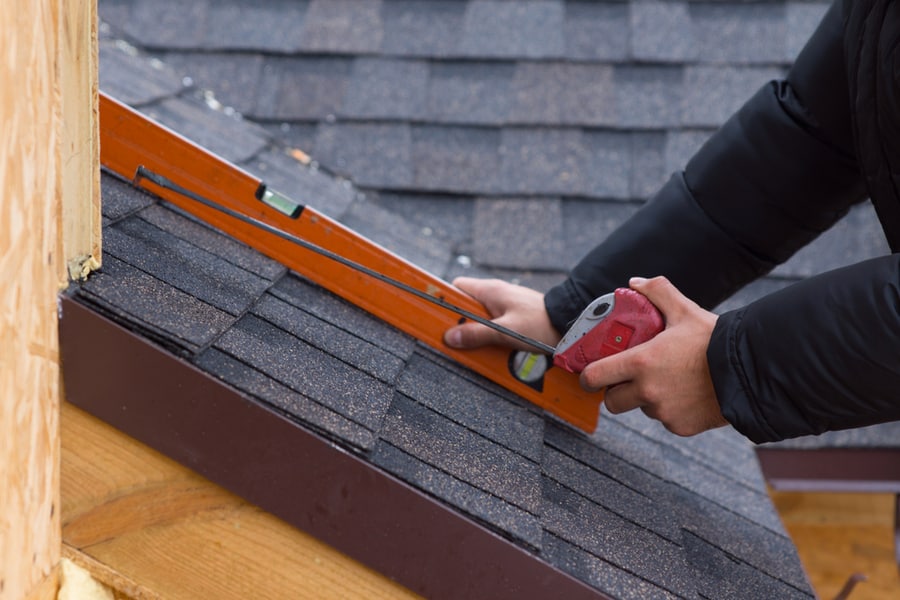
Now that the damaged shake is out, it’s time to focus on the new one. Begin by taking the measurements of your damaged shake. A tape measure will again come in handy here.
Whatever values you get, ensure that the width of the new shake is 1/2 an inch narrower. You want it thinner because of the swelling that will occur when it rains.
Of course, you can use a fine-tooth hacksaw to cut your new shake into size. Just ensure that you remain careful enough to prevent any misshapen cuts.
Step 5: Install the New Shake
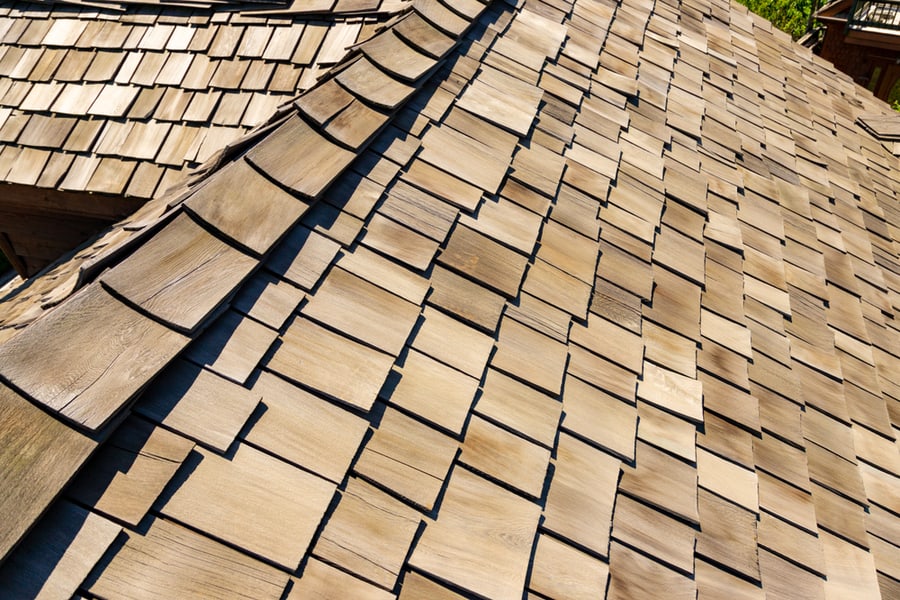
Once you’re done with the preparation, install the new shake. Get the placement right. And yes, remember to leave a 1/4-inch clearance on each side of your new shake’s width.
Then, nail it into place. Galvanized nails and a hammer are what you need for this step. Then, using a nail set, drive them in further, so they’re deeper from being flush with the surface of the shake.
Once you have nailed the shake, double-check that it is secure. You don’t want to be surprised a few weeks later with a loose shake!
Finally, seal the nails and joints with a calling compound. Sealing will help protect the new piece from the outside elements and keep the new shake in good shape for longer.
Step 6: Test Your Workmanship
After you have done all the hard work, it’s time to get out of there and test whether you did the project correctly. To do this, grab a garden hose and head back up to the roof.
Spray the repaired area with a hard stream of water for a minute or two. The aim of doing that is to soak the repaired area with water.
Once done, head back to the attic and see if there are any leaks or signs of water. You can also look up the structure to see if there’s any light streaming through, indicating a leak.
If it turns out that there are no signs of a leak, congratulations! You did the work perfectly.
Otherwise, seal the area with a caulking compound if it’s a tiny hole. But if you can trace it to a bigger issue, it’s best to call a professional.
Best Time To Repair Your Wood Shake Roof
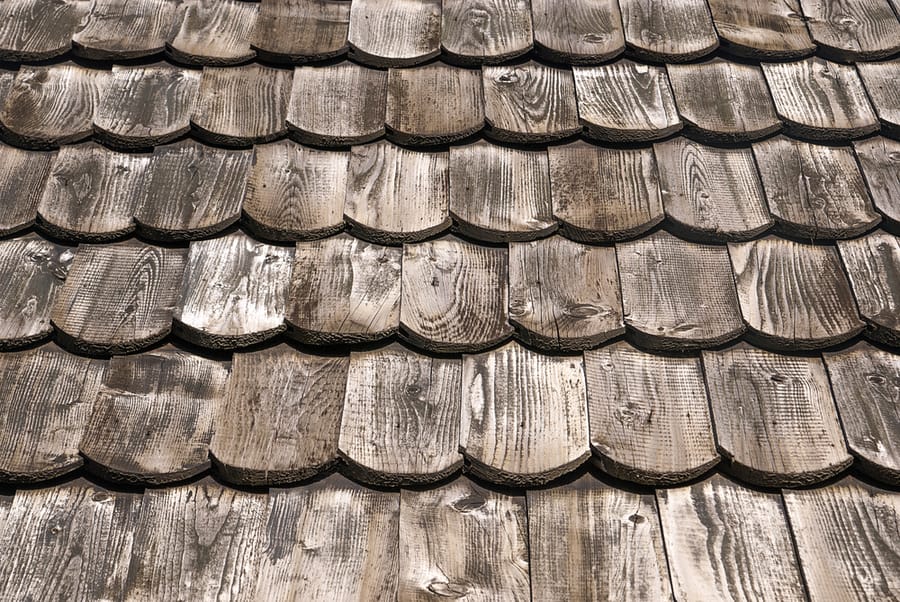
Knowing the best time to repair your wood shake roof is always good. Wood can swell or contract with weather and temperature. So, it’s recommendable to work on it when it’s in its most stable condition.
Generally, the best time to repair a wooden shake roof is when the weather is dry with less chance of rain. This time will also mean fewer chances of accidents coming through slips.
Avoid climbing up your roof during wet weather, as this could be extremely dangerous. Again, check the condition of the underlayment and other components before starting repairs.
It will help you know if the roof is strong enough to hold your weight. It will also let you know whether further repairs are needed before you start on the shake.
Maintaining Your Wooden Shake Roof
Like any other roofing material, wood should be well-maintained to last longer and keep you safe from the elements. Proper shake roof maintenance involves;
1. Keeping It From Debris
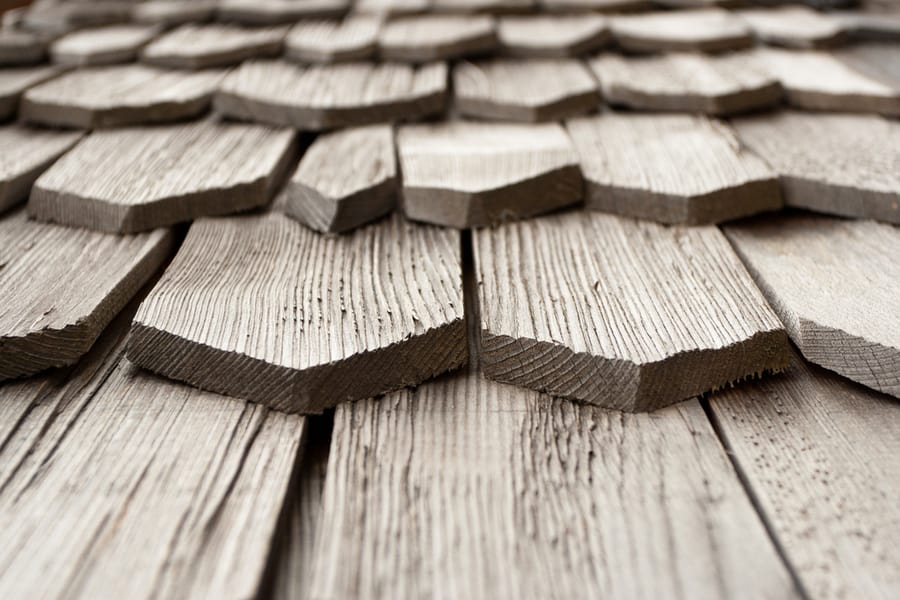
Leaves and other debris will often gather on your roof.
That’s harmless until it rains. Moisture trapped in that debris will seep into the wood and cause it to swell and rot. Hence, it’s best to clear off this debris regularly.
2. Cutting Any Overhanging Branches
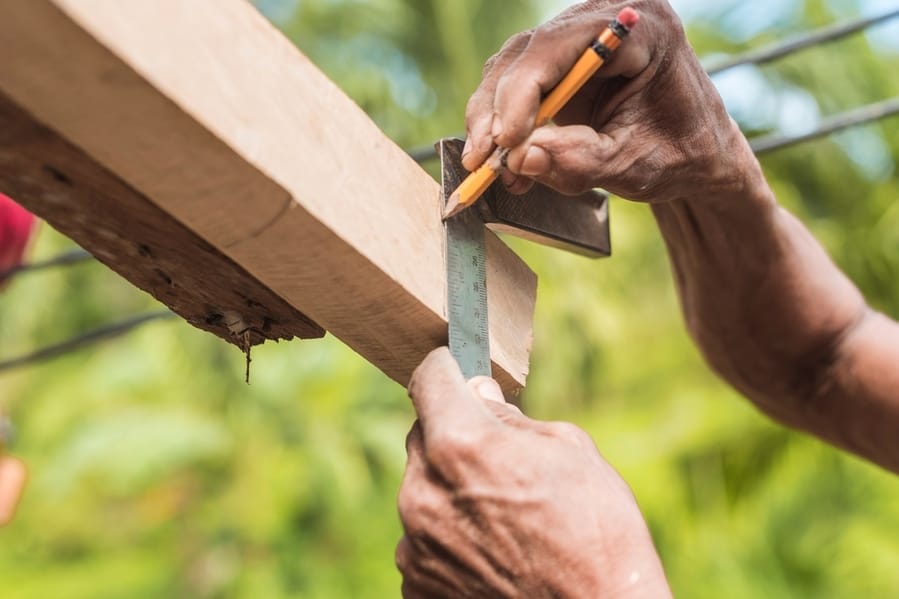
Cutting overhanging branches is especially important in the fall and winter. That’s the time when leaves start to drop. You want to ensure that none land on the roof and trap moisture.
3. Inspecting Your Gutters Regularly
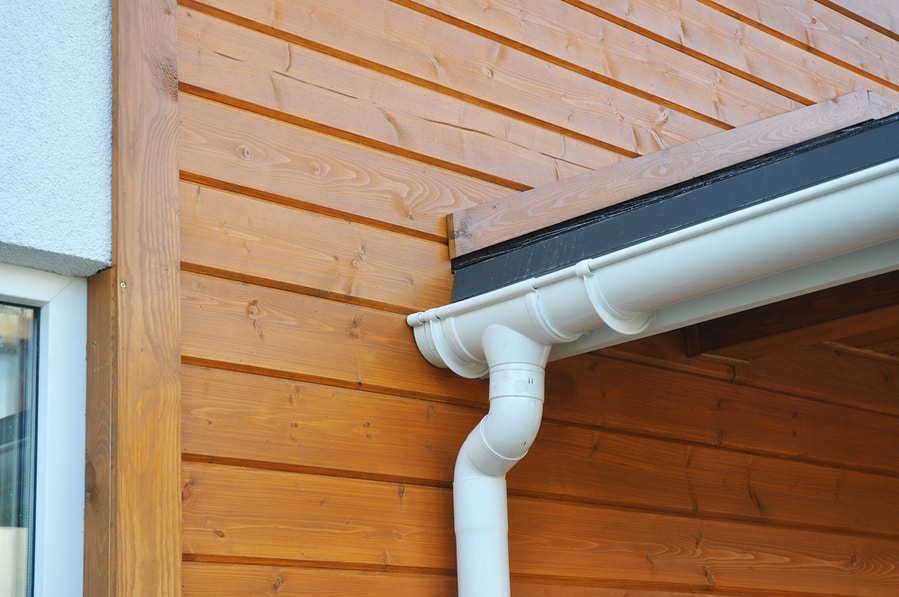
Your gutters are fundamental for draining water away from your house.
But if they get clogged, water will stick around for longer and damage the roof. So, to avoid that, occasionally spare some time to clean your gutters from debris.
4. Working Closely With a Professional Roofer
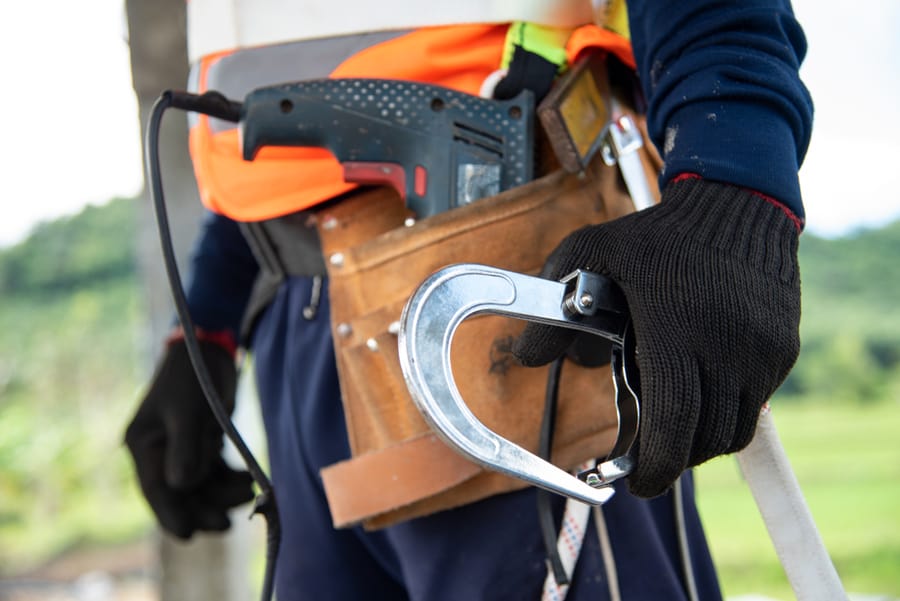
It’s always a good idea to have a professional inspect your roof from time to time, preferably at least annually.
Experts will help identify potential problems and advise on the best action. It may mean more costs in the short run, but it will save you a lot of money and trouble in the long run.
Signs That a Shake Needs Replacement
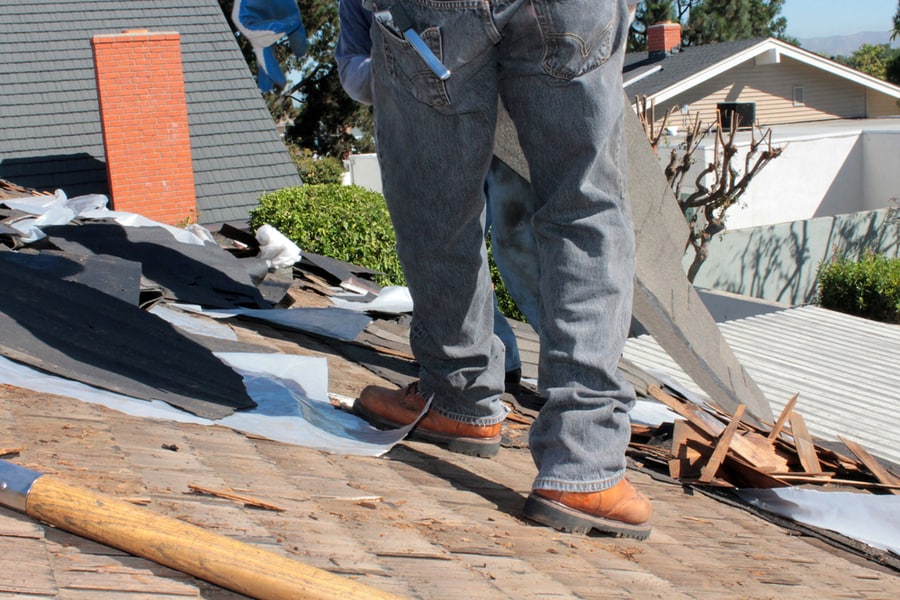
Sometimes a simple repair job is all you need to keep your shake roof in top shape. But then, several signs are there to tell you that the shakes may be beyond repair and need replacement.
Here are some signs that indicate replacement is necessary:
- Splitting – If you notice splits, chips, or cracks in the shakes, it may be time to consider bringing in new shakes.
- Fraying – Fraying along the edges of the shakes indicates that they are rotten and need swapping as soon as possible.
- Curling or Cupping – If you see that the shakes are curling outward, this is a sign of age and weathering.
- Significant Leaks – Severe leaks can mean that the shakes are no longer doing their job and need replacement.
When Roof Replacement Is Better Than Repair
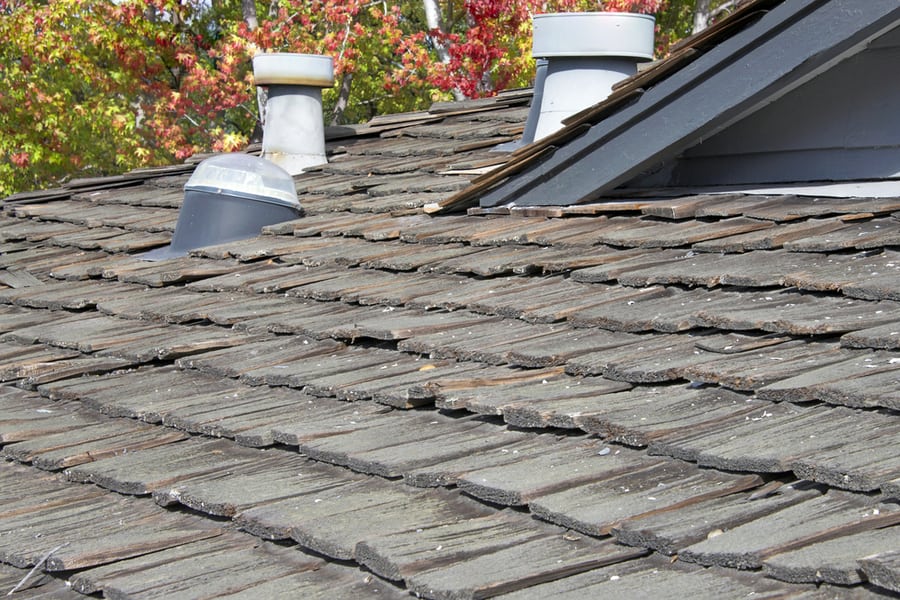
Shake roof is one of the most durable roofs. So, more often, when you notice a problem, a simple repair job is all it takes to get your shake roof back in top shape.
Sometimes, however, a repair job may not suffice, creating the need to replace it altogether. If you suspect that to be the case, calling in a professional is best.
The expert will assess the situation and help you identify whether a repair or replacement is more suitable.
Leaks from different areas becoming more frequent signify that your entire roof has served enough and needs replacement. So, replace the entire structure.
Otherwise, you’ll spend more on frequent repairs when you eventually have to settle for replacement.
The replacement option may be expensive but will provide a better lifespan and more peace of mind than repair. And, of course, roof replacement is a big project that should only be left to professionals.
Conclusion
Wood shake roofs are a great way to give your home a classic look, but they require regular maintenance and repair. With the ideal tools and some knowledge of what you’re doing, you can tackle minor DIY repairs.
But if you’re ever in doubt, it’s best to have a professional do the repairs. Licensed roofers have more knowledge of wooden shake roofs and know how to work on them safely.
So, always opt for either. Maintaining and repairing your wooden shake roof prolongs its lifespan.
Frequently Asked Questions
What Is the Difference Between Wood Shingles and Wood Shakes?
The difference between wood shingles and wood shakes is that shingles are cut with a saw on both sides, while shakes are cut with a saw on one side and then split on the other.
Also, wood shingles are more economical than shakes, although the latter is more long-lasting.
How Long Do Wooden Shakes Last?
Properly installed and maintained, a wood shake roof can last up to 50 years.
It can sometimes even last double as long as a traditional asphalt roof. But it’s essential to inspect your roof regularly and act quickly on any damage.
Can You Walk on Cedar Shake Roof?
Yes, you can walk on the cedar shake roof, but it’s not recommended. Cedar shake roofs can become delicate with time, and the weight of a person walking on them can cause damage or even accidents.
If possible, always call a professional whenever work is needed on the roof.
