Staggering deck boards are deceptively simple and can seem daunting to first-timers.
However, hiring a professional to lay deck boards can be very pricey. Using a measuring tape, you can stagger your deck yourself.
This is because it is a short process repeated over and over again.
Staggering deck boards are usually superior to aligning them because it saves materials and is more structurally sound.
Because it is expensive, it pays to do this task yourself. A moderately experienced DIYer is capable of creating a staggered deck.
Staggering deck boards are usually superior to aligning them because it saves materials and is more structurally sound.
First, I will explain what a staggered deck is. Then, I will provide two ways to stagger a deck. Finally, I will weigh the pros and cons of staggering your deck and situations where you shouldn’t stagger it.
What Is a Staggered Deck?
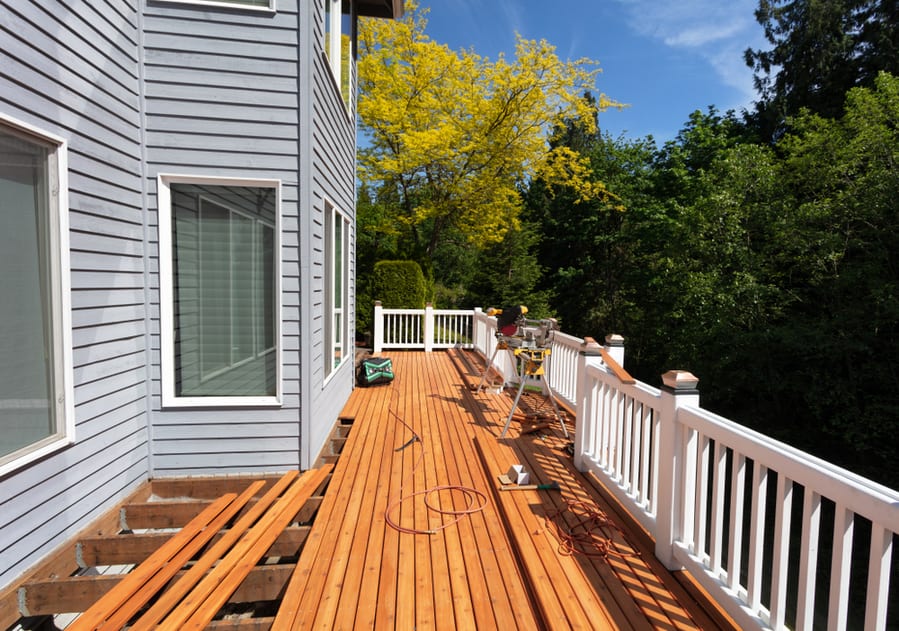
A staggered deck is one where the joists of the boards are not lined up. This creates a “staggered” pattern where the joints between two boards are not next to each other.
2 Ways To Stagger Deck Boards
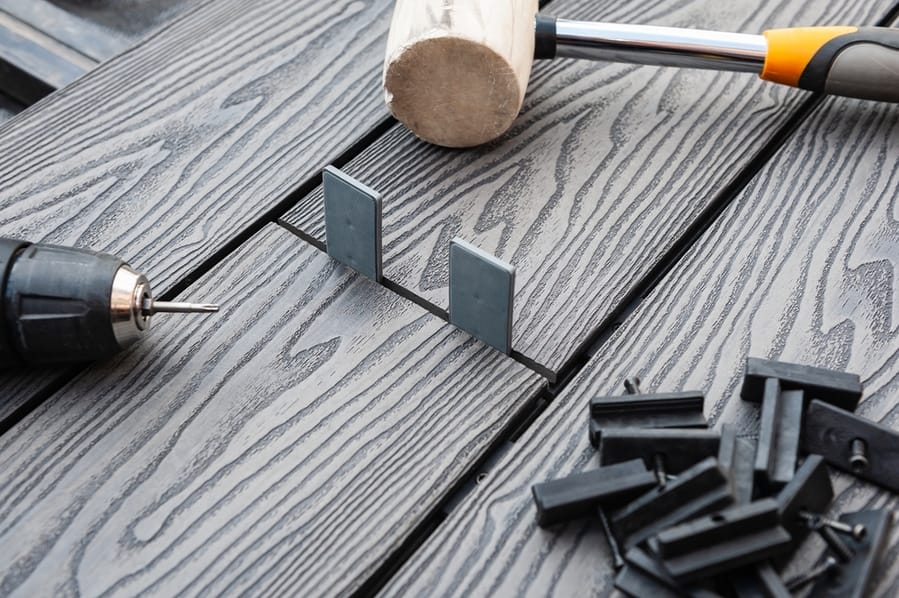
Here are two of the simplest patterns you can use to stagger your deck boards. Each process describes a single execution, but this pattern can be repeated until the entire deck is laid.
1. Three-Butt Pattern
This is the shortest pattern, as it only uses three joints simultaneously.
Here, we’ll assume you’ve already framed the deck with joists since that would be another article.
Steps:
- First, determine your board length, and cut the first board to size.
- Next, select the corner where you will start the pattern. One pattern will span 4 joists.
- Lay the first board, which should end in the middle of a joist on either side.
- Cut the next board, and lay it end to end with the first (I find it helpful to lay the whole pattern before screwing anything in).
- Cut and lay the remaining 6 boards, placing each joint on joists 2, 4, and 3 in that order.
- The final pattern should have the joints between boards on joists 1, 2, 4, then 3.
- Use excess wood to cut pieces to size for the edges.
- Screw the boards in, leaving 1/8 inch between them for expansion.
- Repeat the pattern to lay the entire deck.
2. Four-Butt Pattern
The four-butt pattern is slightly more complicated than the three-butt pattern but tends to look better on larger decks.
Again, I assume you’ve reached the step in the deck-building process where board laying is about to begin.
Steps:
- First, determine your board length, and cut the first board to size.
- Next, select the corner where you will start the pattern. One pattern iteration will span five joists.
- Lay the first board, which should end in the middle of a joist on either side.
- Cut the next board, and lay it end to end with the first (I find it helpful to lay the whole pattern before screwing anything in).
- Cut and lay the remaining 6 boards, placing each joint on joists 4, 2, 5, then 3.
- When complete, the joints between boards should land on joists 1, 4, 2, 5, then 3.
- Use excess wood to cut pieces to size for the edges.
- Screw the boards in, leaving 1/8 inch between them for expansion.
- Repeat the pattern to lay the entire deck.
When determining board length, ensure that each board lays on at least four joists.
The typical 12″ joist setup means that each board’s minimum length should be approximately 3.5 ft. long.
Shorter boards may break under stress and are unsafe.
Should I Stagger My Deck Boards?

There are many situations where a staggered deck is superior to an aligned one. However, sometimes using a staggered deck isn’t possible.
A staggered deck is superior except when the joists must be vertical due to space constraints, and composite boards are being used.
- You want to build a deck next to your house.
- You want to build a deck next to your pool.
- Your deck will be utilizing manufactured boards.
Pros of a Staggered Deck
- Less Waste
- More Structurally Sound
- Visually Interesting
- Fewer Nails
- Less likely to split boards during installation
Cons of a Staggered Deck
- It cannot be used next to a house or other structure
- Tends to look repetitive in larger decks
- Limits the types of boards that can be used
Takeaway
When laying a deck, staggering the boards is better except when a nearby structure mandates vertical joists or compound boards are being used.
Staggering deck boards are relatively simple because you can repeat a simple pattern no matter how large the deck is.
Two common patterns are three-butt and four-butt. Three-butt spans four joists in a single rotation, while four-butt spans five.
When staggering deck boards, keep in mind that weight-bearing boards should always be long enough to lay across at least four joists, as this keeps them from snapping.
Frequently Asked Questions
What Are Composite Deck Boards?
Composite deck boards are made of plastic, adhesive, and wood.
The outside face is laminated with a thin sheet of faux wood, while the core is made of sawdust and glue. The sides and fasteners are often made of plastic.
Can I Install a Deck in the Rain?
No, you cannot. The wood changes size according to moisture and temperature. The boards are at their largest when wet, and the deck will become shoddy when they shrink.
You should always install decks during dry, temperate weather.
