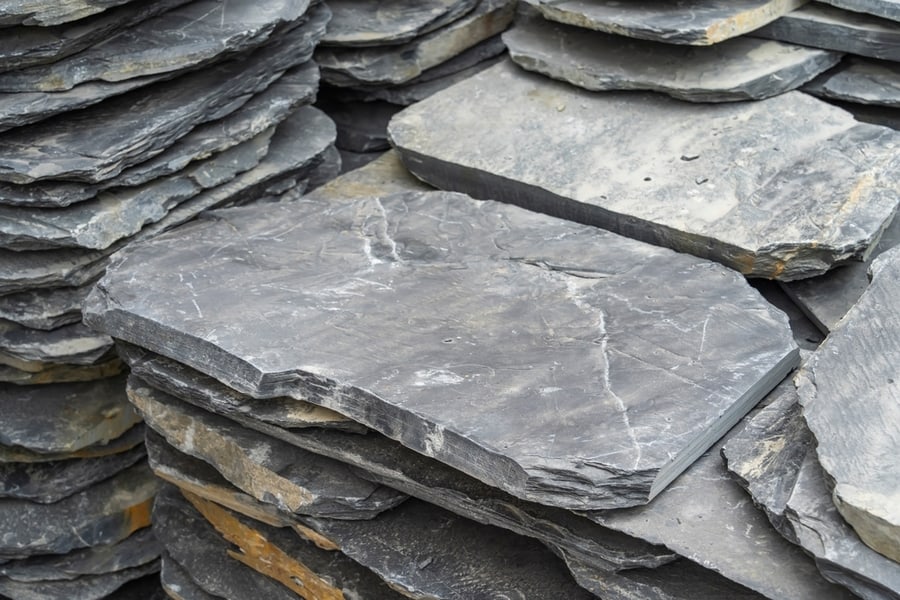
Slate floors are made from natural stones, making them much stronger than ceramic tiles. But, despite their incredible durability, individual tiles can become cracked, chipped, or damaged beyond repair. However, the good news is that despite how strong and impervious to water and wear this flooring type is, you can remove it from cement. So, how do you remove a slate floor from concrete?
It is worth noting that removing slate floors from concrete can be labor-intensive. So, to remove it, you need to:
- First, remove the grout around each slate tile.
- Next, break up and chip the tiles.
- Use an electric tile stripper for larger areas.
- Scrape off old adhesive.
The slate is often glued to concrete with a concrete-based adhesive which makes it dry and sets an incredibly tough layer, making it challenging to remove from concrete.
In this article, we’ll walk you through a step-by-step guide on removing a slate floor from concrete.
Step-by-Step Guide on How To Remove a Slate Floor From Concrete
Due to the thin-set adhesive’s nature and the slate’s inherent toughness, there is no easy way to remove slate from concrete. Slates are metamorphic rocks formed over a long time out of other rock types. The sediments and minerals incorporated in slate floors include mica, quartz, calcite, muscovite, and sometimes pyrite, hematite, chlorite, and biotite.
So, to remove slate from a concrete floor, you will need several special equipments. Safety glasses and leather gloves are essential; you need a chisel, carbide-tipped grout saw, putty knife, coarse sandpaper, mallet, and tile spacer, although it is optional.
Step 1: Remove the Old Grout Around Each Slate Tile
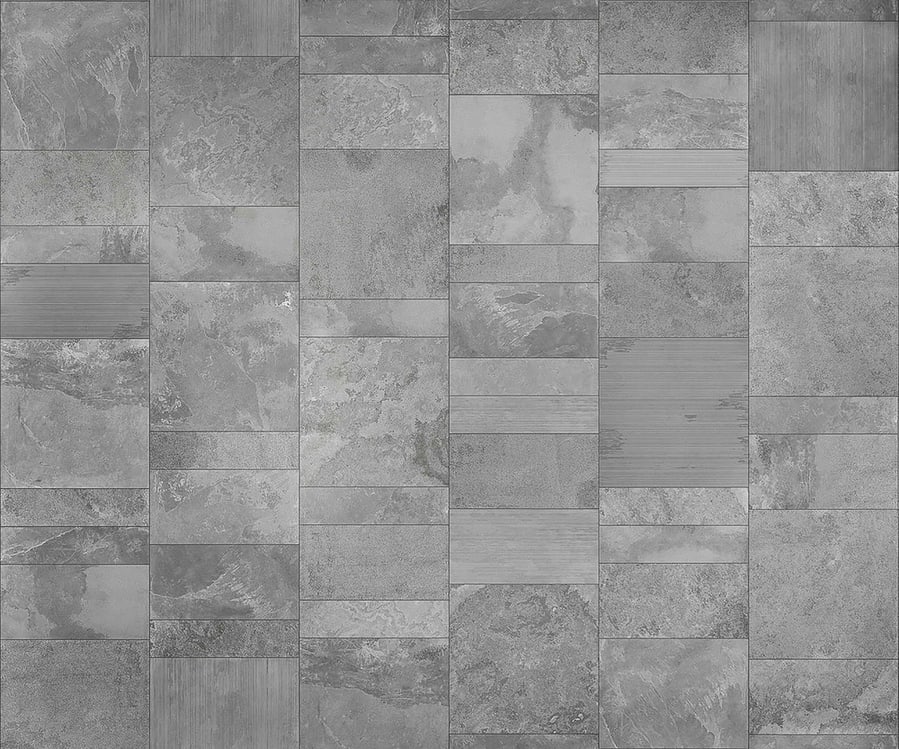
The first thing you want to do is to get rid of the old grout on the slate floor. Grout is a mixture of cement, sand, and water used to fill the edge of each slate tile to create a perfect seal. Removing the old grout allows you to drive the pry bar to remove the slate.
You need a carbide-tipped grout saw to remove the old grout. While removing the grout, wear protective gloves to protect your fingers from injury. Remove enough of the grout till the side of the slate tile is completely exposed.
Step 2: Break Up the Slate by Hand in Small Areas

After clearing the grout, use a prying bar to remove the slate tile. Note it will obviously be tricky, so be prepared to use a lot of force to pry it out. If you are unsuccessful in removing the slate tiles with a pry bar, use a mallet or hammer and a nail to puncture into the slate tile.
Ensure that you puncture the slate tile at the center so it cracks to the side. You can then use the chisel to pry the tiles out in bits. Place the chisel near the edges of the tile and lightly tap it with a hammer to loosen the tiles. Be careful when tapping the slate with a hammer so you don’t damage the subflooring or the tile backer material underneath.
No matter how careful you may be while breaking up the slate, tiny shards of the slate can fly during this step. So, it would be best if you’re appropriately kitted with your safety goggles and work gloves.
Step 3: Break the Slate Into Large Areas Using an Electric Tile Stripper

If using the chisel and hammer method is time-consuming, and you have a large area to work on, then it will be best if you rent an electric tile stripper from your hardware store. With the electric tile stripper, you can pry the slates out in no time and with minimal effort.
When using the electric tile stripper, ensure you set the blade correctly so you don’t damage the subfloor. For example, angle the blade towards the ceiling for a cement subfloor. But if you have a wooden subfloor, turn the blade towards the floor when stripping slate tiles. Then, push the electric tile stripper over the floor to remove the slate, but ensure it does not build up in front of the stripper; otherwise, it may damage the machine.
Step 4: Remove the Slate Shards
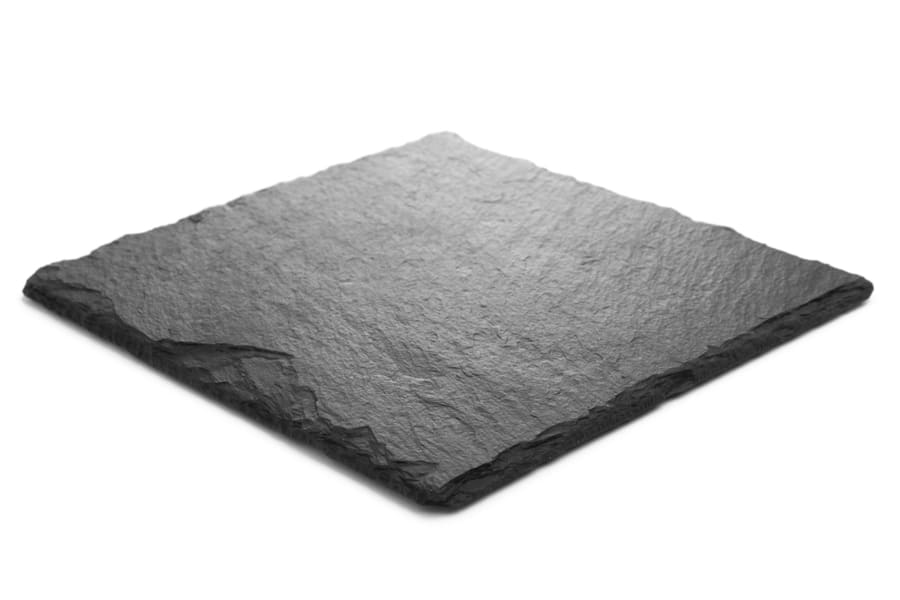
Sweep the floor and remove the broken slate tiles. Removing the slate shards makes it easy to keep track of the work progress and identify areas where the slate needs to be evenly removed. Use a dustpan to collect the slate shards and empty them in a large garbage can.
You can also use a vacuum machine, which helps eliminate tiny dust particles, which is excellent. If there are big chunks of slate on the floor, remove that by hand, so you don’t damage the vacuum. Ensure that other furniture and porcelain fixtures are out of the way when removing the slate to prevent accidental damage.
Step 5: Remove Old Adhesive
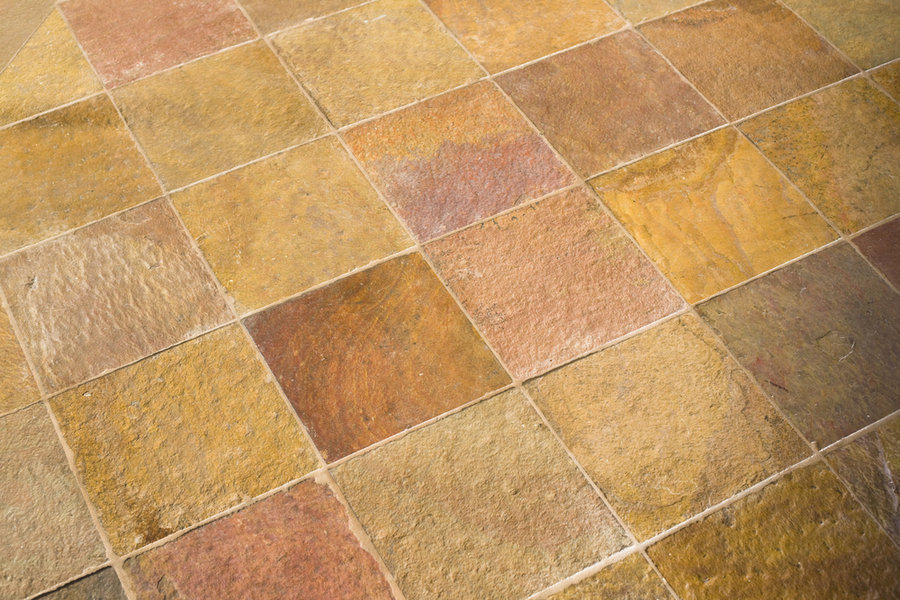
After removing the slate tiles from the area you want and cleaning it, you can remove the adhesive used to hold the slate on the subfloor. You must remove the glue so that whichever floor finishing you put next is not ruined by the old adhesive from the slate finishing.
Unfortunately, to remove the adhesive, you have to go back to using a chisel and putty knife. The adhesive is so strong you can’t use a solvent to dissolve it, so it would not affect the subfloor. It would be best if you took the time to scrape off all the adhesives. You can also use sandpaper to smoothen the area to remove all grit from the floor.
Takeaway
Removing slate tiles from concrete is difficult, time-consuming, and expensive. It’s a project one person can handle, depending on the room size and your dedication. But make sure you are always on your PPE to ensure broken slate edges don’t hurt you while breaking it.
Frequently Asked Questions
Should I Turn Off My AC Unit When Removing Slate From Cement?
Removing slate from cement is a dusty procedure. So, turn OFF the AC and open the windows to allow cross ventilation in and out of the house.
Do You Need a Skip Bin When Removing Slate From Cement?
No, removing slate from cement doesn’t need you to hire a skip bin. Even though the task is very messy, with a lot of debris and slate particles, you can quickly dispose of the broken slate in the trash bin.


