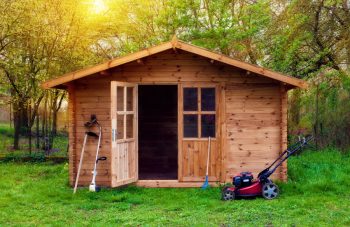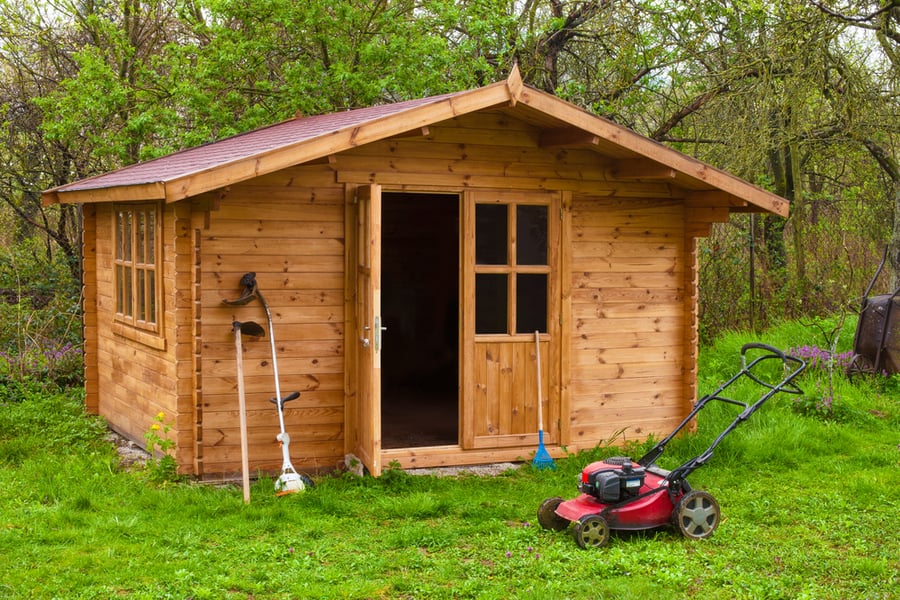
Do you need to remove the shed in your backyard because you no longer use it? Or are you hunting for a comprehensive guide to help you tear down your shed easily? In both cases, you have landed on the right blog.
We know sheds aren’t made to last forever; they can get damaged or rusted with time.
So whether you need to clean up your space or want to replace your old shed with a new one, this guide will help you deconstruct your existing shed smoothly.
So without further ado, scroll down to learn seven easy steps to dismantle your shed.
Deconstructing your shed might seem like a long and challenging task, but it is easy if you follow the following seven steps:
- Develop a proper plan to dismantle your shed. Then, get a required permit and gather all the necessary equipment for the process.
- Remove all the accessories like household waste, pesticides, and gardening essentials from the shed and sort them out.
- Remove all non-structural parts, such as unhinged doors, windows, and shelves, from your shed to make it lighter.
- From the roof, hop on a ladder and remove the shingles and underlayments.
- Once you have removed the roof, remove the walls one by one by removing all the attachments.
- Last but not least, get rid of the floor of your shed.
- Now sort out all the parts of your shed. See what you can reuse, give way to, or discard.
Items You Will Need
Fortunately, tearing down your shed does not require any heavy or special tools.
Just gather the following equipment to get the job done:
- Ladder
- Pliers
- Screwdriver
- Hammer
- Chisel
- Crowbar
- Roofing shovel
- Thick gloves and boots
- Safety glasses
7 Simple Steps To Tear Down Your Shed
Step 1: Plan and Prepare
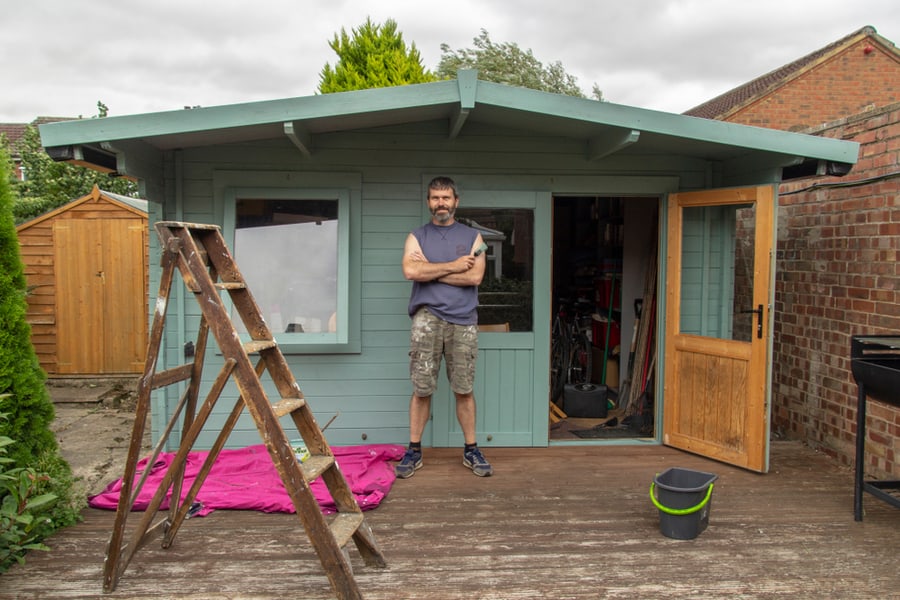
Thinking about what you’ll need to plan to tear down a shed? This project requires you to follow a proper course of action like everything else.
You have to think about the equipment you will need and figure out what to do first and what to do next.
Furthermore, before demolishing your shed, some cities require you to obtain a permit from the city government, so check the legalities to avoid getting into trouble.
In addition, a demolished shed leaves you with a lot of trash to dispose of.
Therefore, prepare to dispose of the leftovers before you get to work.
Do not forget to turn off all utilities running to the old shed. In addition, it is recommended that you hire a professional to remove any pipes or wires attached to the shed.
Step 2: Remove All Items From Your Shed
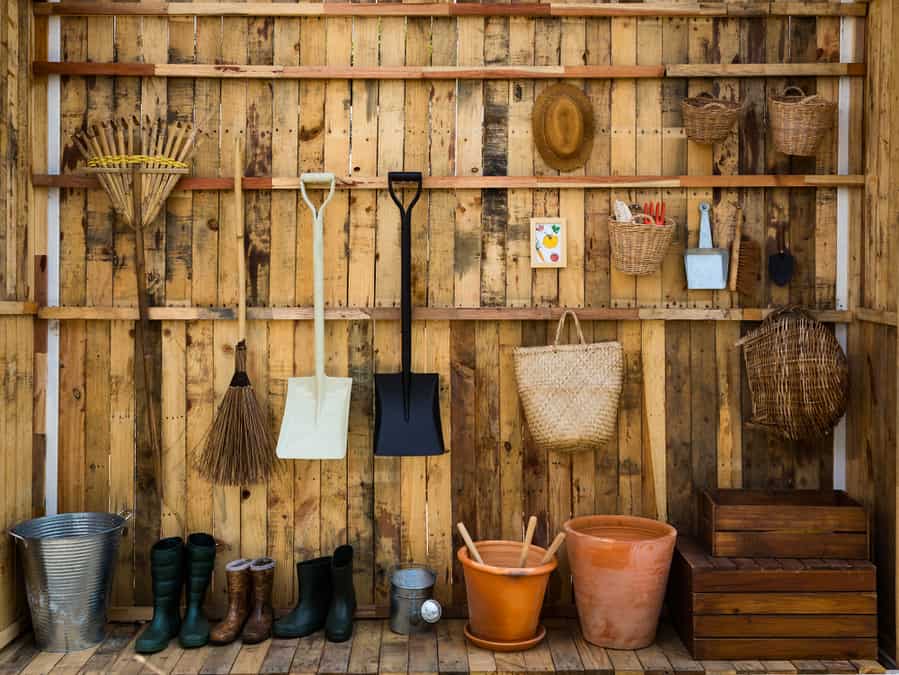
Now that you have developed a plan inspect your shed and get ready to remove all items from it. An empty shed is easier to clean than a loaded one.
Take out everything and sort it out. See what you can reuse or recycle. If you have old household waste like wood or metal that is useless, consider donating it to someone who might know how to use it.
Hazardous waste, such as insecticides and pesticides, cannot be disposed of in any nearby landfill. Instead, find out where your city government allows hazardous waste disposal.
And to get rid of the remaining non-hazardous waste, drop it in a scrapyard or landfill.
Step 3: Remove Non-Structural Parts
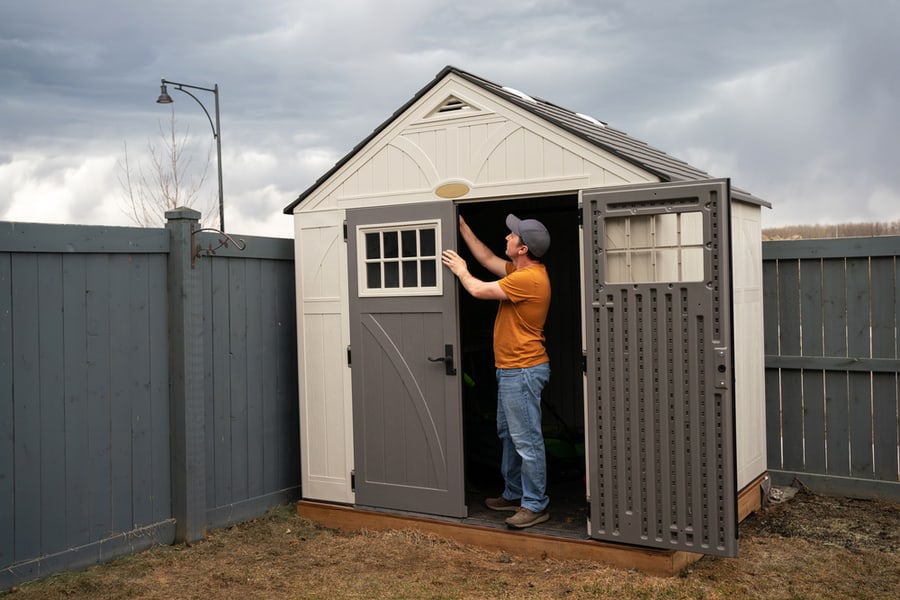
Before you start removing walls or the roof, get rid of the non-structural attachments in your shed. For example, remove the unhinged doors using your screwdriver.
You can either pop out the door or remove the entire hinge to get rid of the doors.
Next, come to the windows in your shed. Carefully remove them using your chisel, hammer, and screwdriver. Removing windows at this step is better to avoid breaking the glass later.
In addition, remove all the wall fixtures, storage accessories, and shelves from your shed to make it lighter for dismantling.
Step 4: Start With Tearing Off the Roof
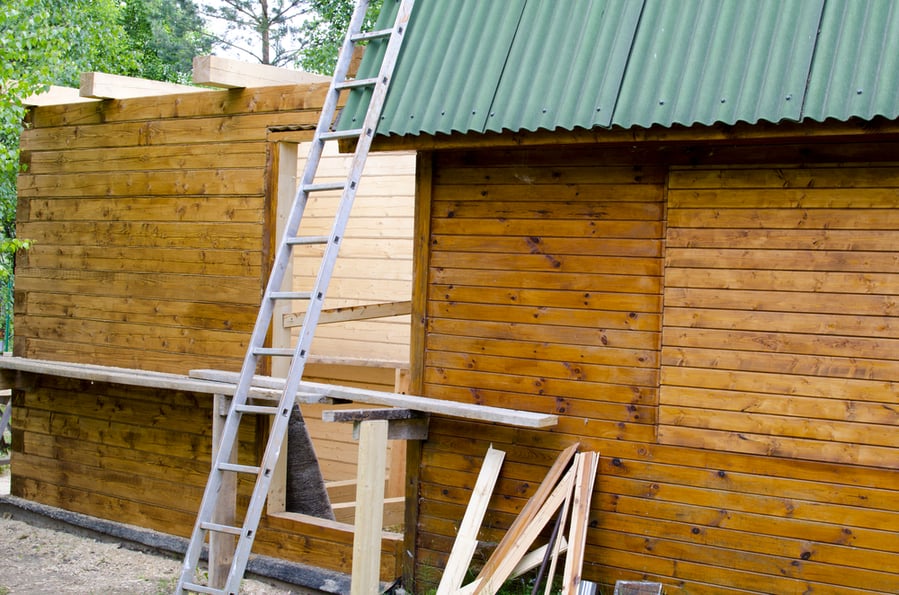
As you remove parts of your shed, it will become more unstable. So it is better to work your way from top to bottom.
Take your safety gear, like gloves, and stand on a flat surface when working on top.
Shingled Roof
If your shed has a shingled roof, use a hammer and shovel bar to remove the shingles one by one. Keep throwing the shingles into the dumpster to avoid a pile of trash.
Remove the underlayment and sheathing boards from your roof to expose the rafters.
Once exposed, remove the nails, screws, and rafters using a crowbar and hammer. Next, please take off the remaining parts of your roof and dump them.
Metal Sheet Roof
To remove the sheet metal roofing of your shed, start from the peak and pull out all the nails and screws holding the sheets.
If your roof has rafters, remove them with a hammer; if they don’t come out, use a saw and cut to pull them out from the joints. Once removed, toss the waste into the dump.
Do not rush when dismantling your roof; work slowly in sections, ensuring the safety of yourself and those around you.
Step 5: Remove the Walls of Your Shed
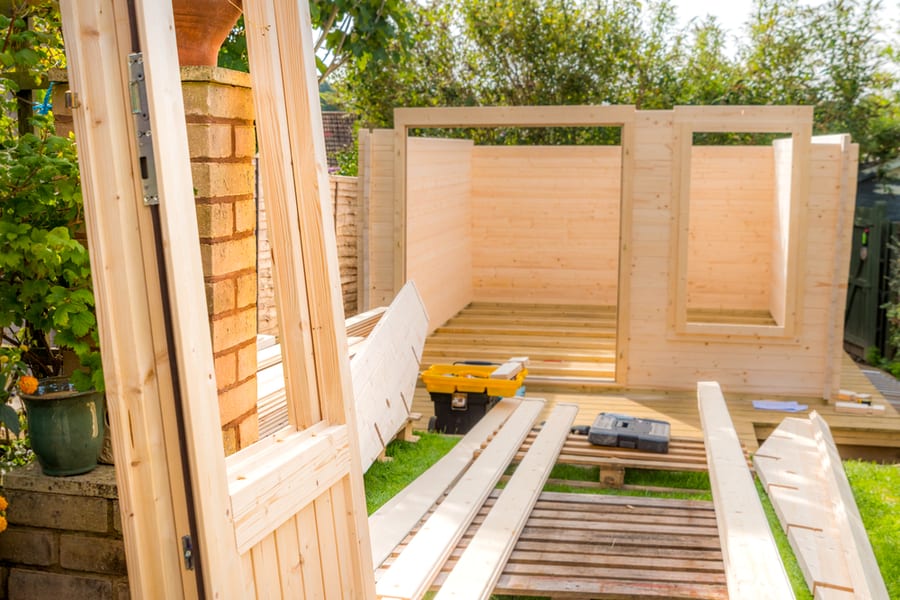
If you want to reuse or recycle your shed’s sliding doors, then be gentle on them. Also, remember that as you remove individual shed walls, the ones that remain become more unstable.
So, it is better to take the help of a partner to stabilize the frame of your shed while you work.
Start from the wall holding the door, as it is easier to remove. Next, look for all the attachments and remove them using a hammer and screwdriver.
If your shed walls connect with the floor or adjacent walls, inspect all corners and remove all attachments.
Once removed, knock the wall gently from the inside until it falls to the floor. Remember not to apply too much pressure to avoid falling to the ground with the detached wall. Then, repeat the steps to get rid of all four walls of your old shed.
Step 6: Get Rid of the Floor
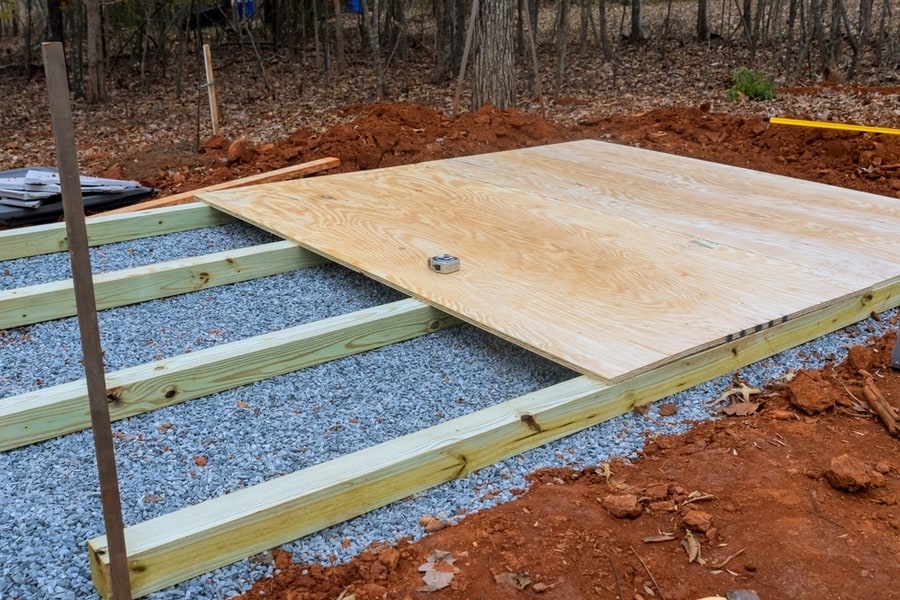
Once you have removed the roof and the walls, the last part-floor removal. If your shed has the floor, pry up its planks with the help of a crowbar.
Remove all the floorboards and check if your shed’s legs have fasteners. If so, remove them to take them off the ground.
If your shed does not have a wood floor, it might have a concrete slab you can reuse, give away, or dispose of.
Step 7: Cleanup Your Surface
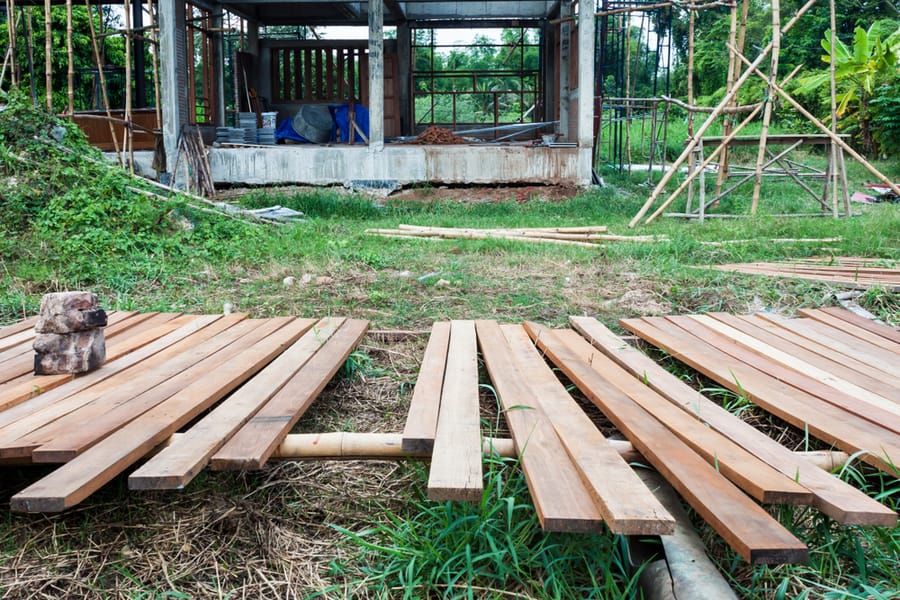
Now that you have disassembled your old shed decide if you will rejoin it later or not. If yes, store the pile of disassembled parts.
If you want to eliminate the mess, sort it out. See what you can reuse, give away, dispose of, and what requires special disposal.
Once sorted out, remove all the parts of your dismantled shed, and you are ready to set up a new one on your surface.
Additional Tips
- Look into disposal or removal services in your area to eliminate the unwanted parts of your demolished shed.
- Consider working on a calm sunny day. Strong wind or rain can make you lose your balance and result in an accident.
- Wear thick gardening or safety gloves to protect your hands from splinters.
- If you have torn down a metal shed, consider taking its parts to any recycling center.
- You can also take the help of disposal professionals to dismantle your old shed.
Final Word
If you want to tear down a large shed, it might take a long time. Therefore, it is advised not to rush through the steps and to allow enough time to remove everything.
Also, if you are demolishing your shed by yourself, take the assistance of a partner to help you through the process. We hope that our blog helped you tear down your shed smoothly.
