Are you remodeling your home and want to add new insulation? Or have you accidentally got foam insulation on your clothes? In both cases, you may be looking for an easy way to break down strong polyurethane bonds.
When spray foam insulation is applied, it forms tight seals, leaves no voids, and forms an impenetrable barrier that is difficult to breach. Despite that, nothing is irremovable or impossible to take off. So how do you remove spray foam insulation on your surface, skin, or clothes?
To help you get out of the woods, we have made a detailed guide to cover all your concerns regarding the removal of foam insulation.
So scroll down and keep reading to learn some simple methods of eliminating spray foam insulation from various surfaces.
Foam insulation is stubborn by nature, which makes it challenging to remove from large surfaces.
However, if you want to make it a DIY task, follow the steps mentioned below to get rid of it:
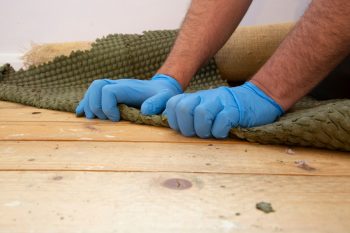
- The chemicals involved in the composition of foam insulation can be dangerous to inhale. So it is mandatory to wear a mask, protective clothes, and hand gloves to prevent exposure to hazardous fumes.
- Before working on the removal of insulation, let it dry completely. Hardened insulation is easy to remove and less hazardous.
- Once hardened, use a saw or knife to remove the foam insulation from the surface.
- Use a scraper or bristled brush to get rid of the stubborn remains of stain insulation.
- If you still have insulation on your surface, try treating it with acetone to break down the polyurethane bonds.
- Finally, clean and wipe the subfloor to give it a fresh look.
Want to learn how to remove foam insulation from clothes or your skin? We have also covered that. Read the full blog to learn some easy methods of polyurethane insulation removal.
Removing Spray Foam Insulation From Hard Surfaces
Step #1: Take Your Safety Gear
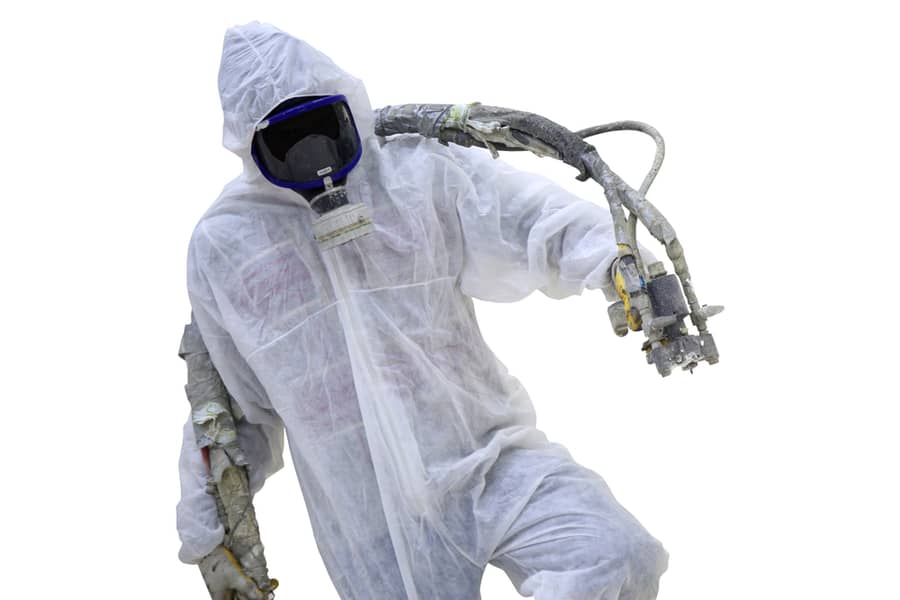
Working with spray foam insulation can be hazardous. It contains concentrated chemicals such as polyol resin and isocyanate. When these two chemicals react together, they expand and contract, releasing harmful chemicals that can affect the health of your lungs.
It is, therefore, crucial to take safety measures. Put on a safety mask to prevent inhaling the fumes, gloves to protect your hands, and protective clothing.
Step #2: Let the Insulation Dry

The chemicals in foam insulation are more hazardous in liquid form than when they are hardened. Moreover, it is easier to remove in dry form. So, before starting the removal, let the insulation completely dry.
Step #3: Remove the Foam Insulation From the Surface
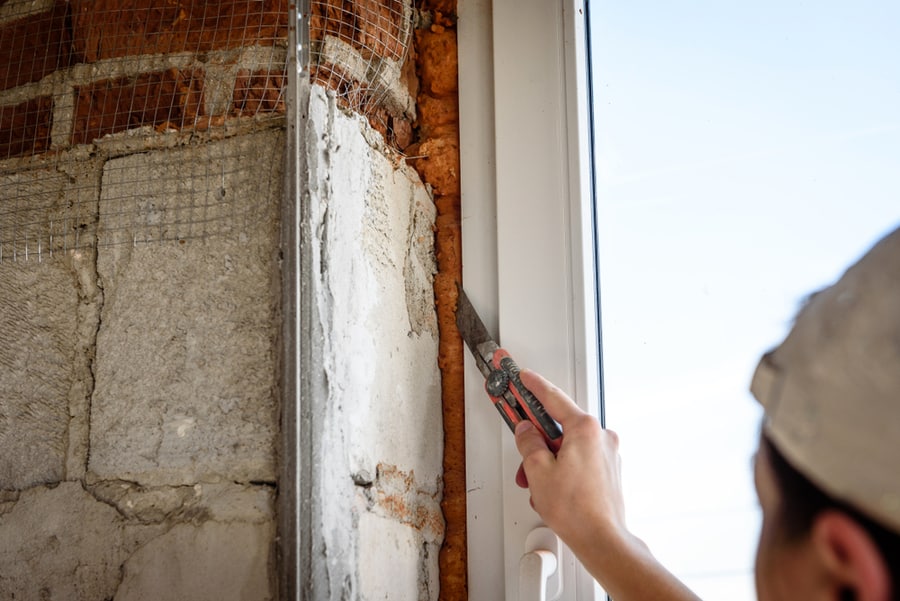
Once the insulation has hardened, it can be removed with the help of a knife, saw, or any pointed tool. To prevent scratches on your subfloor, remember not to scratch the area with the tip of your instrument. If you have to remove the insulation from a cavity, use a chisel or a hammer to rip it out.
Be cautious not to damage the electrical wires concealed under the foam insulation.
Step #4: Eliminate Any Remaining Foam Insulation
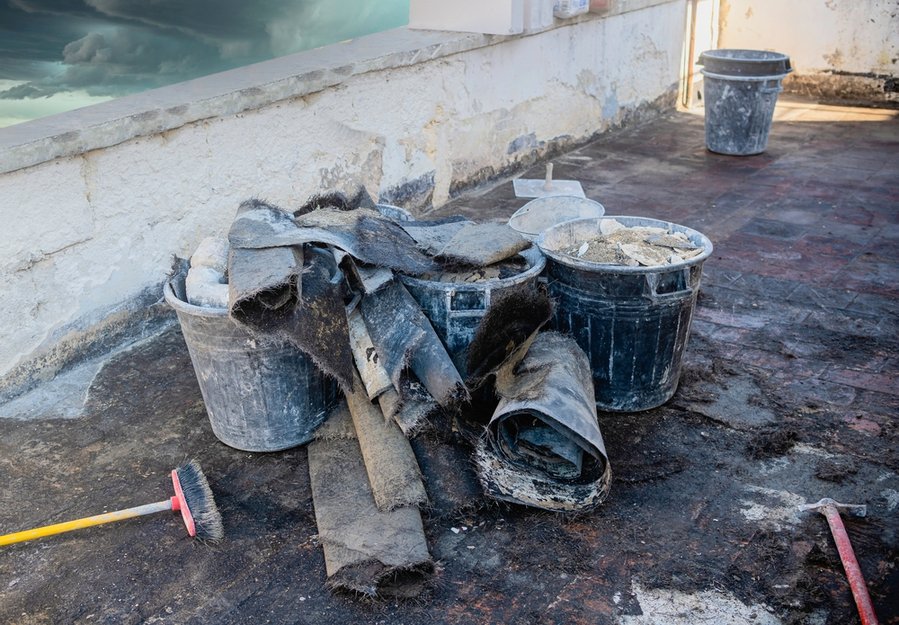
Use a paint scraper or a bristled brush to remove the stubborn, uncured remains of foam insulation. But do not attempt to wipe them with a wet towel, as this will activate the chemicals in the insulation. Instead, rub the remains with a scrapper on your wood, brick, or concrete surface.
Step #5: Use Lacquer Thinner
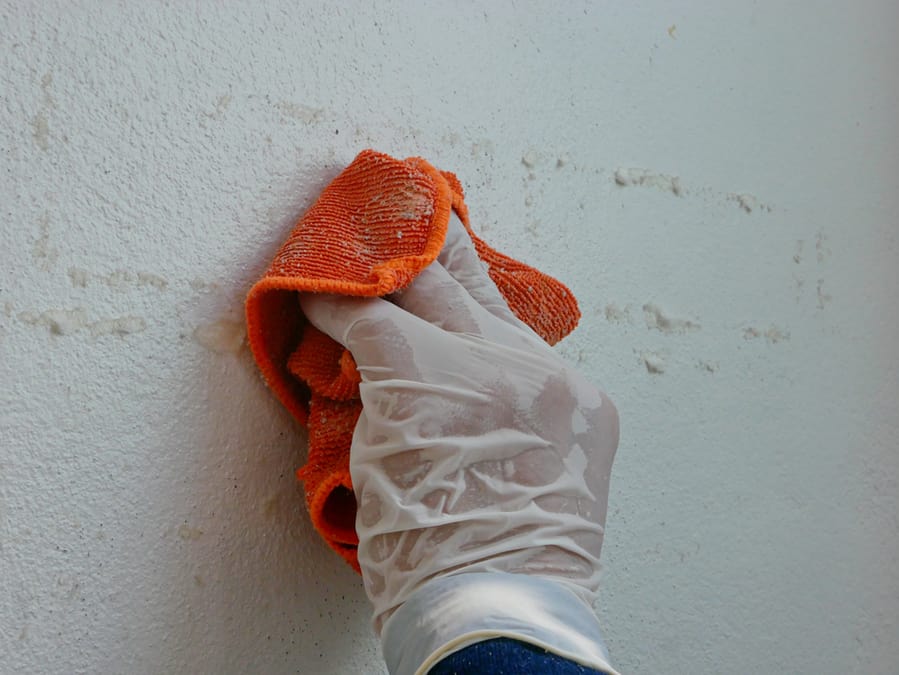
Lacquer thinner is a mixture of solvents that can break the bond of the remaining polyurethane on your subfloor. Also known as cellulose thinner, it is used by professionals to get rid of the remains of foam insulation on any surface.
If you don’t have the lacquer thinner on hand, use a nail polish remover instead. It also contains acetone, which helps dissolve the uncured foams of polyurethane.
Step #6: Clean Up the Surface
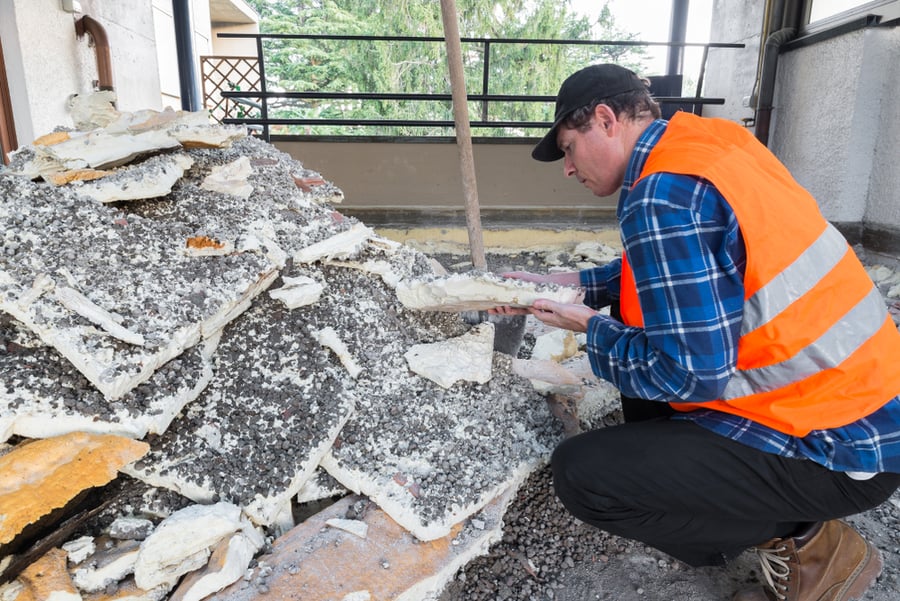
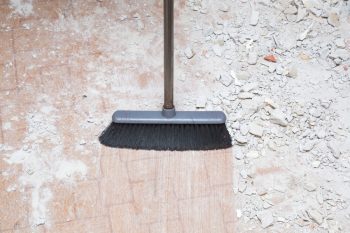
Once you are done working on all sections of your surface, clean it with a bristled brush. Inspect the surface to identify any missed spots. If you find any, repeat the steps to get rid of them.
Finally, wipe out the subfloor with a damp cloth or scrub it with mild detergent to give it a fresh look.
Removing Spray Foam Insulation From Clothes
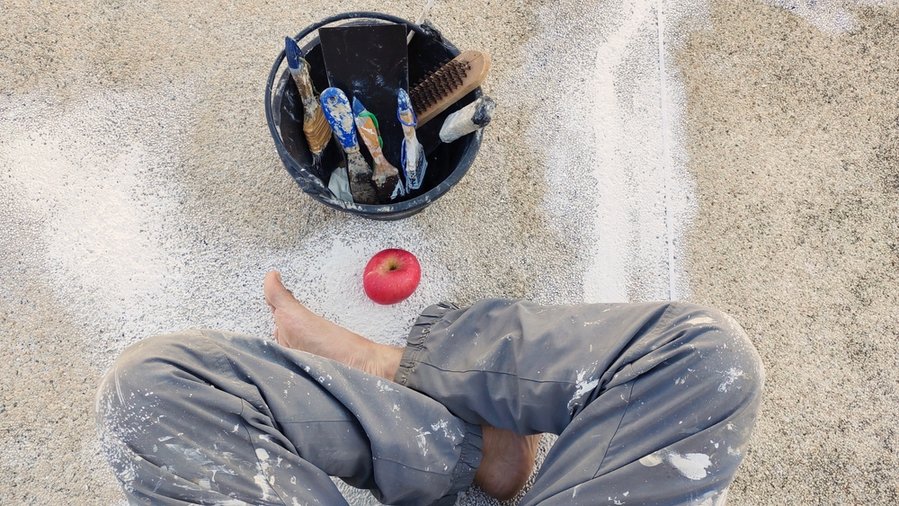
As soon as the foam insulation gets on your clothing, start working on getting it off before it dries. Dried foam insulation is nearly impossible to remove without affecting the fabric’s quality. Therefore, act immediately and use a dry rag to take off the wet insulation on the clothes.
Dampen the rag in the acetone solution (nail polish remover) and apply it to the affected clothes. Rub the cloth gently to break the bond of the insulation chemicals, and wash it with cold water and mild detergent to restore the look of your clothes.
Removing Spray Foam Insulation From Skin
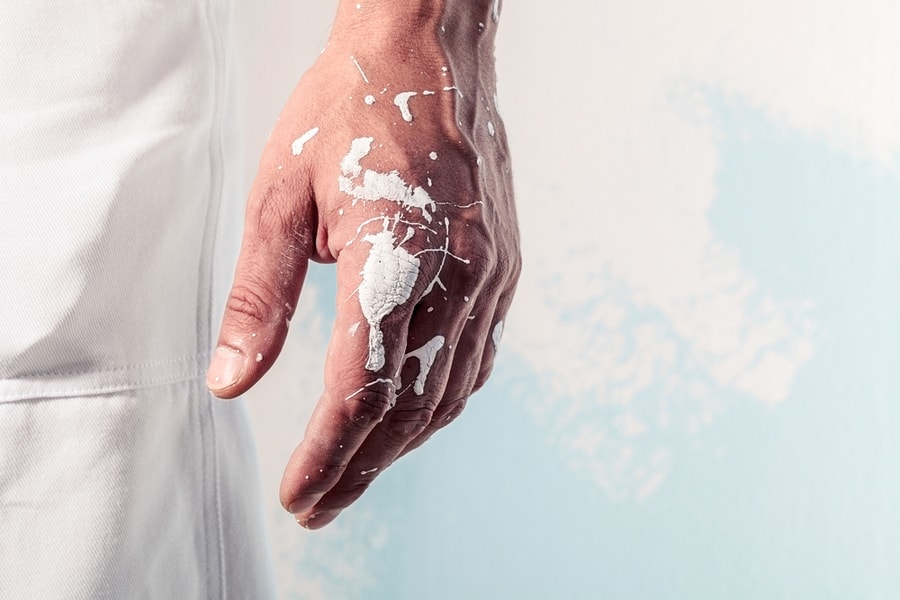
As mentioned above, whenever working on a DIY project, do not forget to wear safety gloves to avoid any skin contact with chemicals. However, if you already got insulation on your hands, do not worry. Like removing insulation from clothes, clean it before it dries.
Use a dry rag to get rid of the wet foam, and then soak it in acetone to remove the remaining insulation. Now, please wash your hands with soap and apply lotion to your skin to moisturize it.
It would be tedious to remove dried and hardened insulation from your hands. Apply a gentle amount of petroleum jelly to your hands and wear plastic gloves. Let it rest for 50-60 minutes until the insulation is soft again.
Now remove the gloves and wash your hands with lukewarm water.
The Bottom Line
Your safety must be your priority. So, suppose you need to remove foam insulation from a large area. In that case, we advise hiring a professional removal service since separating the insulation bonds from hard surfaces is difficult.
Still, if you have decided to do the job, follow the abovementioned steps, and don’t forget to take your safety gear.
