Felt is an iconic and unique textile material made from natural fibers. The fibers are compacted, which gives the effect of a soft texture on the surface of the felt.
While gluing felt to wood creates an aesthetically appealing look, it tends to soak up the glue and can be messy. So, how do you glue felt to wood?
To glue felt to wood, apply a thin layer of adhesive and press the felt to the wood until it dries. Although there are a few things to consider to ensure the project is successful.
These Include:
- Type of felt
- Type of adhesive
- Wood’s surface nature
- Drying time
Applying too much glue doesn’t equal stronger adhesion; instead, it will create a mess.
This article will walk you through easy steps to glue felt to wood.
Steps To Glue Felt to Wood
Gluing felt to wood can be successful if you know the steps.
So, whether you are trying to line the inside of your jewelry drawer or box with felt or to prevent scratches on your wooden furniture.
Below are the steps to follow to glue felt to wood easily:
Step 1: Choose the Right Felt and Glue
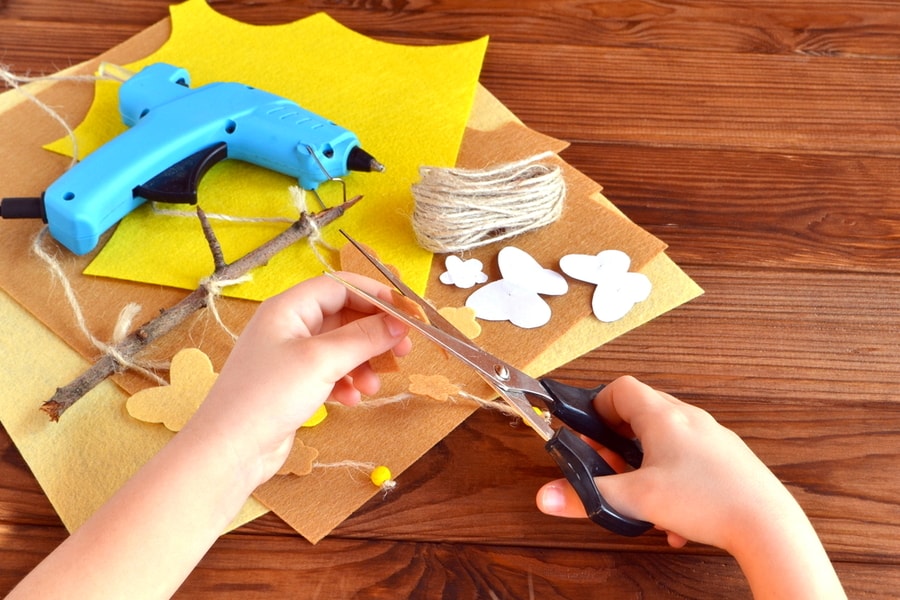
The common problem people often face when trying to glue felt to wood comes from the type of felt they use or the type of glue.
Felts stretches when handled. So, the felt you choose must be compatible with the wood and glue you plan to use.
If the felt you get stretches too much and the glue you’re using is too watery, you will fail in securing the felt on the wood surface.
Hence, it is advisable to use wet cement, tacky glue, craft PVA glue, hot glue stick, and so on, depending on the nature of the wood surface and the felt you’re using.
Step 2: Cut the Felt

After choosing the right felt to use for the project, the next thing to do is to cut it. Cutting the felt can be straightforward if the area is flat and easy to access.
But surfaces that are difficult to reach with different angles and corners can be challenging.
For such projects that are hard to reach, it is advisable to use cardboard to make a template first. You can then lay the template over the felt to cut it.
Also, do not make the mistake of cutting the exact measurement of the surface you are working on. Instead, ensure you leave enough room around the edges so the glue will have something to grip.
Step 3: Apply the Glue

At this point, apply the glue to the wood surface and the felt. The reason for applying the glue on both surfaces is to ensure you get proper adhesion.
Also, ensure you apply a thin layer of glue so it dries quickly enough to create a strong bond.
But before you apply the glue on the surface of the wood, don’t forget to tape areas where you don’t want the glue.
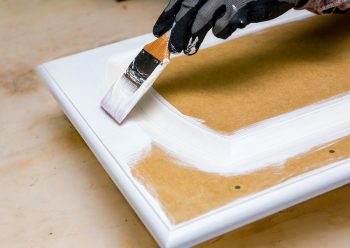
Tapes help ensure you precisely glue the felt to the wood. Except you’re using spray glue, use a form brush to spread the glue on the surface to ensure that it is evenly spread over the surface.
Step 4: Place the Felt on the Wood
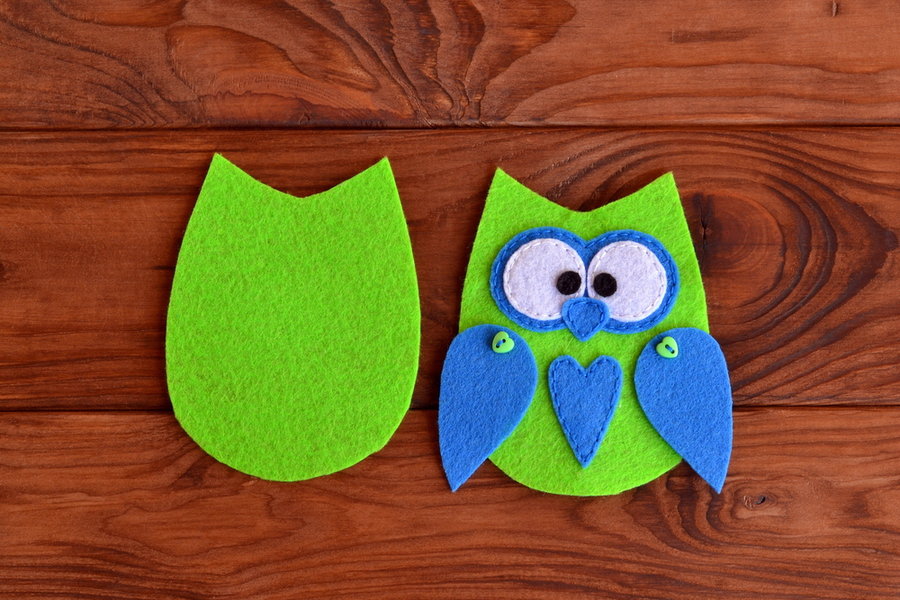
After applying enough glue, you can remove the tapes and lay the felt on the wood. Ensure you line the felt on the wood perfectly.
You can then flatten and smoothen the felt out with your hands or a roller to get a smooth covering with no wrinkles or bobbles under the felt.
If the surface on which you are placing the felt has angles or corners, use a scraper to press the felt in place so that the felt bonds to those difficult places properly. While placing the felt on the wood, try not to stretch it.
Step 5: Let It Dry

After placing the felt on the wood and you are satisfied with how it looks, then allow it dry. Depending on the glue you use, it can take about 24 hours or more to dry.
So, ensure that after placing the felt on the wood, you don’t move or disturb it until it dries completely.
If the project is moveable, place it in a well-ventilated area to hasten the drying process.
If it is not moveable, you can use a blow dryer to speed up the gluing process for the first few minutes before allowing it to cure slowly for at least 24 hours.
Step 6: Trim off the Excess Felt
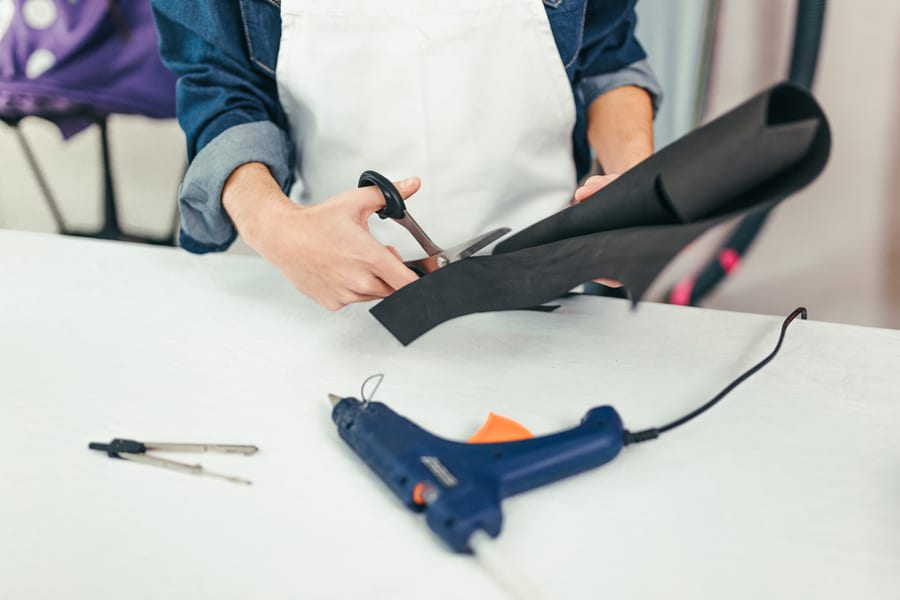
You can trim off the excess felt around the edge when the felt is completely dry. For this, use sharp scissors or a razor blade.
Take your time trimming off the excess felt, as you want to be as precise as possible to leave a clean cut. Also, be careful not to cut the wood while trimming the excess felt.
Step 7: Seal the Edges
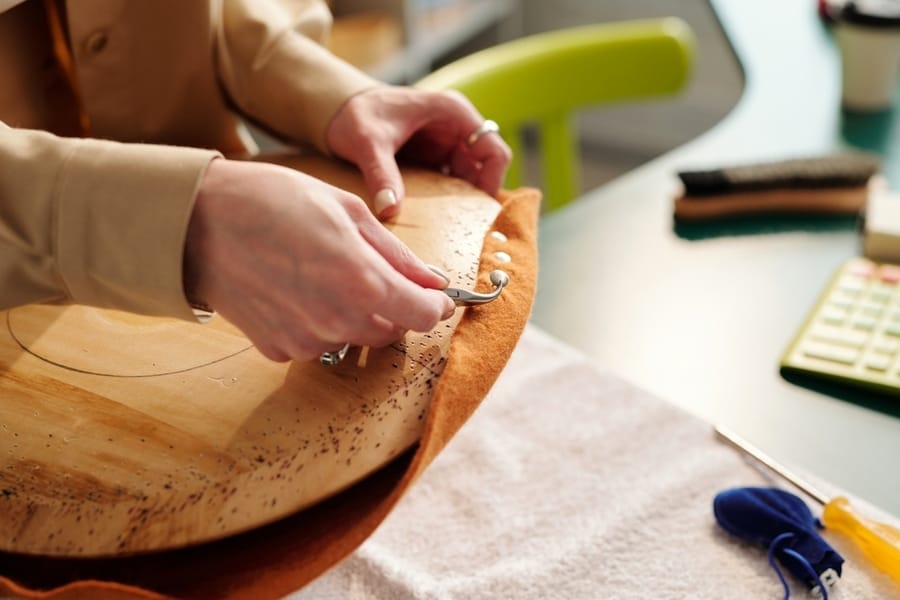
When trimming the felt’s edge, you can work on finishing the edges to prevent them from being wonky or wavy. First, use a dowel rod to flatten the edge, and then apply a sealant that dries to become clear and not yellow or opaque.
Takeaway
When you want to glue felt to a piece of wood, you need high-quality felt and the correct type of glue. It would be best if you also had patience, as gluing felt can be quite messy.
Gluing felt to wood is not a hard project, but if it’s your first time, you may want to try it with a spare wood to know what to expect.
Remember to apply pressure to the felt when you apply the glue evenly and allow it to dry properly before handling it.
Frequently Asked Questions
What Kind of Felt Should You Use on Wood?
The best type of felt to use when you want to glue it to wood is 100% wool felt. This felt type is more durable and will not fray easily with time. Wool felt also bonds better with adhesive.
Can You Sew Felt to Wood?
Yes, you can sew felt to wood, but the wood must be softwood. Also, you will need a strong needle and thread. If you have hardwood, it is best to glue the felt to it.
