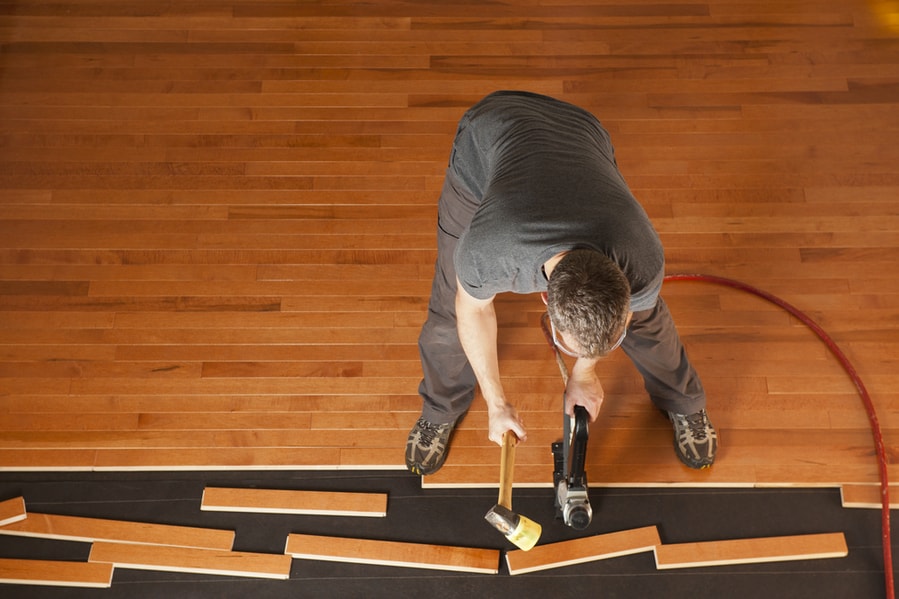
Wood flooring is a popular choice in our homes for a reason. It’s timeless and elegant (not to mention easy to clean and allergen friendly). And wood floors can take a beating, lasting for decades if cared for properly and refinished occasionally.
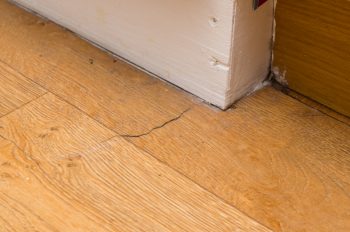
But if you’ve got gaps in your pre-finished hardwood floors, you’ve got a problem. The elegance of hardwood disappears when eyesores like gaps show up. Gapping in your hardwood floors is a sign the floor was laid incorrectly – let’s look at some solutions to fix your gaps.
There are several reasons your hardwood floors are gapped. Either the flooring was exposed to too much liquid or was installed incorrectly. The installer may not have dealt with bowed boards appropriately, allowed the flooring to fully acclimate, or installed the flooring too tightly to your home’s walls.
Don’t worry; we’ll talk about easy ways to fix and fill the gaps in your hardwood floors. If you’re lucky, those gaps might have disappeared by the end of the day.
More drastic measures must be taken if your floor has widespread gaps across the flooring. You’ll need to replace and re-lay some or most of your floor.
Let’s look at your situation and see which solution is right for you.
Gaps in hardwood floors don’t just look bad – severe gaps are a sign that the floor was laid poorly and will only worsen as the floor ages. So don’t ignore gaps – fix them. This article will cover the best ways to fix the gaps in your pre-finished hardwood floor.
Why Your Hardwood Flooring Is Gapped
Some minor gapping can be expected in a well-installed hardwood floor. However, if your floor is exhibiting widespread gapping, it’s a sign that the flooring was installed improperly. There are a few ways that a floor can be installed poorly that will cause gapping, which we will examine.
1. The Installer Did Not Fix the Bowed Boards
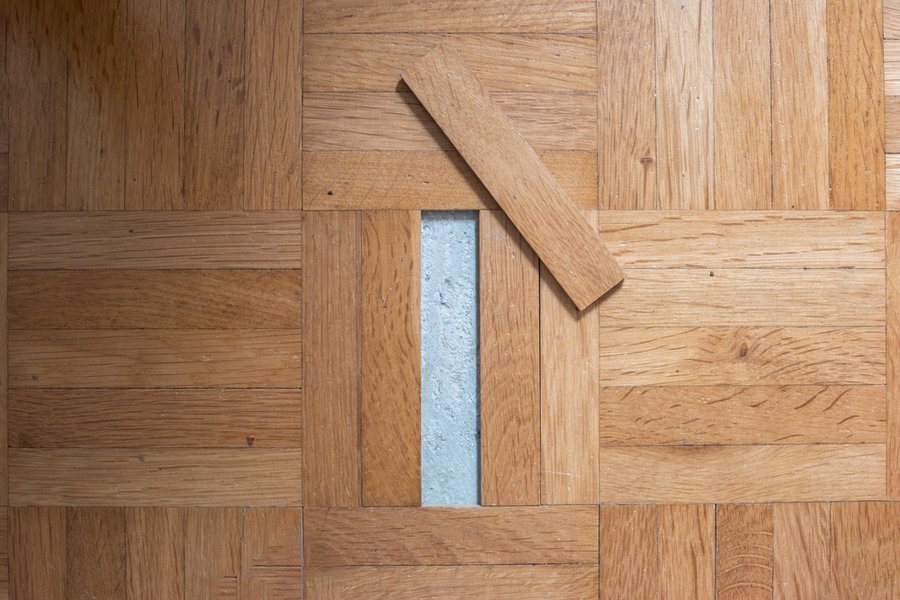
Hardwood flooring is a natural product, so imperfections and variety are baked into the cake. This includes bows.
Any seriously bowed boards should be discarded for firewood. They have no place in your home.
Minor bows can be remedied with a hammer and flathead screwdriver. First, pound the screwdriver into the subfloor, tight to the tongue of the flooring, and pull back on the screwdriver until the board is tight to the previous piece of flooring. Next, attach with flooring staples or nails, and repeat the process for the length of the board.
2. The Flooring Was Not Adequately Acclimated
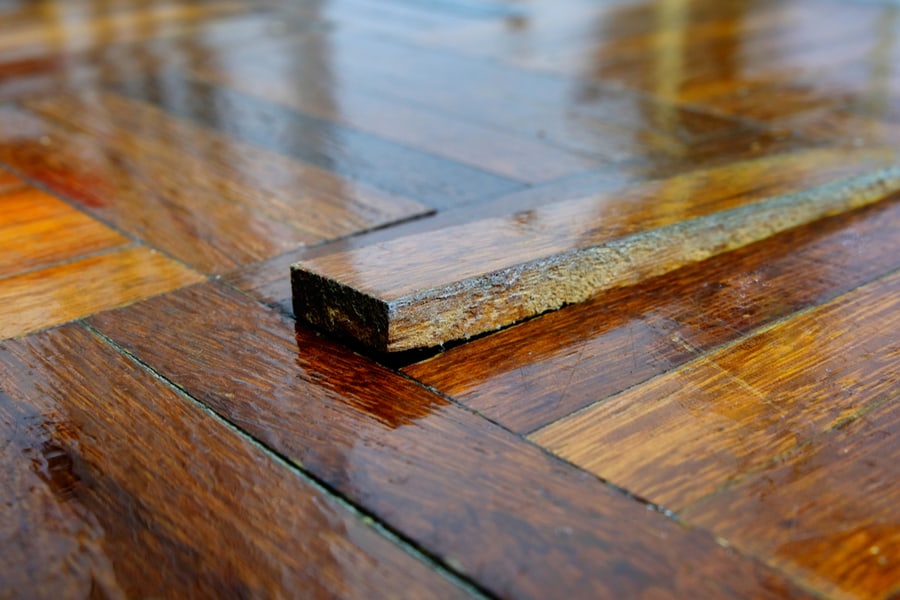
Wood flooring needs to acclimate before installation. Acclimation allows the wood to come to the same temperature and humidity level of the room it will be installed in. Therefore, wood flooring should sit in the room it will be installed in for at least a day before installation, preferably a week.
Failure to acclimate wood flooring properly means it will be a different temperature and moisture content than the room. As the wood shifts in temperature and moisture level, it will expand or contract accordingly. These expansions or contractions can cause gapping.
3. The Flooring Was Installed Tight to the Walls
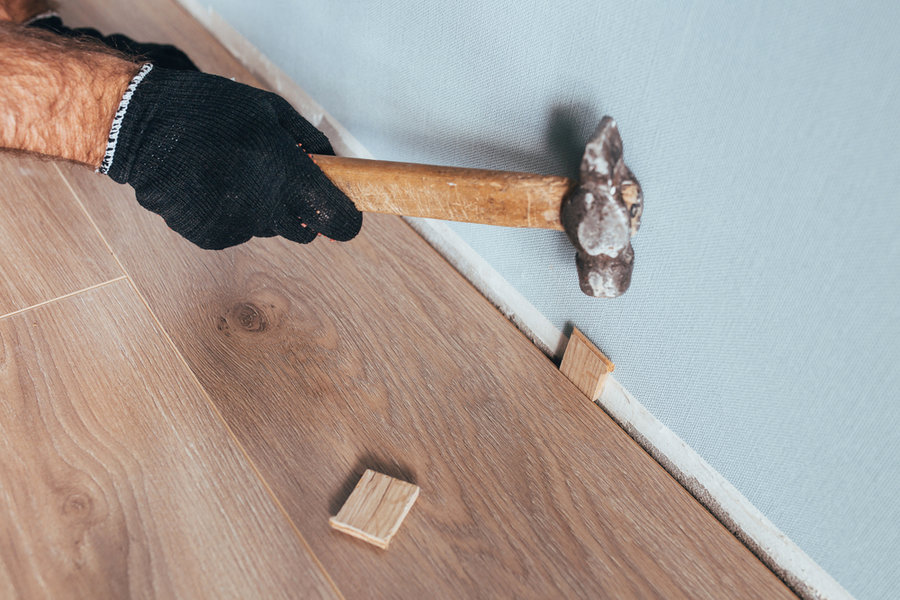
Wood flooring needs room to breathe. It’s not intended to be installed tight to the walls or baseboards – if it is installed tight, it has nowhere to go when it expands. So, when the flooring expands, it pushes against the other flooring, causing swelling in warm weather and gapping in cold weather.
It would help if you always allowed a gap of at least 1/4″ between wood flooring and walls. Then, cover this gap with shoe molding or quarter-round.
4. The Flooring Got Too Wet
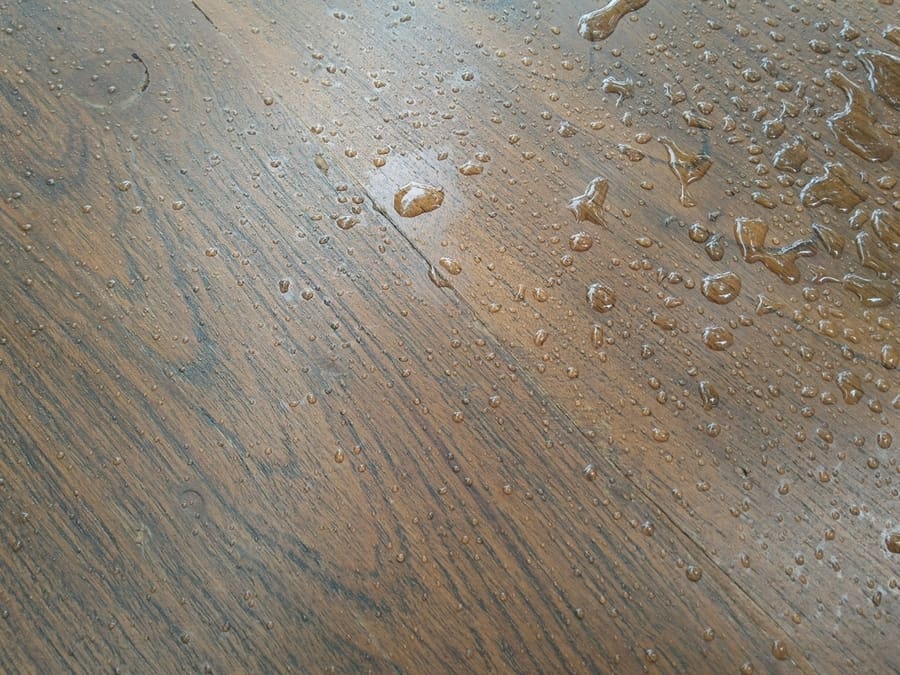
This one probably isn’t the installer’s fault. But if pre-finished hardwood floors are exposed to too much liquid, they can swell or gap.
Polyurethane is a barrier that protects your floor from water and other debris. Pre-finished floors are durable but weak- the joints they meet are not fully sealed with polyurethane. So when too much liquid is spilled or used to clean the floors, the water can work between the joints and get into the unfinished wood below.
Mop your hardwood floors with a slightly damp mophead. If you use too much water, the water can get into the unfinished wood and cause swelling, bowing, and gapping.
Towel dry your floors after mopping. Wipe any spills immediately, and clean your flooring after spilling.
When To Fill Your Gaps
Summer is the best time to fill gaps in your pre-finished hardwood floors. Wood expands and contracts with shifts in temperature. In the colder winter, wood can contract and make the gaps look worse.
When it’s summer, the flooring will be at its maximum expansion. This is the time to fill those gaps, as they will only get more significant in the winter. Fill them in the winter, and when the wood swells in the summer, the fill material may get pushed out.
How To Fix Gaps in Pre-finished Hardwood Floor
There are two fixes for gapping in hardwood floors – easy and doable. If your floor has sporadic, minor gapping, you can get away with one of the quick fixes below. However, if your floor is substantially gapped in many areas, you’ll need to pursue a more involved fix.
Quick Fixes
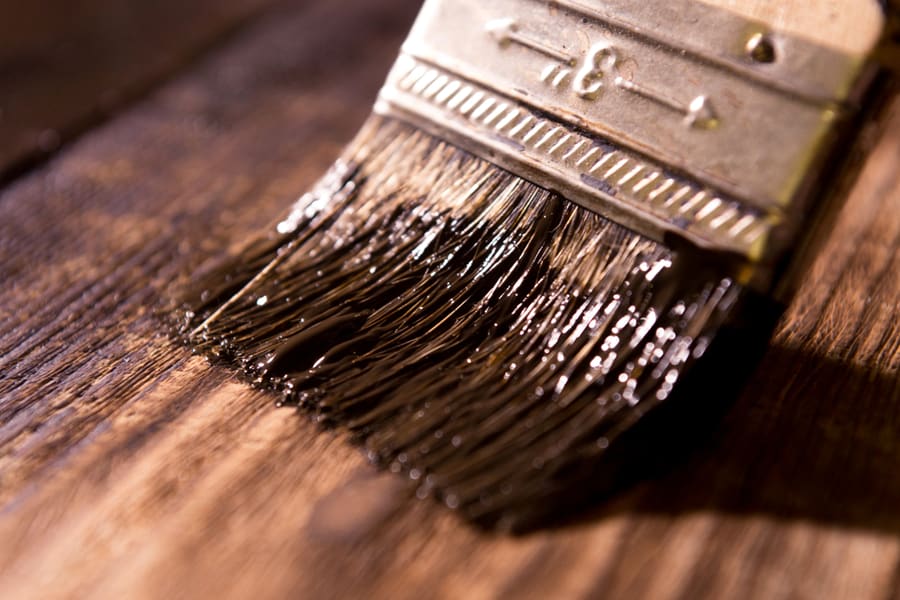
Two quick fixes can mask minor gaps in your flooring. One or a combination of the two might be just the ticket to making your gaps a thing of the past. Before fixing, remove debris from the gap using a putty knife or painter’s tool, and use a shop vacuum to clean up any dislodged debris.
1. Add Matching Stain to Gaps
If the gaps in your hardwood floor are thin and expose the unfinished tongue of the flooring, you can try staining the raw wood to match the flooring. Take your flooring sample to your paint store and have a stain matched.
This technique is particularly effective for dark floors. Adding stain will blend the raw wood with the finished flooring and make your floor appear seamless. Unfortunately, the stained wood will not be protected by polyurethane, so you’ll need to keep the stained area free from water.
Tools you’ll need:
- Putty knife or painter’s tool
- Matching stain
- Paintbrush
- Rag
- Paint thinner
Apply some stain to a paintbrush, and wipe the stain into the gap in your hardwood floor. Use your paintbrush along the entire length of the gap until all unfinished wood is stained. Wipe any stain that got on your finished flooring with a rag.
Clean your brush using paint thinner.
2. Fill With Color Putty
Minor gaps can also be filled with color putty to make them disappear. Take a sample of your flooring to the hardware store and buy a color putty to match the finish. Multiple color putties can be blended to achieve a better color match.
Tools you’ll need:
- Color putty
- Rag
- Putty knife or painter’s tool
Apply the color putty to the gap using a putty knife or painter’s tool. Make sure to work it in and fill the entire gap, or the putty will settle, and you’ll have to add more later. Wipe away any excess putty from your flooring with a soft rag.
More Difficult Fixes
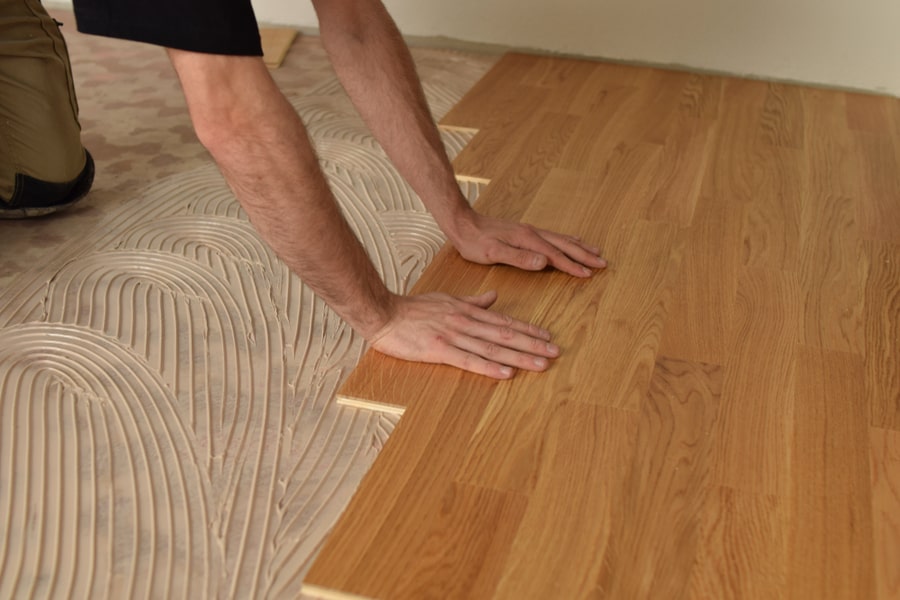
If your hardwood floor is severely gapped in multiple spots, it was laid improperly. The only way to correctly fix it is by removing and replacing some or most of the flooring. This is a messy, labor-intensive process, and hiring a professional might be worth exploring.
1. How To Replace a Few Flawed Boards
If you’ve only got a few problematic boards, you’ll need to remove them and replace them with new flooring. First, cut the offending boards out with a circular saw set to the same depth as your wood flooring. Next, make several cuts on the floor, making removal easier.
Wood flooring is typically tongue and groove and can be difficult to remove. Flooring staples are heavy-duty, and any staples exposed in the removal process should be removed. Once the boards and staples are out, vacuum the area thoroughly.
Next, you’ll need to mill new flooring to the correct dimensions on your table saw. Cut them to length on your table saw or with a miter saw. Then, using a router, mill a new tongue on one side of the flooring and remove the wood to create a lip to rest on the groove on the other side of the board.
Apply construction adhesive where the board will go, then wedge the board into place. Tapping with a block and hammer may be necessary to get the board(s) to lay flat.
2. Remove the Flawed Section of Flooring and Replace
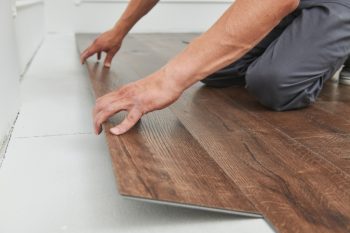
If your gapping issues are substantial and widespread, you’ll need to remove the flooring and re-lay it. First, remove all offending floorboards and staples, then vacuum the room. Next, re-lay the flooring, ensuring the wood is acclimated, isn’t tight to any walls, and isn’t bowed.
Fix Your Flooring
Hopefully, you’ve determined why your floor was gapped and managed to fix it. Some small gapping can be taken care of with some wood stain or color putty.
If the gaps are substantial and widespread, you’ll need to remove and replace some or most of your flooring. This is a labor-intensive process, and you may best call a flooring company if it’s beyond your capabilities.
Frequently Asked Questions
Is My Flooring Factory Finished?
Hardwood flooring is available pre-finished, the most common type of hardwood installed in homes today.
However, hardwood flooring was traditionally finished on-site. Contractors would use a drum sander for sanding the floor after it was laid, then stain and polyurethane the flooring. Hardwood flooring is still installed this way, and this method was commonplace before the 1990s.
If you’re wondering if your flooring was pre-finished or finished on sight, there are a few ways to figure it out. First, do the joints where your flooring meets have beveled edges? If so, it was almost certainly finished at the factory.
Another sign your floor was pre-finished is that you can notice distinct lines where the boards join.
Pre-finished flooring installs quickly and doesn’t require the application of polyurethane – it can be walked as soon as it’s installed. However, the joints where the flooring meet are not protected by polyurethane, and the flooring can get damaged if exposed to excessive water.
Finishing flooring on-site is dusty, and the application of finishes will add several days before the floor can be used. However, once finished, the polyurethane coats and protects the floor’s entire surface.
If you’re still unsure if your floor is pre-finished or was finished on-site, have a flooring professional assess your flooring. They should get you squared away in no time.
