Learning to pour concrete in small spaces is a money-saving skill.
Suppose you are a DIYer looking to get it done with good results. There are tools, materials, and steps involved you should learn.
Therefore, we will cover all the necessary tools and steps to help you pour your concrete into that small space.
Ensuring you have the right tools for the job is important. There are eleven steps to the process. Steps two to nine cover the entire process of concrete pouring.
However, it is recommended that you pay attention to the first step, as safety is the most important bit.
The main items you need at hand are:
- Concrete mix
- Shovel
- Wheelbarrow
- Gravel
- Screed board
These are all you need to get it done. But you should check the full list below to ensure truly pleasing results.
In this article, you’ll learn about all the tools required to pour concrete in small spaces. Moreover, we’ll walk you through each step, so you truly become an expert at the craft.
In addition, you will learn about safety precautions and additional touches to get professional results.
Recommended Tools and Materials

Here’s a list of some tools and materials you need to get started.
Materials
- Ready to use concrete mix,
- Strings and stakes,
- Gravel,
- Duplex nails,
- Concrete sealer,
- Screed board,
- 1-inch by 4-inch boards.
Essential Tools
- Measuring tape,
- Digging shovel,
- Level,
- Hand tamper,
- Hammer,
- Plastic mixing tub, wheelbarrow, or concrete mixer,
- Gallon measuring pail.
Additional Tools
- Groover,
- Bull float,
- Magnesium float,
- Finishing Broom.
Personal Protective Equipment
- Gloves,
- Work boots,
- long pants,
- long-sleeved shirt,
- safety glasses.
If you pour concrete in small spaces, you do not need an electric mixer, vibratory plate compactor, or concrete vibrator.
It can be an exciting project but try to avoid any unnecessary costs.
12 Easy Steps To Pour Concrete in Small Spaces
Once you have all the tools and equipment and the concrete mix, it is time to start the job.
However, ensure that you pick the right weather; otherwise, too much heat or rainfall can ruin your project.
1. Safety Precautions
The most important step in every project is taking the necessary safety precautions.

Ensure that the site is completely safe and there are no legalities involved. Depending on where you live, you might need to contact your local building authorities to ask about permits and related setbacks.
Unlike other DIY, pouring concrete can’t be paused and continued without consequences. Therefore, do your homework before you begin.
Once you have the permit, you can double-check your protective equipment. This includes work boots, gloves, respiratory masks, and a full-sleeved shirt.
2. Mark and Familiarize Yourself With the Site

The second step is marking the site to be poured and determining the form and size of your concrete pour.
Since it is the easiest, you are lucky if your site is on leveled ground. That is to say, the work required to set up a gravel subbase and concrete pour will be significantly reduced.
Regardless, after determining the site, take measurements of the area where you must put the concrete mix.
You can outline the area by using strings and stakes. Moreover, if you are going for a rectangle-shaped slab, there is a way to double-check it.
After setting up the outline, check if the diagonals show equal distances.
3. Prepare Your Site
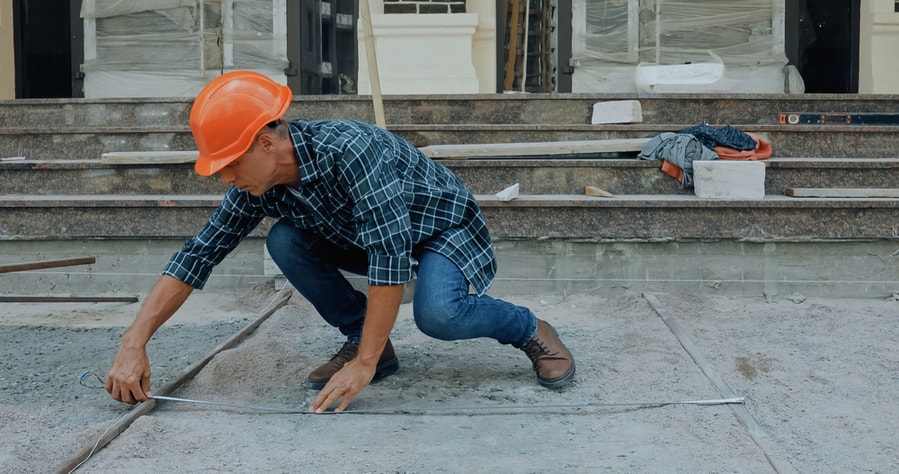
Now that you know your site like the back of your hand, it is time to make preparations.
There are many scenarios where the soil needs to be dug out to ready the site for concrete. For example, you want your concrete pour to be even with the surrounding ground.
In this case, you should remove the measured amount of soil, so there are about 4 to 8 inches of depth left for the gravel subbase. On the other hand, your concrete pour can be four inches.
Above all, remove any twigs, sticks, rocks, and other elements that may build up void spaces or unevenness on the concrete surface.
Finally, pick up a 48 to 72-inch long level to verify if the ground is perfectly flat. If it is not, you can adjust it by moving the soil around and repeating the test until it is leveled. That’s all there is to leveling the ground.
Now you can use a hand tamper to compress the subgrade. A hand tamper is a flat-bottomed plate with a handle that lets you apply your body weight.
4. Set Up the Frame for Concrete Pour
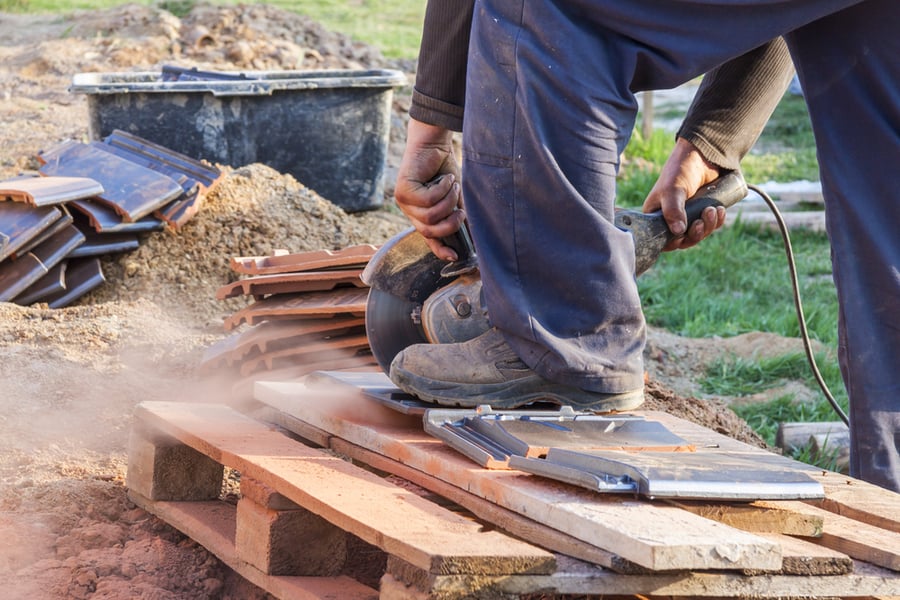
This is where it starts to get tricky. Again, precision is crucial to make the perfect slab.
The fourth step includes creating a frame around the site perimeter. Of course, this frame will act as a boundary for your concrete pour.
You can create a linear frame using lumber, such as 1×4 boards with decent duplex nails. It is recommended you use these, as they come with dual heads. To clarify, it is convenient to remove them later on.
What if your pour involves a curved part? You can manipulate a piece of synthetic siding or plastic concrete into a strong shape.
After constructing your concrete form, pick up your level again and verify if the height is even. It is always important to double-check levels as the final stages depend on how accurately you performed the prep work.
At last, strengthen the shape by reinforcing joints with other boards on the form’s exterior.
Once again, check the levels before moving toward step five.
5. Create Your Gravel Subbase
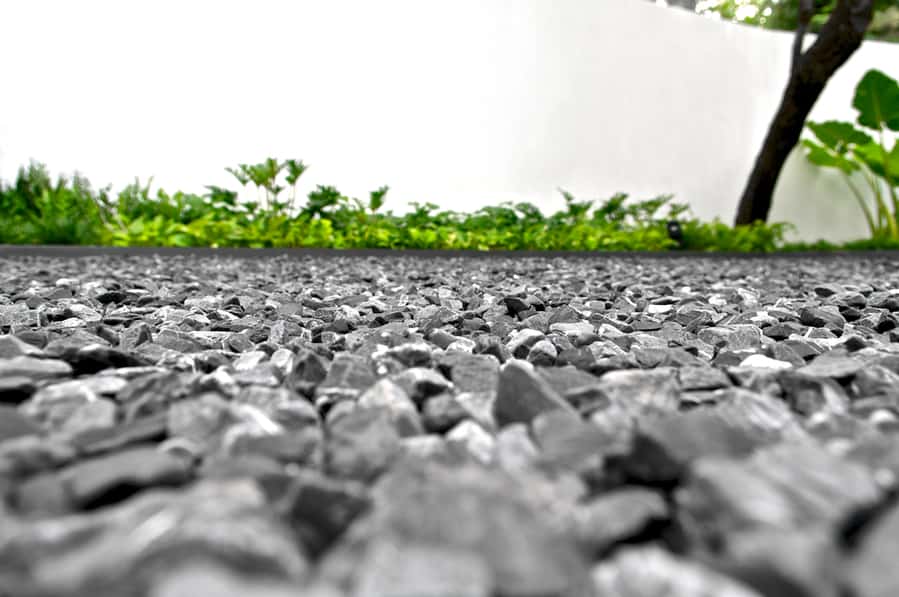
You kept hearing about a “gravel subbase,” and now we are finally here.
You may already have an idea that this is an optional step. That is to say, you might not need a gravel subbase, depending on the soil conditions and climate.
There are two main types of locations that you must know about. The first one is a frosty location – here, you need a four-to eight-inch deep layer of sub-base stones or gravel.
This will prevent the concrete from being damaged because of shifts in ground conditions.
The second one is where temperature changes are common. This can result in the expansion or contraction of the soil.
All you need to do is decide if you want to use open-grade stones or gravel. Open-grade stones offer more affordability and allow better water drainage. On the other hand, gravel offers better compaction.
If you’re going to get detailed and use a wire mesh to reinforce concrete, lay out sheets first.
6. Mix Your Concrete
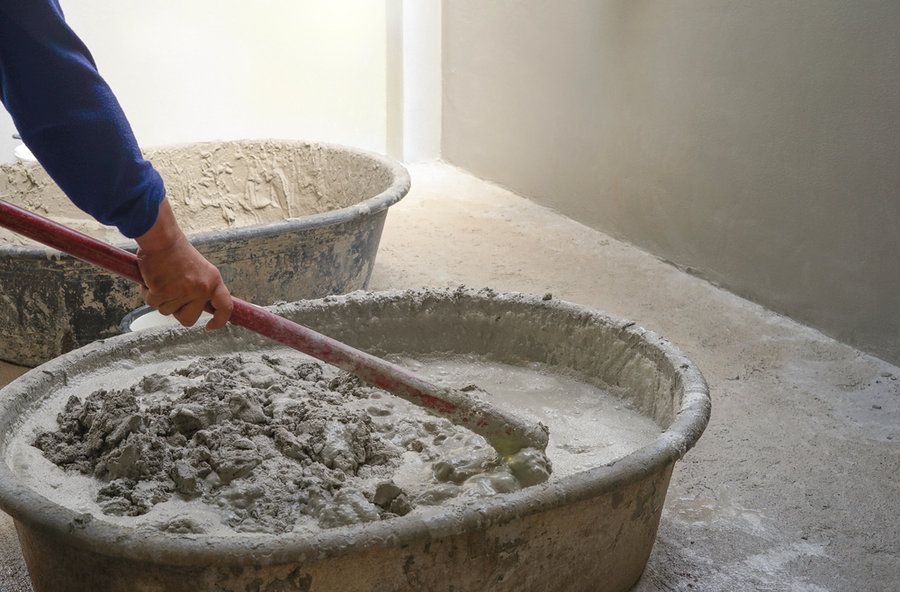
You’re almost halfway there! Put on your safety glasses and gloves to start mixing.
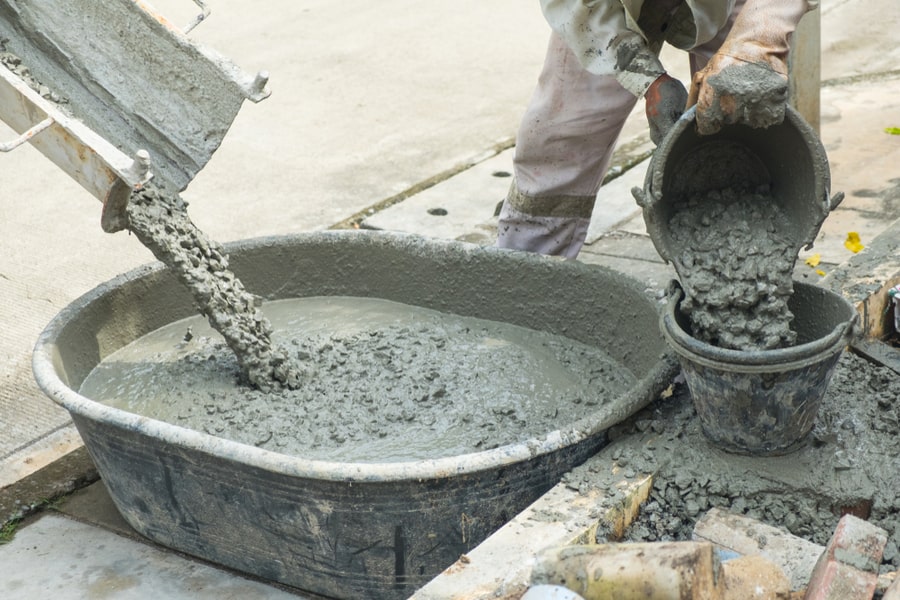
You can rent a mixer for about 75 to 90 USD daily if it is within your budget. On the other hand, if you only want to execute the job for a small space, then a shovel, wheelbarrow, and some hard work will be enough.
In addition, if there is someone to lend a hand, then feel free to use two wheelbarrows and get it done quickly.
Here’s the important bit. Before mixing concrete with water, ensure that the water is ideal. In the case of hard water, use filtered water to avoid a whitish look on the surface of your concrete.
In addition, hard water can significantly shorten the concrete’s cure time. This results in a weakened outcome.
Finally, as you work with your concrete mix, keep an extra water bucket of around 5 gallons or a garden hose. This is useful in washing your tools and mixing vessels.
7. Pour Your Concrete Inside the Form
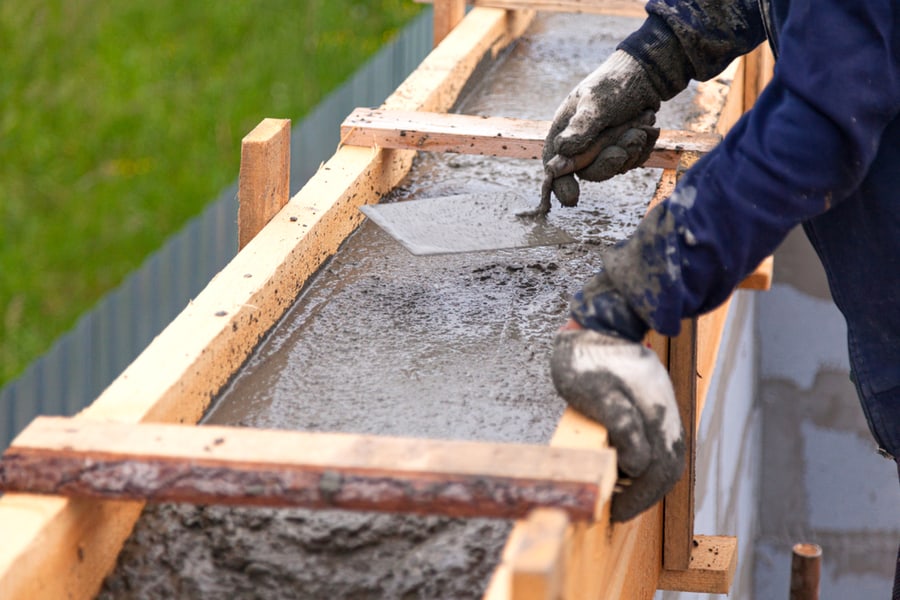
After you have mixed the concrete, it’s time to pour it into the small space. You can start by tilting the wheelbarrow carrying the concrete mix inside the form.
Again, if you have an extra pair of hands, it is best to start scraping the mix into the form as quickly as possible.
Keep pouring until the concrete mix reaches the top edges of the form boards. This will allow for easy finishing.
In the end, ensure you wash your wheelbarrow to prevent the remaining concrete mix from hardening.
8. Use a Screed Board To Level the Concrete
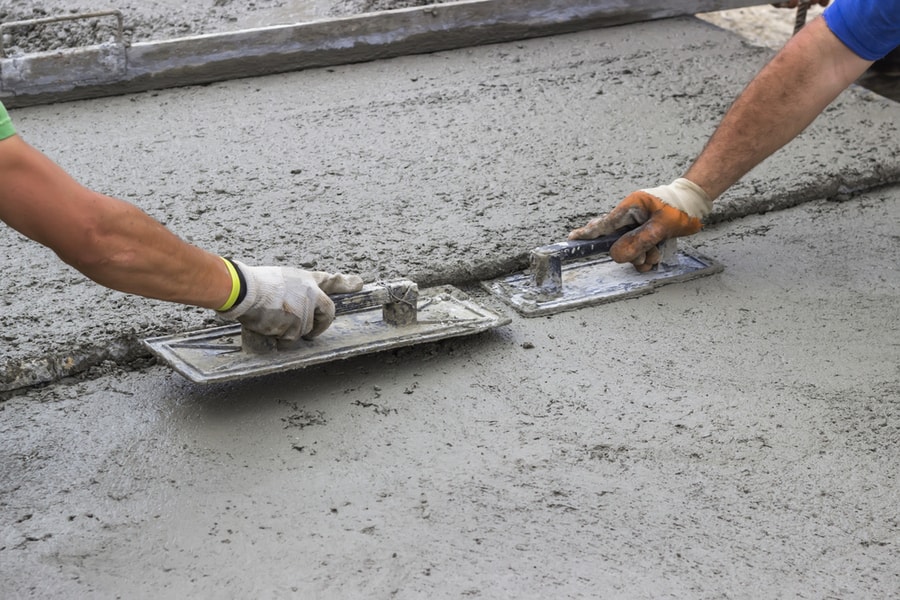
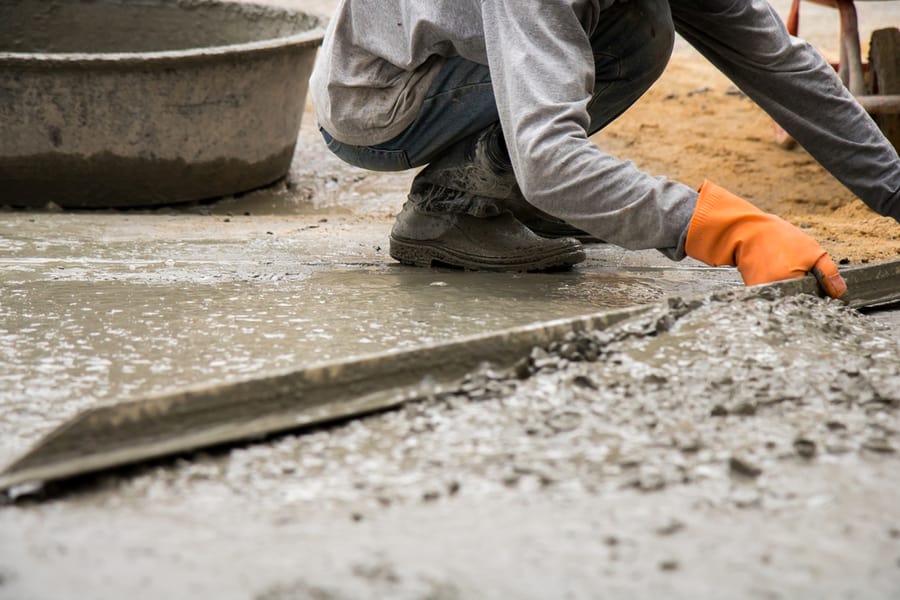
Once the concrete is poured, you have very little time remaining. Quickly grab a screed (a long wooden plank). It should be long enough to reach two parallel sides of your form.
Use that to level the concrete pour and make the surface smooth as you can. Finally, you can opt for hand-dragging the screed board with a back-and-forth sawing motion.
Repeat the step from end to end until you get the desired smoothness.
9. Smooth the Concrete With a Float

At this point, you are finished with the main project. Then, however, you can kick it up a notch to execute a professional job.
Grab a bull float (larger flat-bottomed wood float) and magnesium float to smoothen the concrete further. Start by applying the larger flat-bottomed wood to the concrete.
Elevate the far side only slightly as you push the bull float away. Then, when you bring it back, inverse the action and elevate the side faced towards you.
This procedure essentially helps in avoiding drag marks. After you are done, grab your magnesium float and sweep in semicircular motions to add the final touch.
10. Make Control Joints by Grooving the Concrete
You can groove the concrete every 5 to 7 ft in width. This is an additional step, and it prevents the surface from cracking due to temperature changes.
The grooving tool can either be short-handled or long-handled. The length depends on the scale of the project you are working on.
Since you are working with a small space, you should use short-hand tools for more precision.
11. Brush Your Concrete and Let It Settle
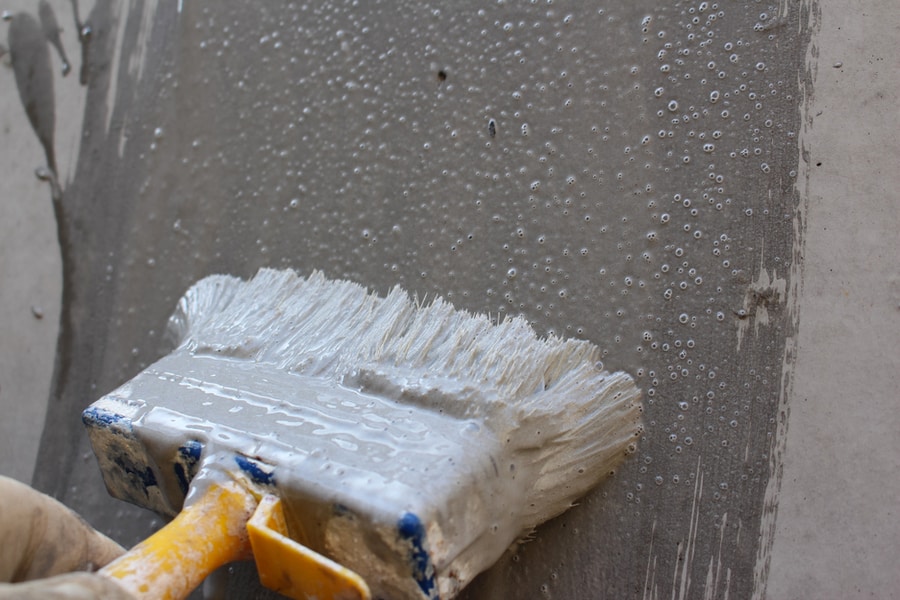
There might be slippage due to wet conditions. To get an edge against that, brushing your concrete with a broom is a good decision.
Ensure that you let it set for long enough that no clumps are made. However, smoothen the surface using the magnesium float from earlier if clumps occur.
Once your concrete mix has stopped clumping on the broom, you can get back to brushing. But, again, carry out this step as gently as you can.
12. Once the Concrete Cures, Seal It!
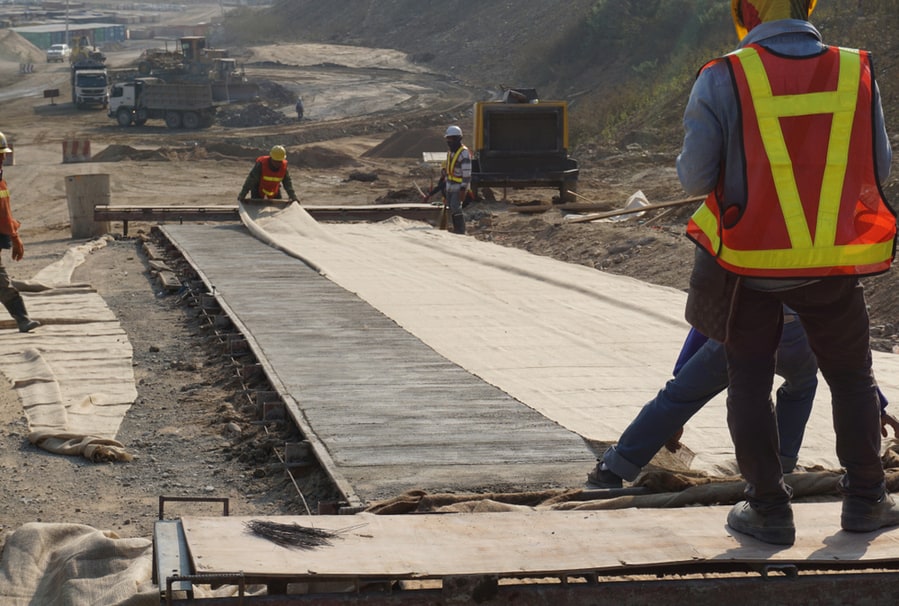
This is a precautionary step. Protect your concrete by securing it with a rope so it can cure safely.
Normally, the final piece should be firm, and you can walk on the newly poured concrete slab after one or two days. As for driving, you should give it a week.
After the curing is complete, enhance the lifespan of your slab by sealing it. You can use a “concrete sealer” from a trusted manufacturer.
That’s it! Those are all the steps, and now you can wait for your hard work to show results.
Takeaway
If you have read every step, you are now an expert on pouring concrete in small spaces. The first step is ensuring that you have taken the necessary safety precautions. After that, you are done with the DIY project by step eight.
The additional steps add a professional look and give you appealing results. Even though you might not need to, sealing the concrete is always recommended as it offers longevity.
Finally, the most important takeaway is that you must always pay attention to climate and the site environment. The surroundings have a significant influence on the concrete mix. Therefore, it is better that you make the right preparations.
Frequently Asked Questions
How Much Water Should Be Used To Mix Concrete?
Many concrete mix makers recommend around 3 quarts of water. Here’s how you should use it:
- At the start, pour only 2 quarts of water into the mix.
- Then, add the remaining afterward as required.
The water quantity depends on the concrete mix type, site conditions, and climate. If your mix appears too dry, add more water and if it is too wet, add more concrete mix.
Is It Okay To Pour Concrete Directly on Dirt?
Yes, you can pour concrete directly on the dirt, but you still need some preparation. For example, if the site is in cold temperatures, your concrete might crack as the soil freezes.
To avoid that, use a subbase of gravel.
