Gravel beds may look nice at first but are often considered unappealing. Moreover, it is not such a stable outdoor space for sitting and certainly not a nice place to seat your guests.
Fortunately, deck tiles can beautify the outdoors as long as they are correctly installed.
If you’re reading this, you may have some outdoor space that you want to renovate into a beautiful sitting area. You only need to know how to install deck tiles over gravel.
You’re lucky because that’s exactly what we will cover in this article.
Installing deck tiles is a delicate process and requires extreme precision. So long as you ensure that you have leveled the tiles, the results should be pleasing.
Here are some important tools that you will need to properly execute the project:
- Measuring tape,
- Phillips head screwdriver,
- A sharp knife,
- Power saw.
You’ll need these tools throughout the process. If you don’t have a power saw, you can opt for a handsaw, but it will require much more elbow grease.
Installing deck tiles over gravel may not be as easy, but it is certainly worth the effort. Deck tiles can significantly enhance the appeal of your outdoor spaces. follow the five steps below to learn how to install deck tiles over gravel.
5 Steps To Install Deck Tiles Over Gravel
Installing deck tiles requires steady hands. If you want the project to go smoothly, check the weather forecast and pick a nice sunny day.
Moreover, keep all the tools and carefully handle the power saw. If you are not as experienced with power tools, go for a handsaw.
Above all, take all the necessary safety precautions and wear rubber gloves to protect your hands from possible scratches.
1. Designing Your Deck
The first step in installing deck tiles over gravel is to design your deck. Since this project falls more toward the architecture side, it is in your best interest to sketch out a design.
Having it on paper or computer software will give you an idea of what outcome you can look forward to.
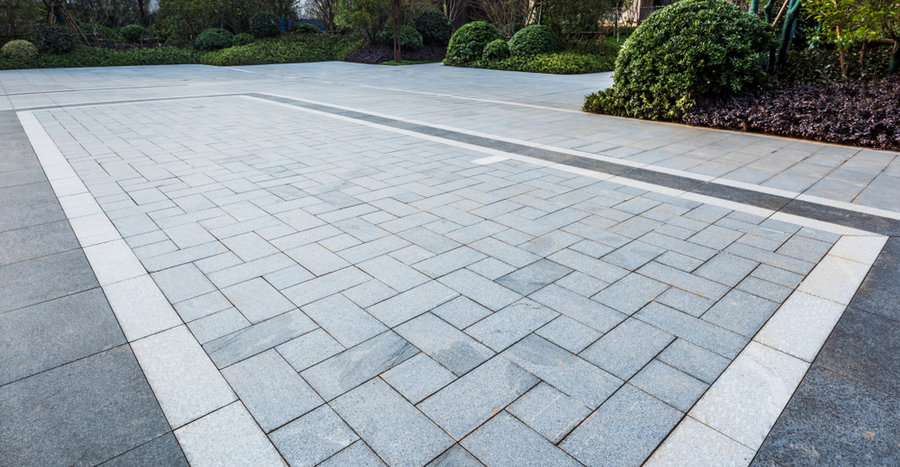
Moreover, it will also allow you to experiment with unique designs, patterns, and borders by aligning the deck tiles in various directions.
You can even get more creative by combining different colored tiles.
Remember, in the designing phase, you can always retry if you’re not satisfied with the results, and it won’t require you to manually pull out the tiles and put them back in again.
2. Preparing the Surface
Normally, you can lay deck tiles over almost all hard surfaces. For instance, asphalt, hard dirt, concrete, and gravel.
Ensure that there are no cracks, depressions, or bumps on the tiles that may cause them to lie unevenly or be able to move after you place them freely.
That is to say, if there are any abnormalities with the tiles, it will end up with a broken final product. However, if some of your tiles have cracks, you can level the surface using a filler or patching compound to lock the tile in place.
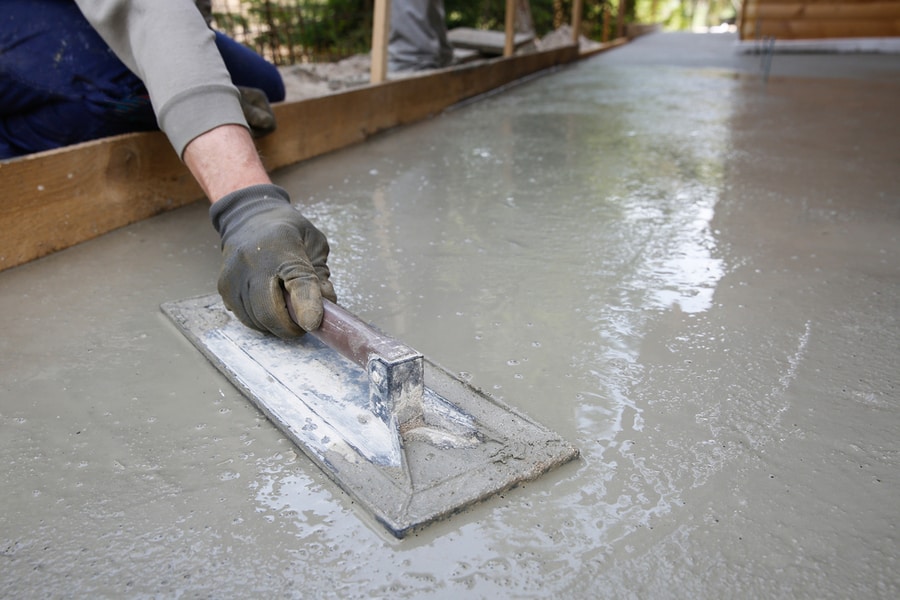
As for the gravel, you will need to level it first and ensure it is well-compacted. Once you are finished with that, cover your gravel with a weed-control barrier.
Furthermore, you will also need to provide a drainage system. You can achieve this by slopping the deck tiles away from the exterior wall of any structure.
You don’t need to make it too steep; slightly tilt them so they can divert the water towards the drain.
3. Laying the Tiles in Place
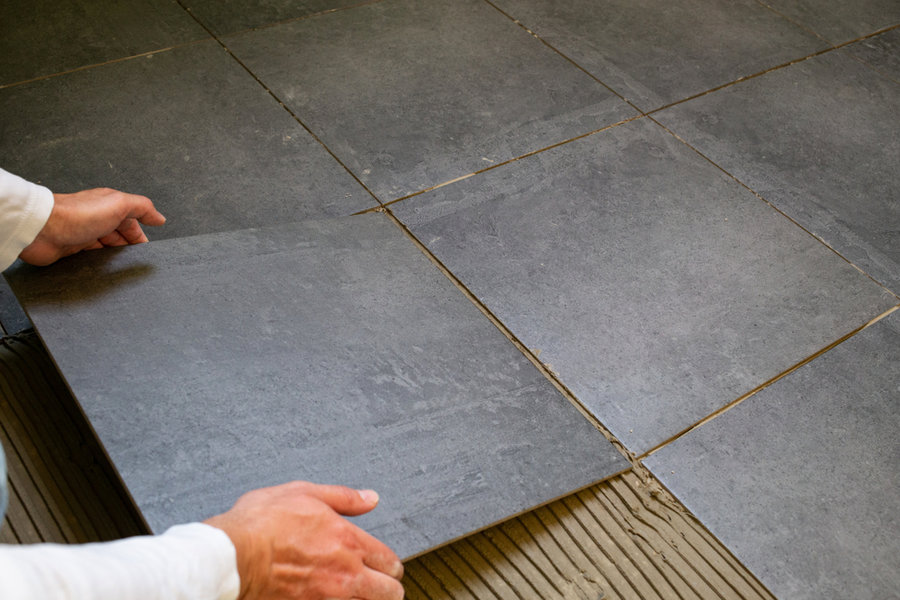
The most common practice for laying out tiles is to start from one corner of the area that is to be covered with tiles. You can work your way inwards from there.
Start by laying down one tile and taking it up from there. Pick up your second tile and align it with the first you place at the corner. Just continue like this and cover the entire area.
When you add the second tile, push it down firmly but not too hard. This will lock the tiles together.
You might refer to this process as “snap in place”. Work in a diagonal direction across the area and do this for all the tiles you will install.
However, if you are working with porcelain tiles, you may need a rubber hammer to settle in the tiles.
The rest of the method is the same for interlocking and porcelain tiles. Moreover, if walls confine your area, it is recommended that you leave a small gap against the walls.
This gives the tiles enough room for expansion caused by temperature changes or moisture absorption.
4. Applying the Finishing Touches
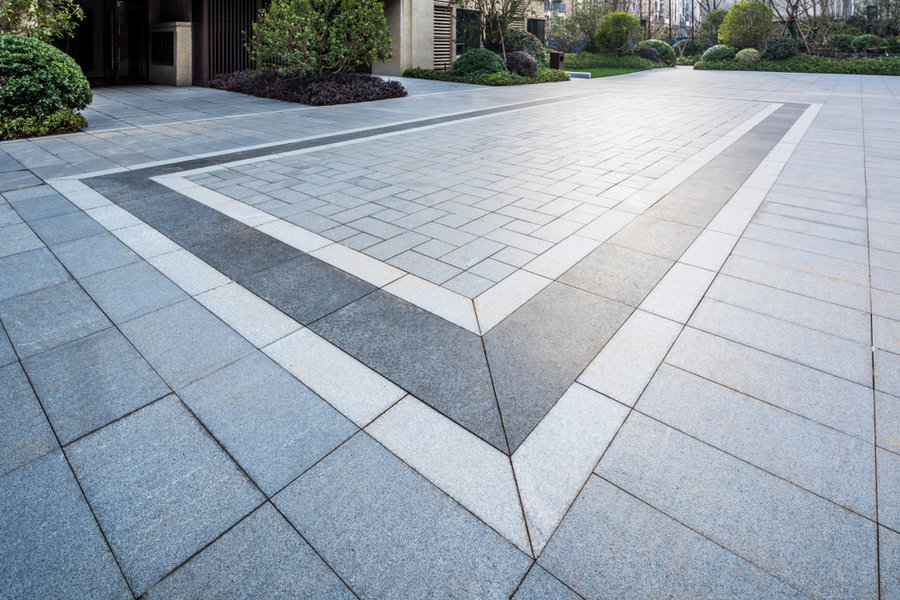
When you work your way to the last row of tiles, you may need to grab your handsaw or power saw to cut some tiles. This step is completely optional.
If you have a perfectly square or rectangular area and your deck tiles have fitted completely, then it is all good. However, you may need to cut around if fixed elements block the space for tiles.
For instance, pipes or light posts might be where you had to install deck tiles. If you want to apply a professional finish to your design, you can get straight edging which clips on the edge of the outer tile row.
In addition, you can also get products such as mitered corner edging for the corners as well.
5. Sealing Your Deck

Finally, you have arrived at the last step in installing deck tiles over gravel.
Whether you are using interlocking deck wood tiles or any other material tiles, they are prone to weathering. You can enhance the protection and prevent molding by applying the right coating.
You should go for a great quality and compatible decking sealer or oil and apply it as soon as you have installed the tiles.
You will need to reapply the oil/sealer at least once a year or more, depending on the climate conditions and the degree of exposure to rain and sunlight.
When purchasing a sealer, it is also recommended that you go for a specialized product that may offer transparent iron oxides and UV inhibitors.
Moreover, they should also have high solids content.
Takeaway
It can be an exhausting journey when you want to learn how to install deck tiles over gravel. To clarify, it is rather hard to find the right guide.
Fortunately, the process is easy, but the only confusing part is which type of tiles you are going for.
The process is almost similar, whether it is porcelain or interlocking deck tiles.
The only difference is that you may need to gently hammer down the porcelain tiles, whereas interlocking tiles settle in with only a push.
The five steps discussed in this article are the traditional and effective way of installing deck tiles over gravel. If you follow all the steps, you should have a beautiful-looking deck ready.
Frequently Asked Questions
Can Deck Tiles Be Put Directly on the Ground?
Yes, outdoor deck and patio tiles can be put directly on the ground. You can install them on grass, dirt, and uneven ground. Moreover, you can also use them as temporary, permanent, or even portable floors.
What Surface Should You Not Install Tiles On?
OSB/Chipboard should be completely avoided. You cannot install tiles on them due to the high wax content and instability of chipboards.
