To all the homeowners out there! You don’t need to go anywhere else if you want to ensure attractive, robust, and equipped home siding to withstand outside influences. Visit our article for a comprehensive response to your query.
So let’s get started without further ado!
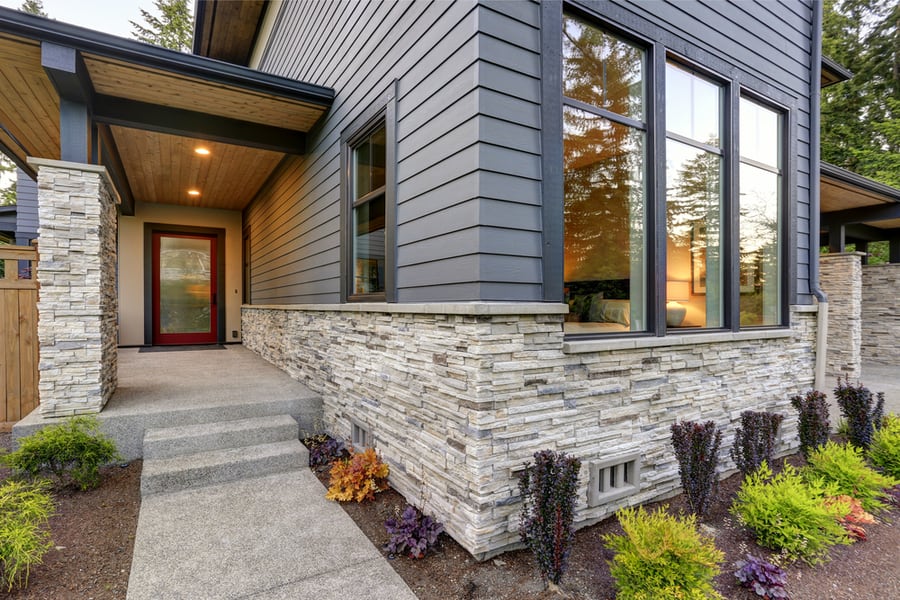
Sidings fantastically shield your house from snow, heat, and rain. A decent siding job makes your exterior more appealing and reduces the chances of energy expenditure from insulation.
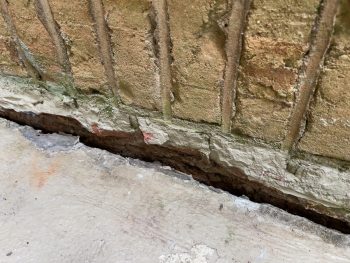
Hence, it’s crucial to seal the gaps right away. Because doing so is less expensive and more accessible than the risk you will be putting your home in if you don’t.
Now you might wonder how to fix these tiny spaces that impair your inside climate and raise your electricity expenditures. To simplify, we’ve outlined step-by-step instructions with all the necessary tools and materials.
So, continue reading to get the solution.
Take the following actions to seal the gaps:
- Clean the concrete and caulk it
- Measure the length of concrete walls
- Set up the siding strips
- Create a right angle with the strips
- Cover and install the side corners together on the quoin
- Affix the horizontal siding strips
- Seal sidings
- Paint the strips
This article aims to provide handy ways to bridge the space between siding and concrete.
However, there is a lot to learn about siding and filling in gaps on your panels. We will detail some topics and advice from professionals to maintain your home solid and secure.
How To Seal the Gaps
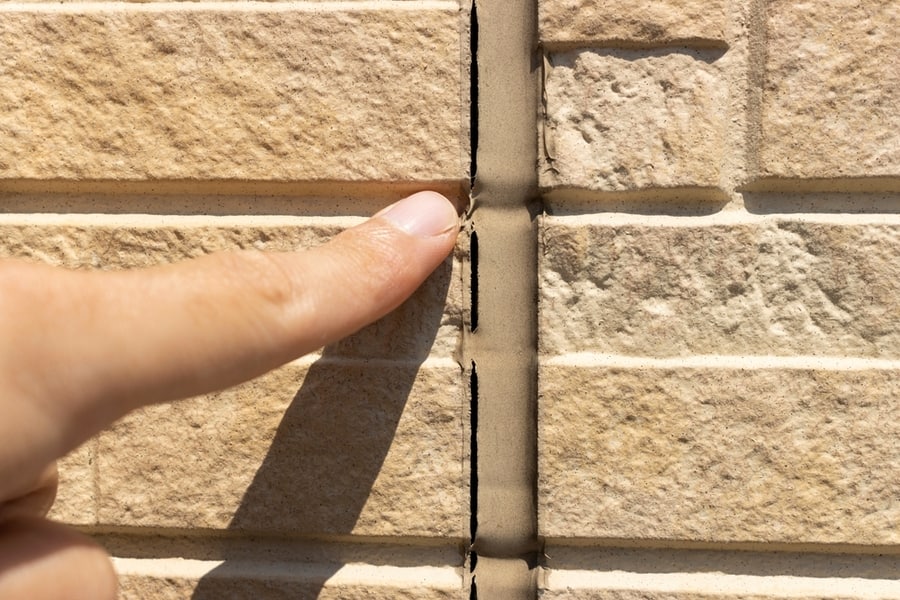
Before you begin the process, make sure that you have the following tools with you:
- Caulk gun
- Cleaning hose
- Sealant
- Industrial adhesives
- Portable drill
- Duct tape
- Leftover wood
- Primer
- Hammer
- Measuring tape
- Razor blade
- Sliding timbers
- Braided brush
- Paint in acrylic caulk
1. Clean the Concrete and Caulk It
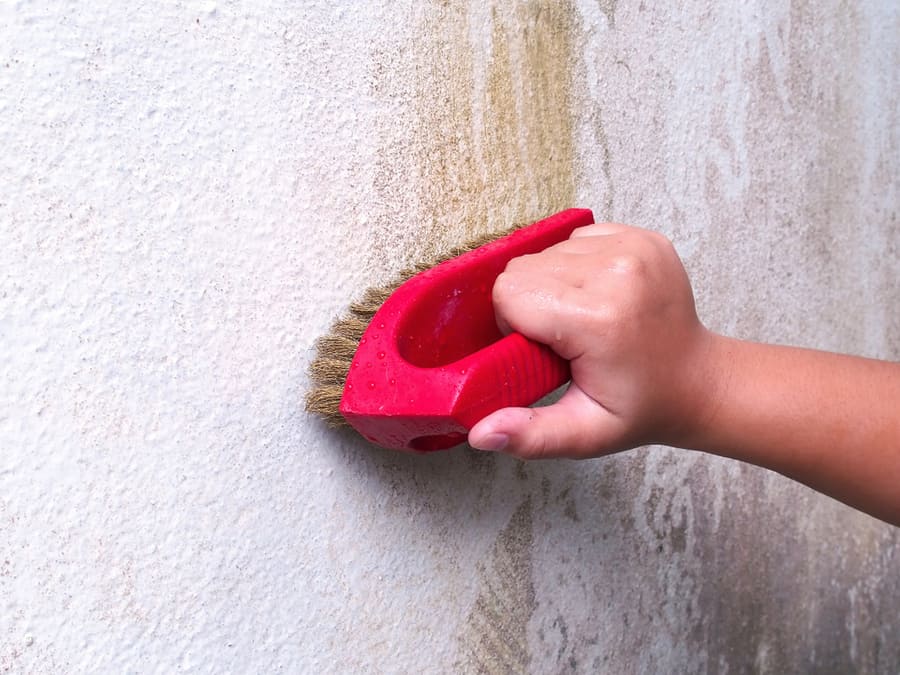
Begin by spraying your home with water laced with concentrated cleaning solution. It is necessary because mold, mildew, and dirt can collect inside the crevices and leave them vulnerable.
After brushing away any remaining debris, allow it to dry before loading your caulk gun with silicon-based caulk. You can use the caulk for sealing cracks and eliminating fungi and germs.
2. Measure the Length of Concrete Walls

Note the wall’s height and length using the measuring tape.
You must measure it against your siding and cut it at least 2 to 2.5 inches shorter than the wall because it will inevitably grow due to thermal expansion.
3. Set Up the Siding Strips
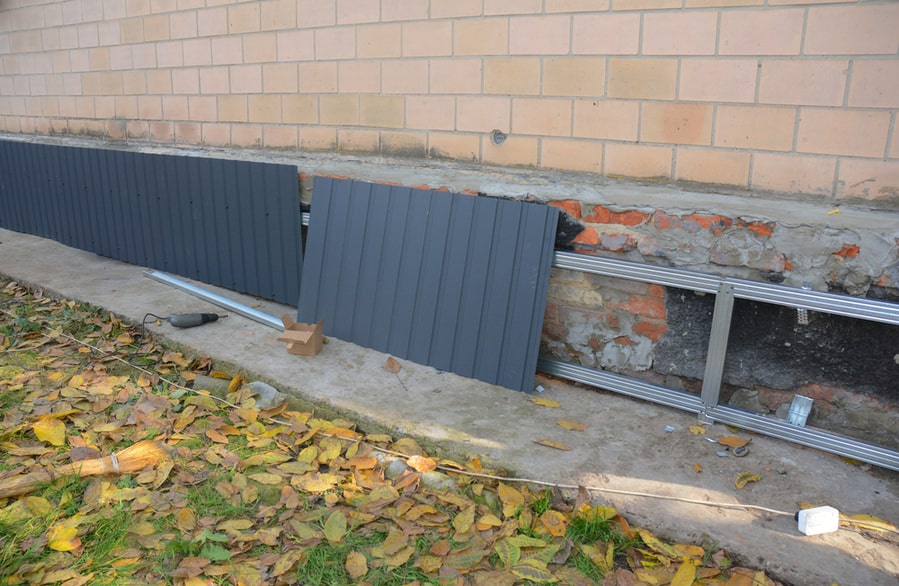
Prepare your strips with primer to level the jagged edges and facilitate easy painting.
Prepare the strips by scoring them with a razor knife to fit the quoin tightly.
4. Create a Right Angle With the Strips
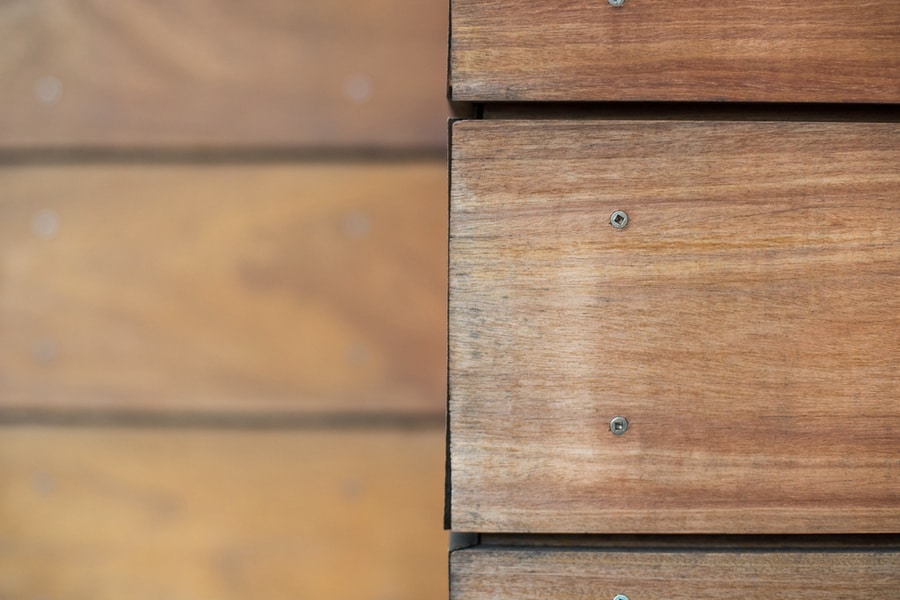
Make a corner that will fix the exterior of your house by bringing two ends together.
To properly make a 90-degree angle, get support lumber one inch longer than the siding strip.
Also, use screws along the length to improve durability after securing with industrial glue.
5. Cover and Install the Side Corners Together on the quoin
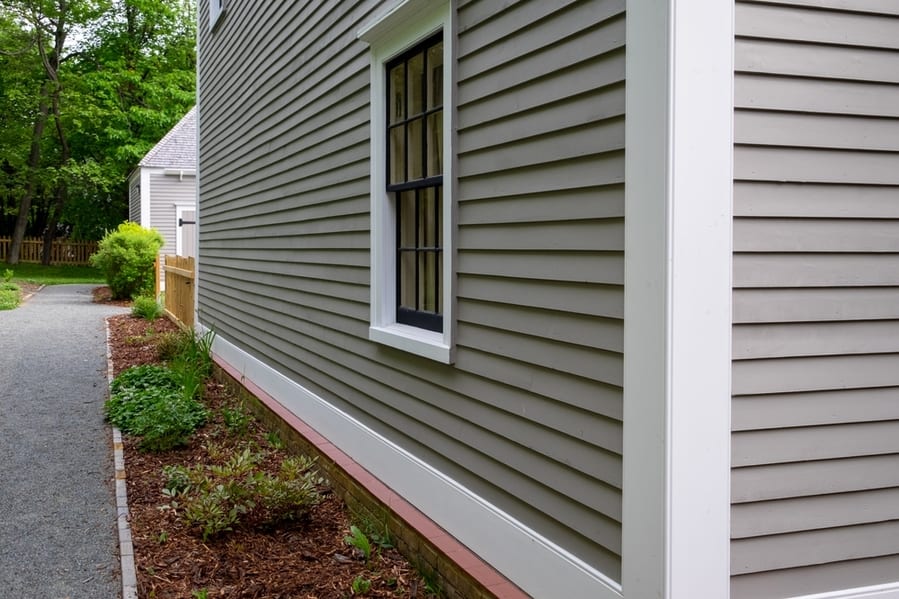
First, coat the concrete corners with a thick sealant layer to prevent moisture from building up.
Then, fasten the constructed corners to your house’s quoin with screws. Make sure to secure it firmly.
6. Affix the Horizontal Siding Strips
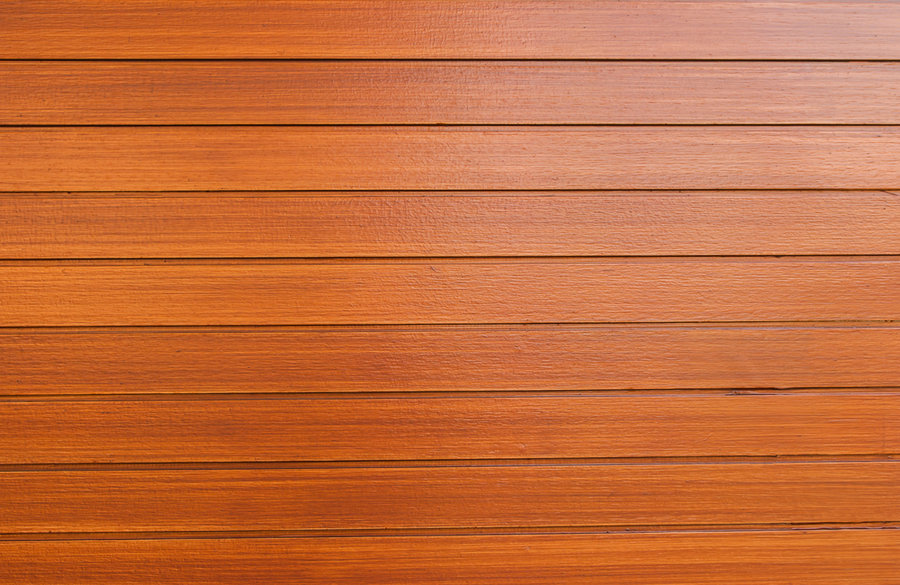
Before joining the strips, make sure to prime all the ends.
After that, place the strips, so they overlap the concrete floor but do not touch the porch pad.
Before placing them, only overlap the subsequent pieces by about two inches or so, just long enough to hide the fastener.
7. Seal the Sidings
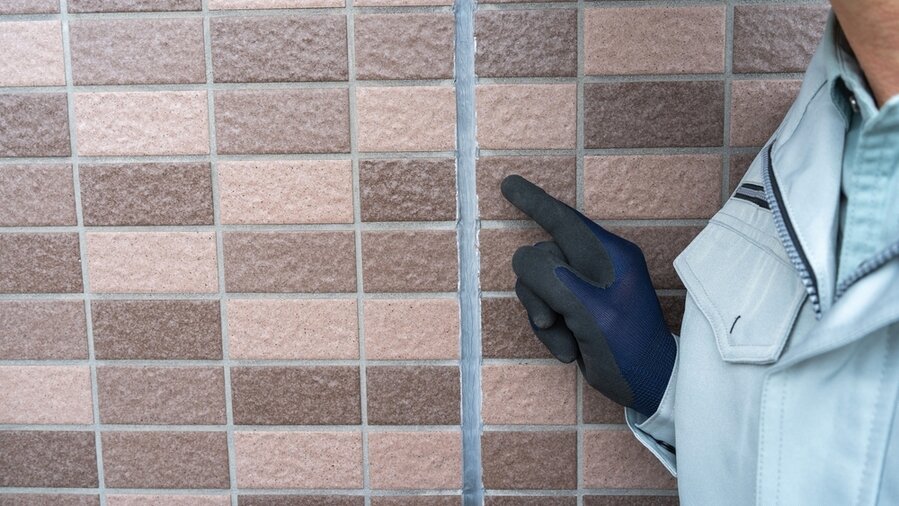
Place duct tape at the top of the siding strip and extend it until you reach the bottom.
With a caulking gun, fill up the space between each strip.
Repeat the procedure on other strips after letting the caulking cure before removing the duct tape.
8. Paint the Strips
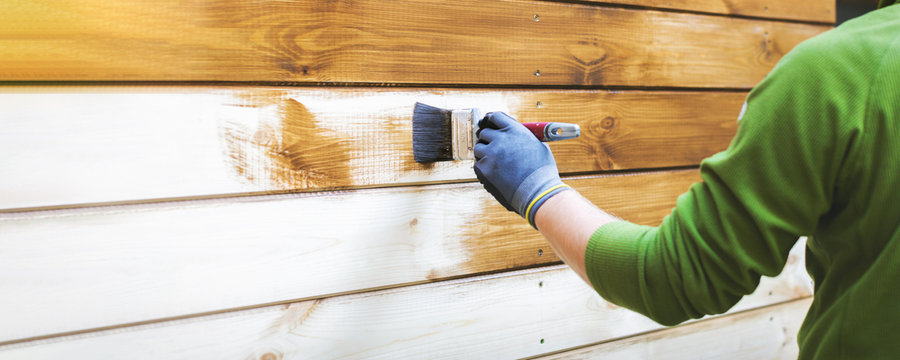
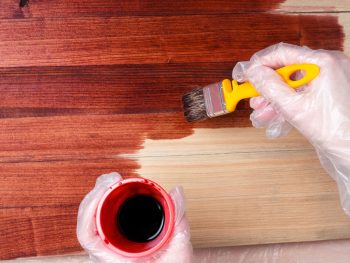
The last step is to paint the strips to make the exterior appealing.
We advise applying waterproof paint to prevent melting and sagging when cleaning.
Make a few final adjustments after finishing.
Durable Sidings for Your Home
You can protect your property from damaging elements by installing reliable siding. So pick one that pests won’t easily access, can effectively handle moisture, and can last for an extended period.
In addition to functionality, you should think about aesthetic adaptability. Go for the option that will enhance your home’s appearance to accentuate the form and functionality of your exterior.
After considering all these concerns, we’ve shared some affordable options for your assistance.
1. Vinyl Siding
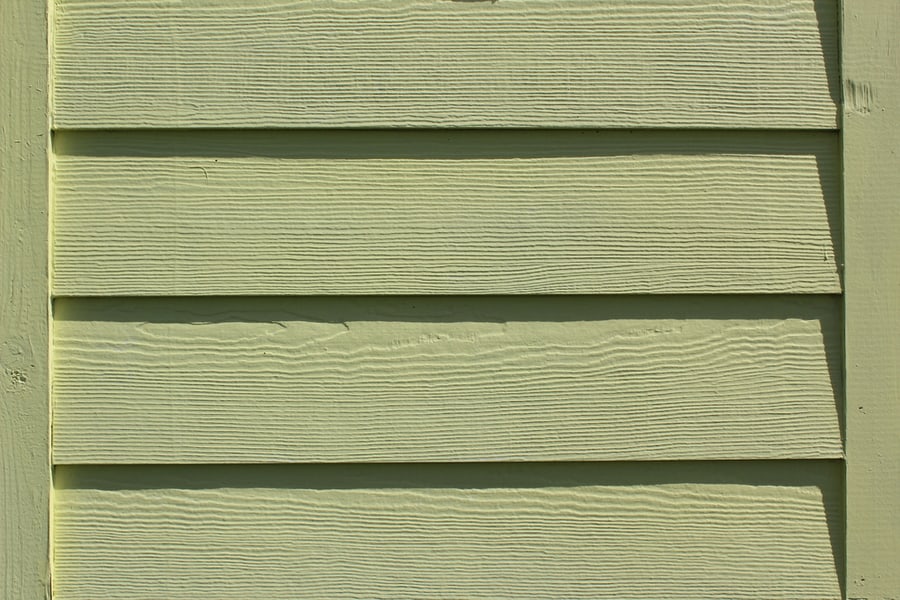
Vinyl siding is cost-effective, ranging from $3 to $8 per square foot. With regular maintenance and care, it can endure up to 50 years.
It comes in various textures and colors, adding durability to its affordability.
Therefore, it enhances your property’s value due to its vast design possibilities.
2. Insulated Siding
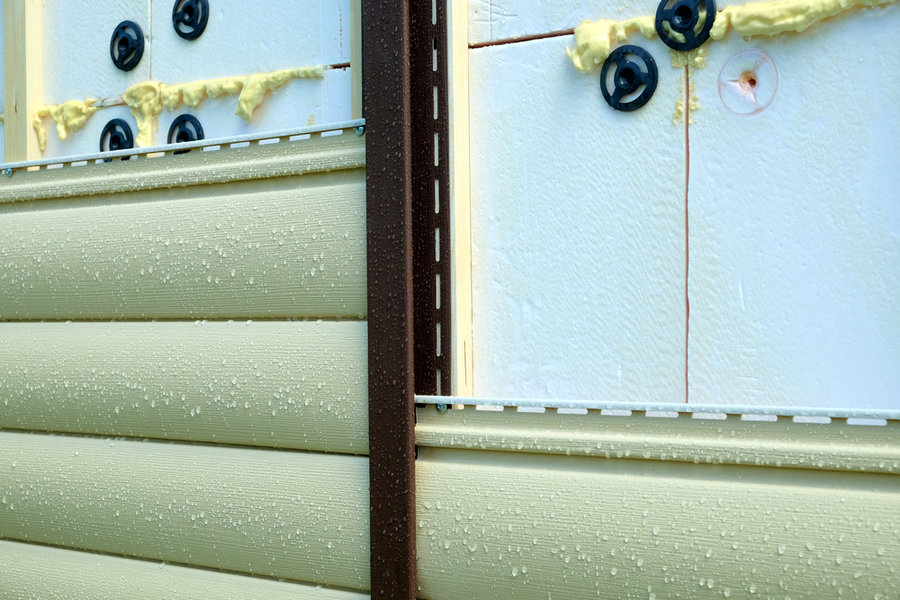
This siding is insulated vinyl of a particular sort.
It is energy-efficient because it consists of Expanded Polystyrene Foam (EPF), which better traps air during the summer.
EPF can provide a well-insulated siding that can cut your utility expenditures by 20%.
3. Wood Siding
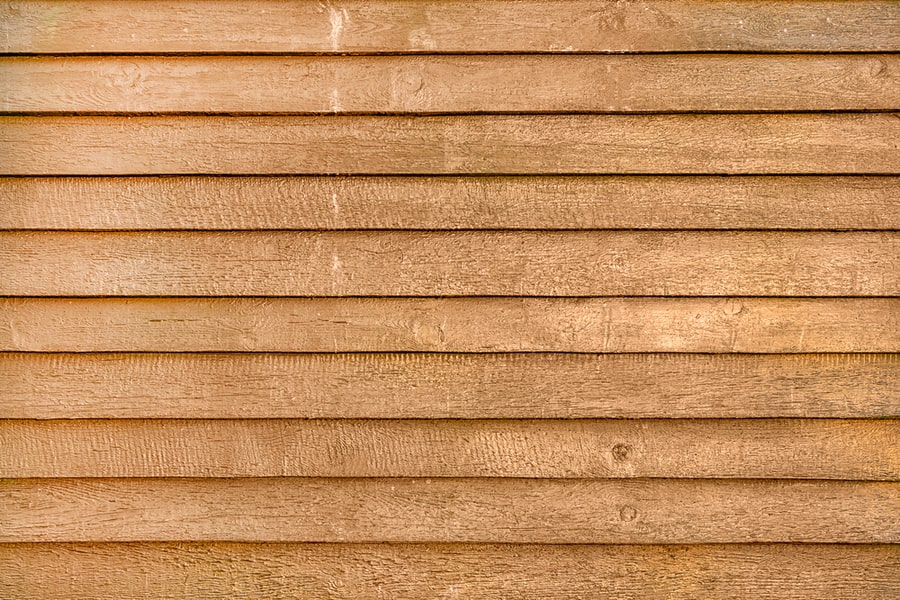
If you choose wood siding, ensure the house is ventilated and well-insulated. It is due to the wood’s susceptibility to moisture and heat-related problems.
Wood has advantages like high insulation and various styles, but you’ll need to give it a paint finish to keep it safe.
4. Metal Siding
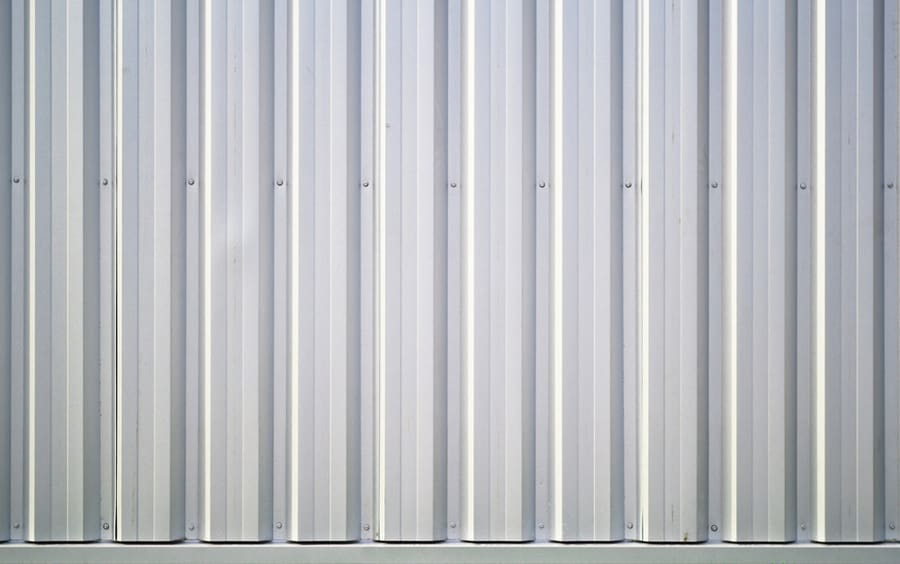
Metal siding can be less expensive, but remember that it can easily dent and have other durability problems. However, it is low maintenance and environmentally benign, making it a good alternative for siding.
To preserve your home, adequately insulate it and fill the spaces between concrete.
5. Cement Fiber Siding
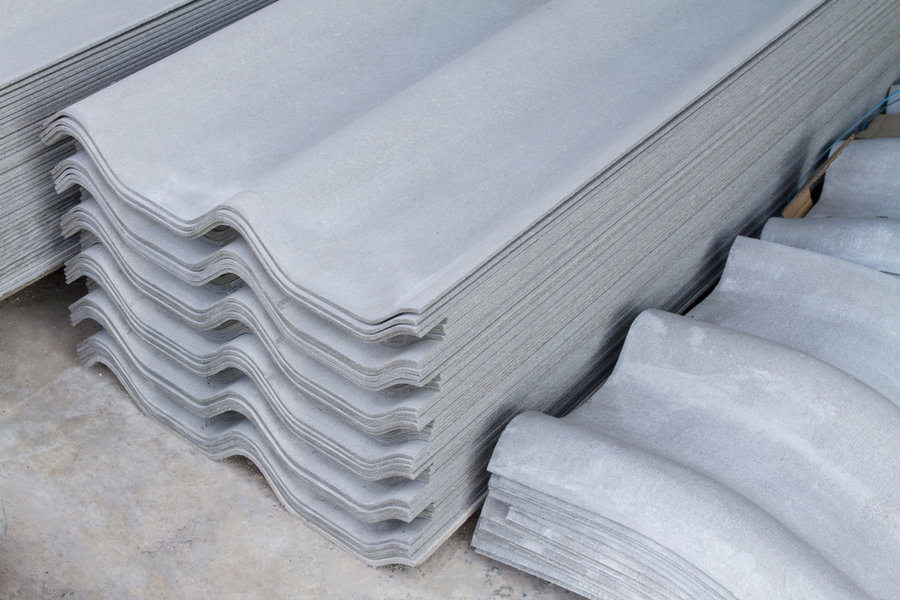
Because of its durability and rot-resistance characteristics, fiber cement is your finest siding option.
It is fantastic if you reside in a tropical climate because it can tolerate pest damage.
You could spend $10 per square foot on it. So ensure you get your money’s worth by installing it correctly and filling in any gaps.
6. Stucco

Stucco is a terrific alternative if you reside in a dry place, but it holds up poorly in rainy climates.
You can easily clean it with a pressure hose because it consists of cement and lime.
7. Glass Siding

Your property might look opulent if you have glass sliding.
It also appears wider and gives your home’s interior more natural light.
Regular cleaning is necessary as it is easily susceptible to grime and dust.
8. Brick Siding
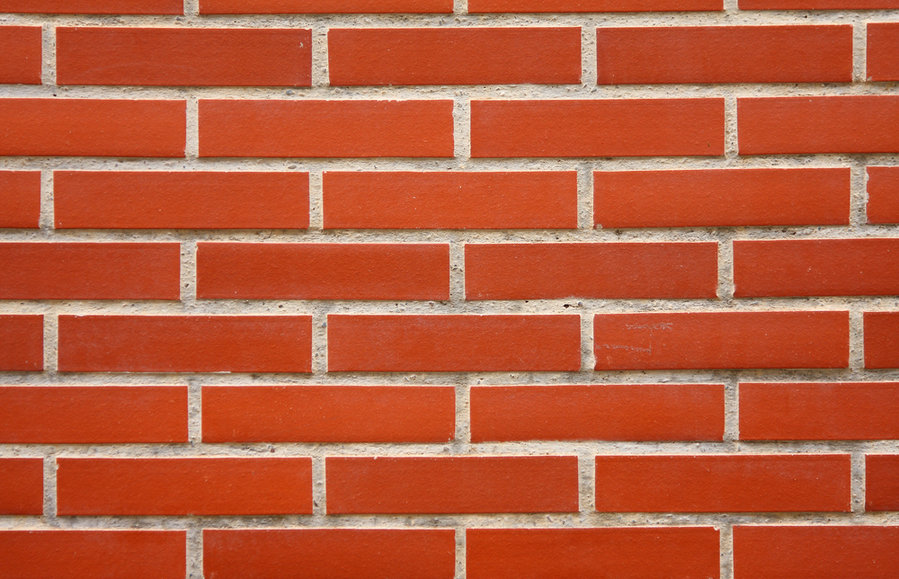
Although brick is more expensive, it is durable and requires little upkeep.
Its insulating qualities make it appropriate for homes in colder climates, making your home facade with its rustic beauty.
9. Engineered Wood Siding
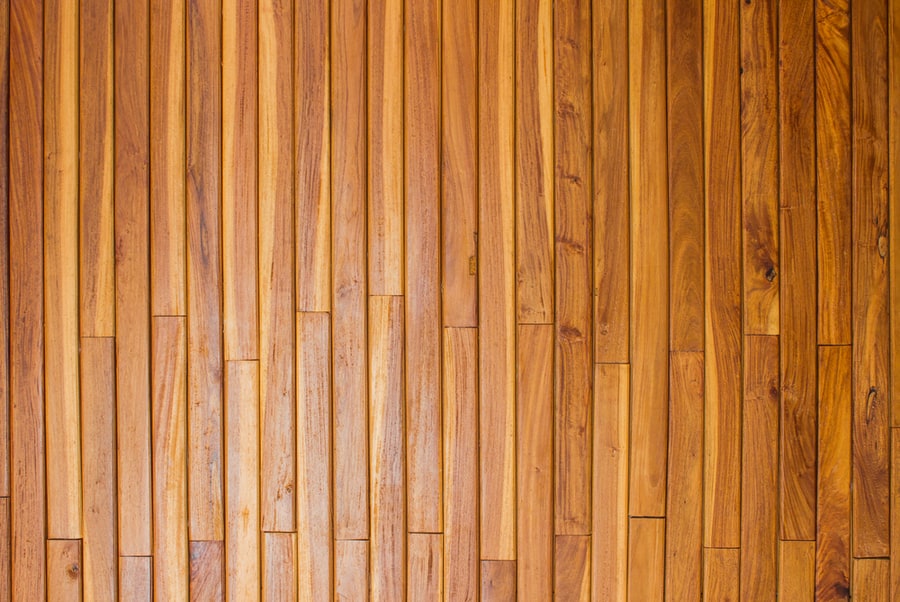
A decent substitute for natural wood is engineered wood.
Depending on the upkeep, it can last for 20 to 30 years.
Be aware that you cannot paint or stain over this siding if you choose it.
Best Sealants To Fill the Gaps
The finest sealants are those that can tolerate erratic weather patterns after drying.
In addition, they also need to guard your foundation from corrosive substances and water damage.
So, take a look at these listed sidings and foundation sealants.
1. Silicon-Based Sealants
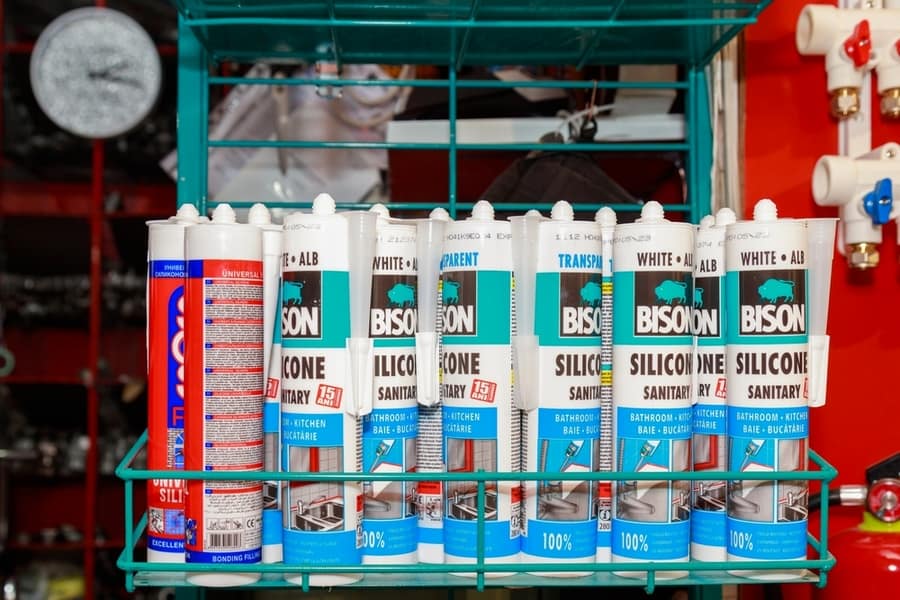
Silicon-based sealants are one of the most used sealants now available. They work well to fill the gaps on your exterior because they are typically watertight.
You can confidently use these sealants during rainy weather because they are incredibly resilient and can withstand erratic weather patterns.
2. Acrylic Sealants

Although silicon sealants are more elastic, acrylic sealants offer excellent adherence. Since they can endure various temperatures, they are appropriate for the spaces between siding and concrete to safeguard your outside.
The drawback of acrylic sealants is that they highly shrink, so you might need to add a coat to make it completely secure.
3. Polyurethane Sealants
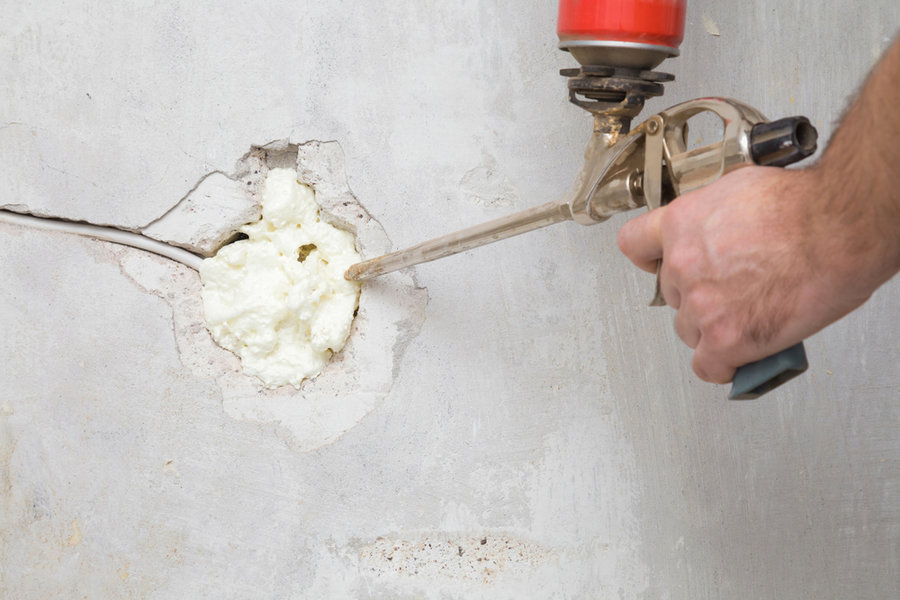
Polyurethane sealants are more elastic than acrylic sealants because they can withstand about 25% greater movement and are UV-resistant.
Despite their frequent use in structures, you can utilize them to fill gaps in your exterior.
4. Sealant
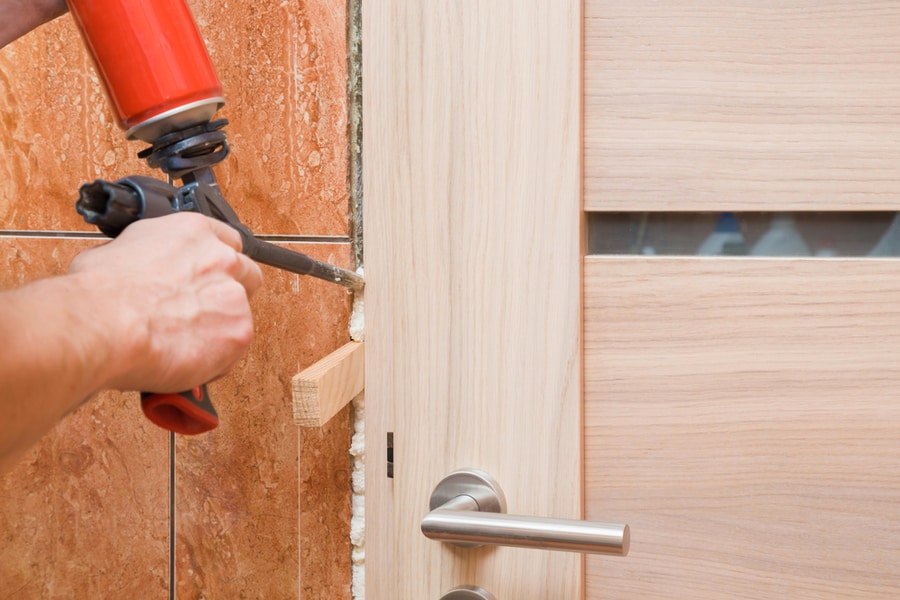
Since sealants are also elastic, you can use them on materials that may expand or contract due to weather.
They are primarily silicon-based and easier to use.
5. Caulk
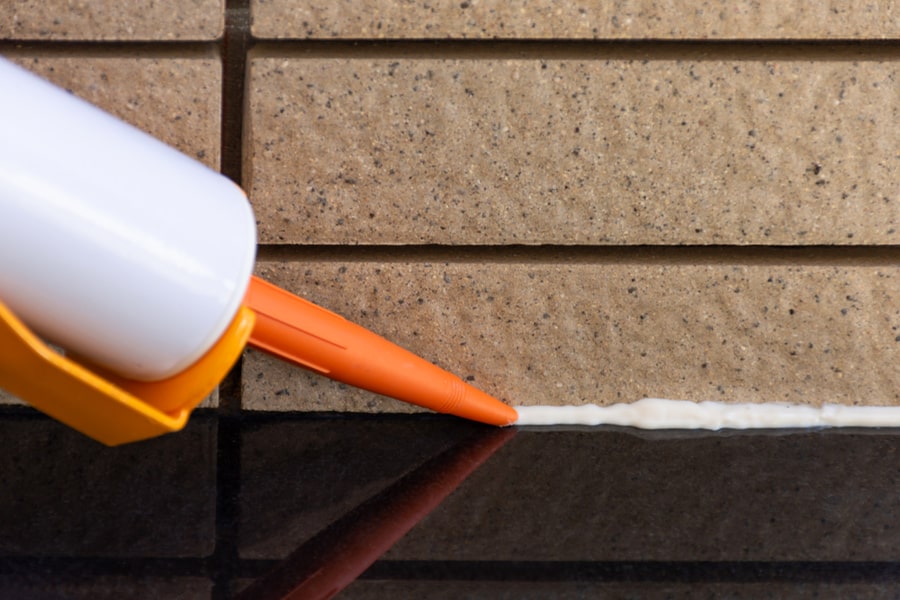
Caulk may not be the best choice for materials susceptible to temperature changes because it is less flexible. However, you can use it for painting.
Utilizing caulk might be your best option if you want the seal to match the material. Since caulk consists of rubber or acrylic, it might be stiffer than sealants.
- Find a space where mice can squeeze between siding and concrete to enter your home. Use a flashlight to explore the exterior of your home and look for siding cracks, holes, and gaps.
- Also, look for cracks and holes where your home’s exterior and foundation meet. Use a small mirror to see what is underneath.
- You can use a pencil to access any nook or cranny. If the pencil slides, a little mouse’s body can also fit inside.
- During the day, turn off the lights and enter your attic or basement. Any visible sunlight could have come from the siding. Look for spider webs, which might point out gaps or holes.
Gap-Filling Recommendations

- Put on your protective gloves and eyewear, and grab a cloth for spill cleanup. Then check the cracks and openings in your siding that you just noticed.
- Use acrylic latex caulk to fill any siding imperfections less than 1/4 inch broad. Use this inexpensive material to seal the fissures. In this way, the paint adheres effectively to the top.
- You can also use caulks made of polyurethane to seal the gaps up to 1/2 inch wide. Although it is trickier than acrylic latex, it performs the same function. Clean any excess spills with mineral spirits and a cloth. If you wish, paint it over.
- No matter how big or little the gap, spray expanding foam in it. To do a cleaner job, look for the phrase “minimum expanding foam” on the can’s label while purchasing.
- Get copper cleaning pads from the hardware store to close up larger holes. Fill the gap with expanding foam and seal it off.
Using copper pads prevents the mice from gnawing through the foam later. Therefore, there will be less mess to clean up after using less expanding foam.
Final Verdict
To cut it short, we’ve given you step-by-step instructions and alternate tips to seal your foundation’s gaps.
Now it’s time to act! Check your siding if you detect any changes in the insulation and humidity; it may be the pain point of the problem. Moreover, regularly inspect to ensure no gaps are poking through the siding.
Our detailed guidelines will help prevent bacteria, mold, and fungi from growing in your home! So take a sigh of relief.
Frequently Asked Questions
How Can I Seal Wood and Concrete?
Wood siding needs a water-resistant panel or membrane to keep it dry and seal it to the concrete. To safeguard the structural integrity and sealing of wood, which is vulnerable to moisture, you need a waterproof material.
Do I Need To Seal the Bottom of My Siding?
Since water and moisture enter through the bottom of the siding, you must not seal it. Allowing water to accumulate may damage your concrete and leave gaps around the siding, encouraging the spread of mold and fungi.
Which Caulking Option Is Best for Siding?
Polyurethane is a superb option for filling up the spaces between your siding and the concrete. Unlike other kinds of caulk, it is resistant to UV exposure and won’t turn yellow.
Which Option Is Best for Primer?
For siding made of stucco and brick, the finest primers to use are acrylic, oil-based, and masonry. Always apply primer, especially if you are painting your siding. It will guarantee a flawless exterior and a smooth painting job.
