Have you ever applied nail paint and ended up with wrinkled nails? Or have your clothes even gotten wrinkled after excessive heat from ironing? Annoying, right?
But we all know why: a thick coat, a hot temperature, or moisture. Spray paint wrinkles are caused in the same way.
Fortunately, these wrinkled spray paint spots can be fixed without affecting other areas. At the same time, if you follow some precautions, you won’t have to go the extra mile to fix anything.
So, read this blog from top to bottom to learn some common causes of crackles in spray paint and methods to restore them quickly.
While painting your wood surface can be fun, it would be disappointing if it developed wrinkles and cracks. There are several reasons, like a thick coating, humidity, and a dirty substrate, that can cause bubbles and wrinkles on your surface.
Follow the steps mentioned below to fix your wrinkled spray paint:
- Buff the wrinkled spray paint on your wood surface with grit sandpaper.
- Clean and wipe the buffed paint and dirt from your surface.
- Apply a thin coating of primer to make a smooth base to paint.
- Spray paint in thin layers on your surface. Let one coat dry before applying the next one.
What Are the Causes of Wrinkled Spray Paint?
Before we jump directly into fixing the wrinkled spray paint, let’s see what might have been the reason. This way, you can also prevent your spray paint from wrinkling next time. Here are three reasons that cause wrinkles in spray paint on your wood surface.
Thick Coating of Paint
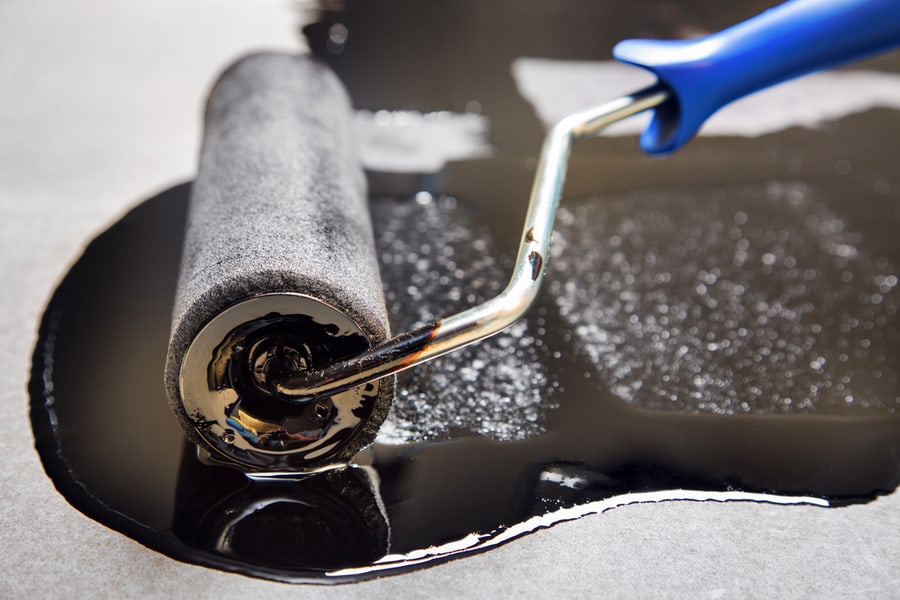
It is better to apply several thin coats of paint than spray heavy coats. Also, spray a new coat only when the previous one has completely dried. One of the common reasons for a wrinkled surface is a thick layer of paint.
If you overspray your wood, the top layer of paint will likely dry while the underneath is still wet. Consequently, the upper skin of spray paint contracts and expands, resulting in wrinkles and cracks on your surface.
Hot Temperature
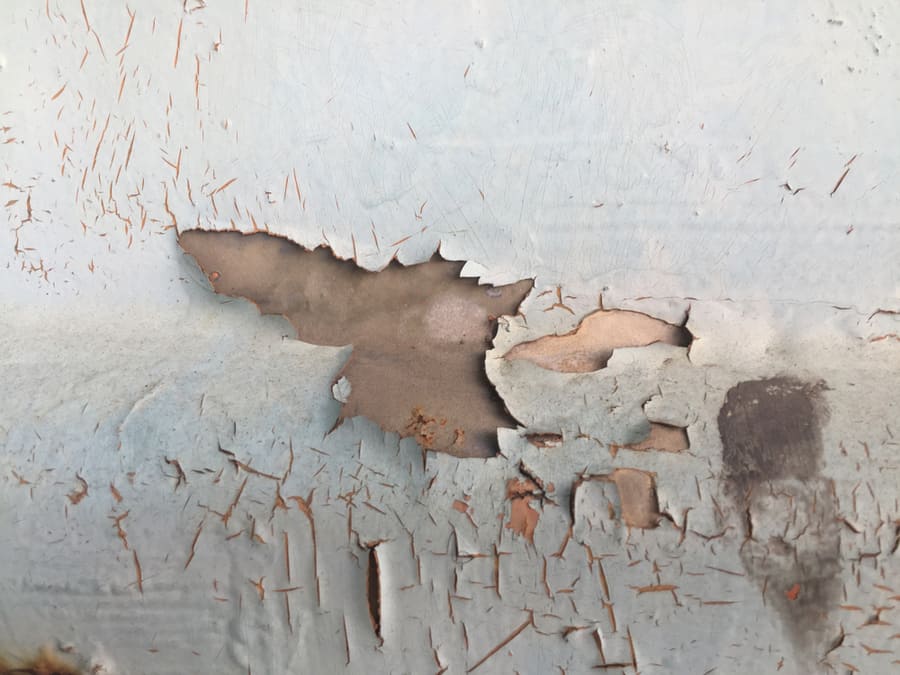
If you are considering painting any outdoor wood surface on a humid or hot day – don’t do it! High temperatures mean high humidity, and high humidity means moisture on your wood. If you apply the spray paint to a moist wood surface, get ready to welcome visible crackles on it.
In addition, spray paint won’t adhere to a wet surface, so it’s not a good idea in any case. To prevent this, ensure the temperature around your work area is between 10-32 degrees Celsius, and the humidity levels are below 85%.
Quick Exposure to Moisture After Spray
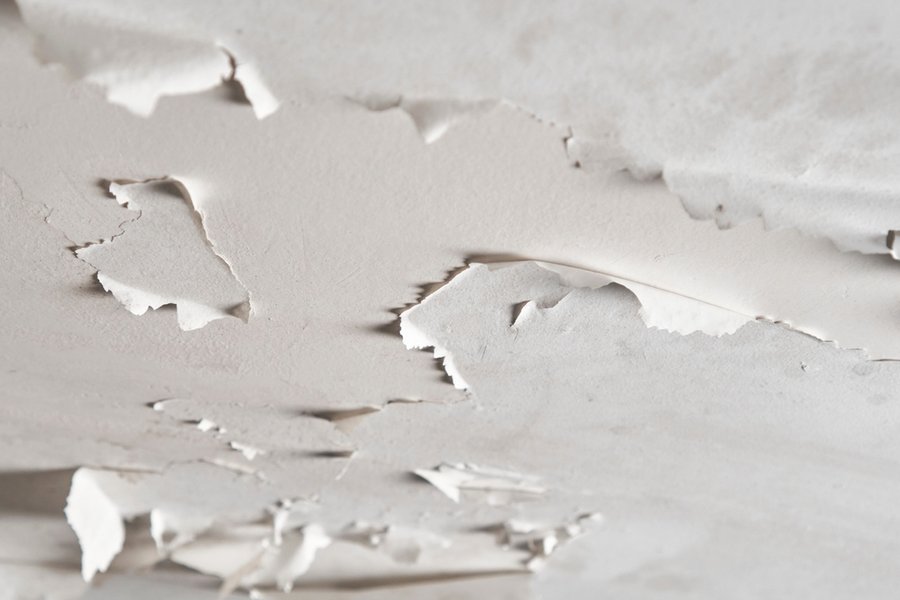
It is necessary to let the spray completely dry before exposing it to moisture. This is because even when the spray paint is touch dry, some solvents still need to evaporate. If the newly sprayed wood is exposed to moisture at this stage, it is most likely to get wrinkles.
Dirty Wood Surface
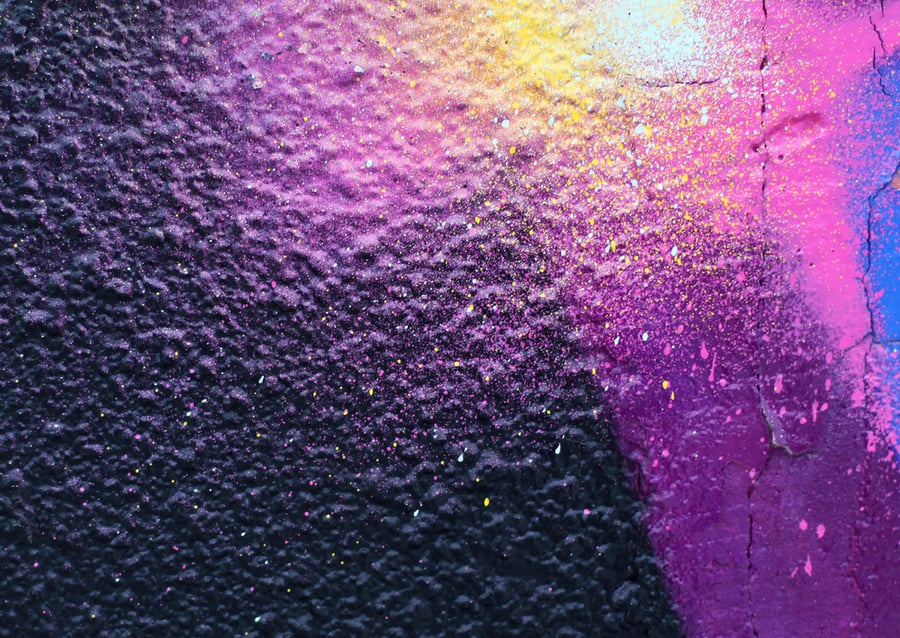
Wrinkles on your spray paint are not necessarily a result of moisture or the size of the coat. They can also appear if you have not cleaned or wiped the dirt, stains, or oil from the substrate and have directly sprayed the paint on it.
Clogged Nozzle
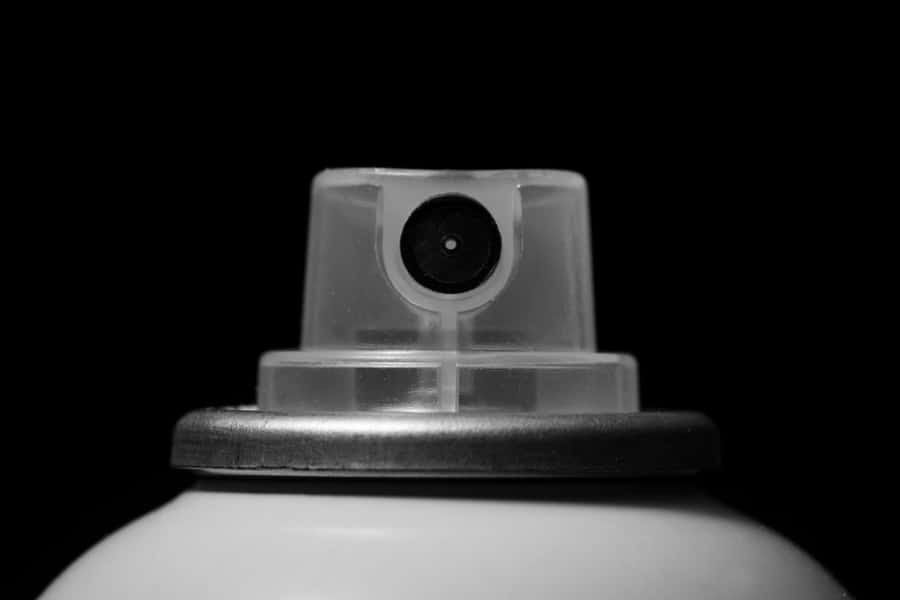
Before applying spray paint to any surface, ensure the can’s nozzle is clean and unclogged. A clogged or blocked nozzle will spray paint unevenly and result in wrinkles. If the nozzle is clogged, use a toothpick or a needle to clear it.
4 Simple Steps To Fix Spray Paint Wrinkles From Wood Surface
Step 1: Buff the Wrinkled Area on Your Wood
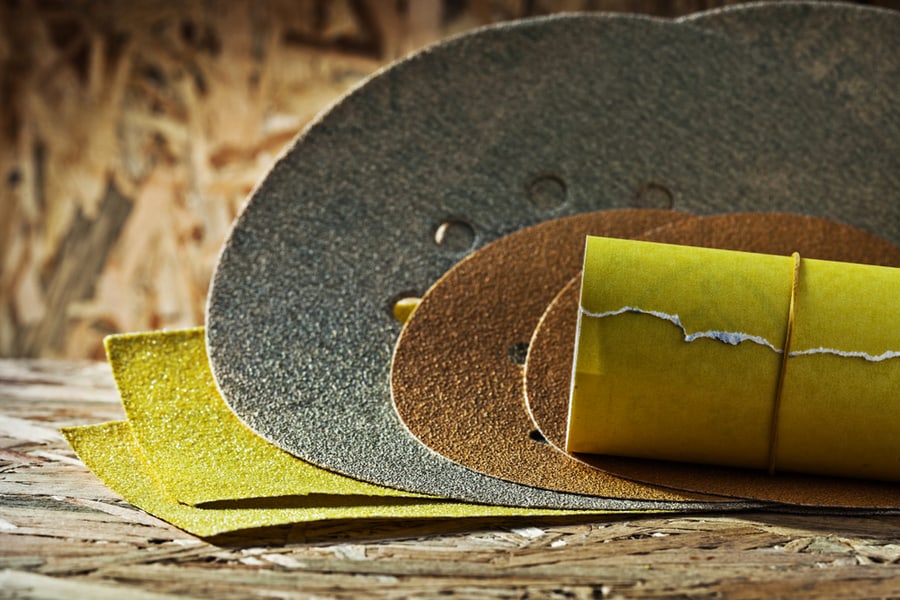
Take fine-grit sandpaper and buff the wrinkled area in circular motions. Make sure you remove the crackles softly until the wood surface is smooth. Also, work only on the affected area without disturbing other parts of your spray painting.
Do not buff the wrinkled spray paint too hard, as it will remove all the paint you applied previously.
Step 2: Clean the Wood Surface
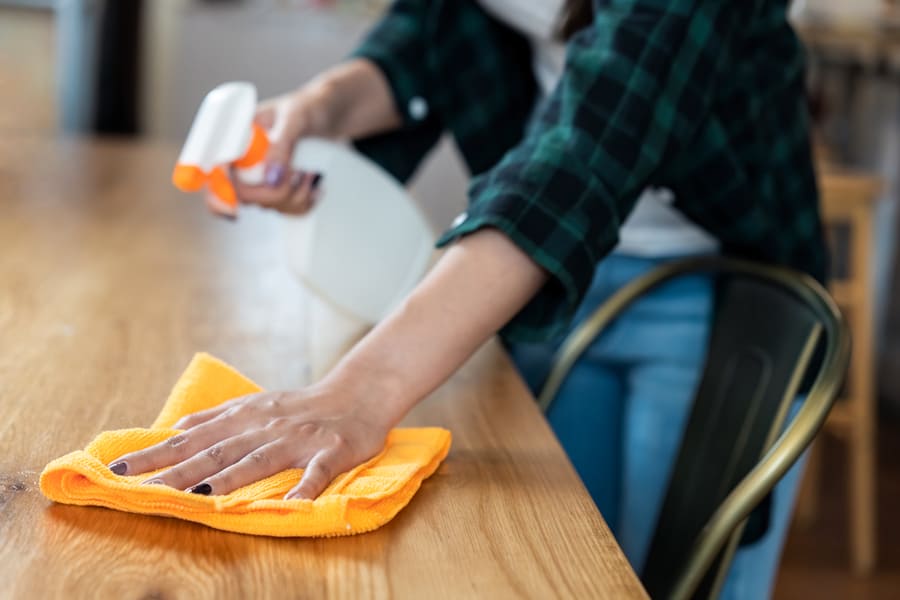
Once you have buffed the crackles on your surface, do not repaint it immediately. Use a dry paintbrush or dust brush to remove the dust and powdered paint that came out due to buffing. Take a damp towel and wipe off the buffed areas to see if your surface has been completely smoothed out.
Remember not to wipe the area with a damp cloth if the spray paint on the surface is wet. This will result in nothing but more paint wrinkles on your wood.
Do not wipe the buffed areas of your wood with a too-wet cloth, as this can leave moisture inside the surface and cause internal damage.
Step 3: Use Primer
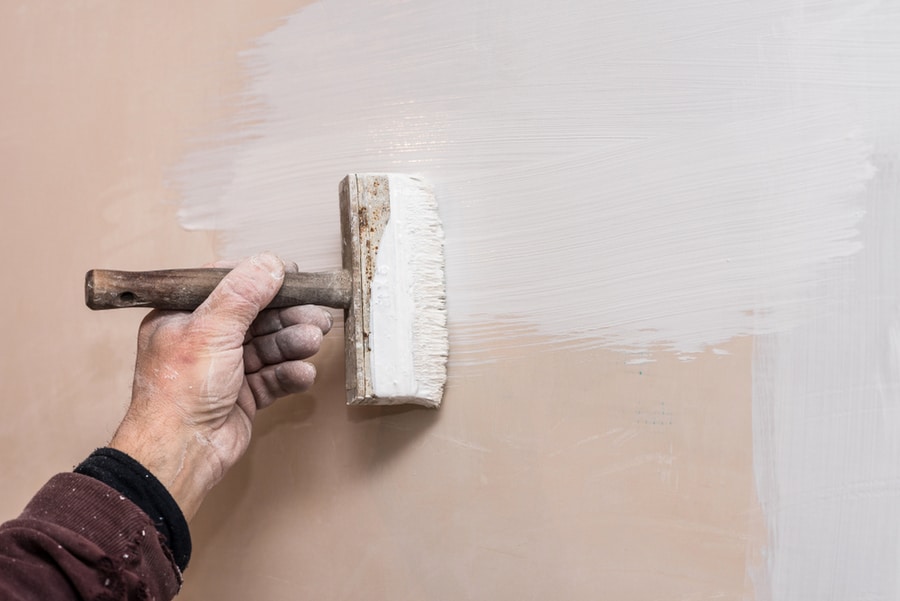
Wait for the buffed surface to dry after you’ve wiped it. Afterward, prime the areas you have to repaint to develop a smooth base. Moreover, a thin coat of primer also helps the paint stick better to the surface.
Just remember not to repeat the mistake of applying thick or numerous coats of primer. If a second coat is required, wait for the first one to dry. Once you have primed the area, leave it for at least 8-10 hours before spraying paint on it.
Step 4: Apply Paint
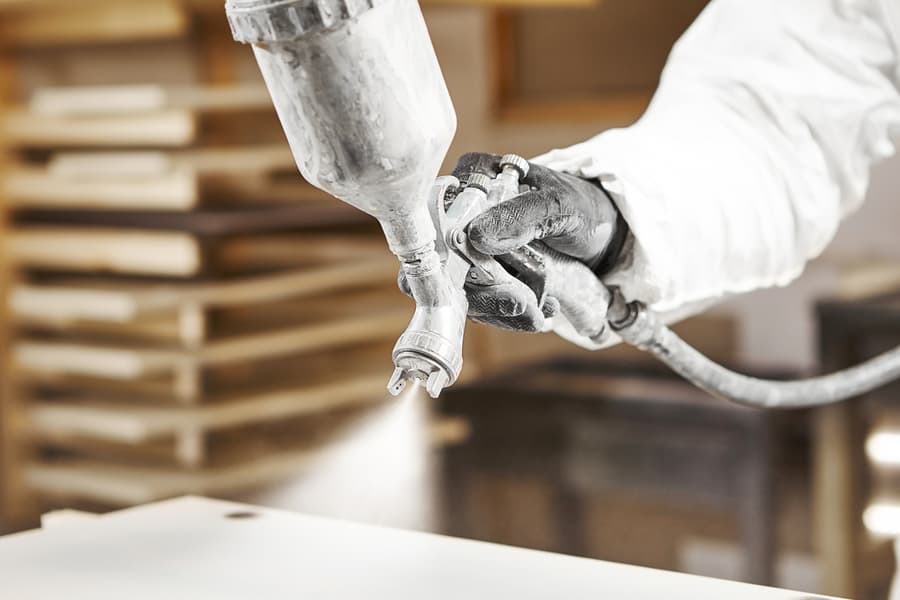
Finally, your wood surface is ready to be repainted. But remember not to repeat the mistakes mentioned above. Apply a thin layer of spray paint on your smoothed surface and wait for 5-8 hours to let it dry.
Now inspect the area and see if any spots were missed in the previous round. Don’t worry! Apply the final layer of paint and cover any missed spots in the first coat. But remember to check if the first coat has completely dried.
Let it rest, and ta-da! The wrinkles have never been there.
Final Word
In addition to the techniques discussed in this blog, following the manufacturer’s instructions listed on your spray paint label is crucial. If you still get wrinkles on your wood surface, no worries. Follow the four simple steps mentioned above to fix them and finish your newly painted surface perfectly.
