Making a decision about which concrete mix is best for your shower pan can be daunting. Hence, it’s crucial to consider different factors, including your budget, how quickly you need the task done, and what kind of look you’re aiming for.
This article will walk you through the things you must know to make the right choice.
A shower pan is the portion of a shower floor that is quintessential for creating a shower with tile flooring.
These pans have a slope that conducts water toward the drain and prevents standing water, leaks, or puddles from developing in your shower. Even though these pans are available in various sizes, you will need to make one if you want a bespoke size.
For this purpose, you must have a good concrete mix, i.e., Quikrete, that creates the best concrete mixture for shower pans. They produce two goods: floor mud and a sand/topping mix. Floor mud is the first, but both are equally useful for creating a shower pan.
In addition, there are also DIY solutions for concrete mix. For example, you can make decent dry-pack concrete by adding portland cement, sand, and a basic mortar mixture.
All of these mixtures produce a sturdy water-resistant barrier for the tile and floor of your shower.
Furthermore, we’ll go over each choice in more depth below.
Most people think concrete mixes are just random amounts of cement, sand, and water. It is primarily true (at least for the initial ingredient selection), but there are many different mixtures that you can choose from when making your own.
So what concrete mix to use? Below are the best quality mixes for shower pans:
1. Quikrete Floor Mud
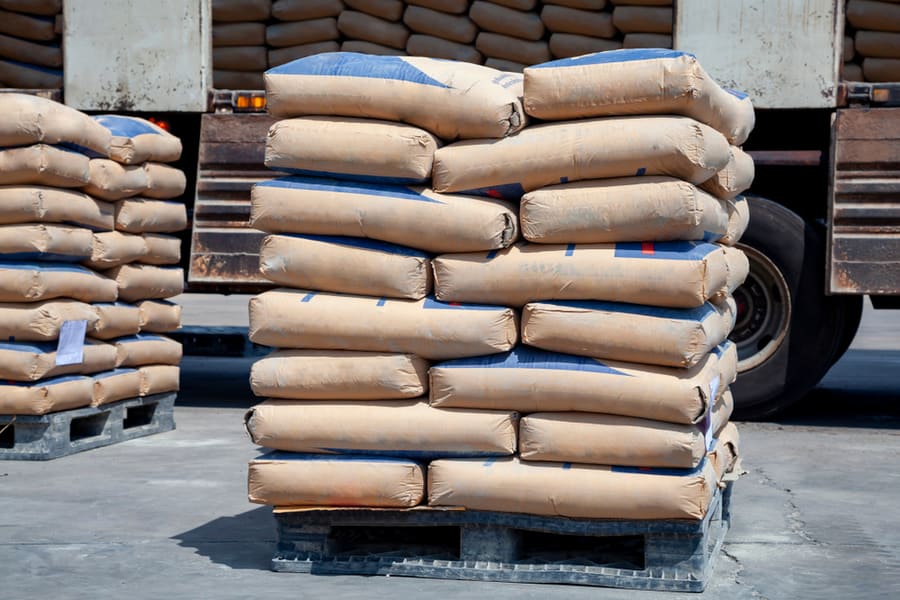
Quikrete Floor Mud is a concrete mixture that primarily contains portland cement, which is easily packable and moldable to flow into a drain.
You can use this dry pack mix as an underlayment mortar for leveling travertine, slate, and marble floor tile and constructing shower pans. It is an excellent base for tile because it forms a tight, smooth, and water-resistant surface.
Moreover, you don’t need to measure the ingredients because Quikrete Floor Mud is already blended.
Directions
Open the bag, mix it up, and get to work because Quikrete has already done all the math for you. Add the needed amount of water to Quikrete after pouring it into a mixing tray, bucket, or wheelbarrow.
Typically, the mix needs 4 quarts of water for every 80 lb bag.
Benefits
- This mixture is highly sturdy that can even support large stone tiles.
- You can use it either inside or outside.
- It has a compressive strength greater than 5000 psi after 28 days of cure.
- It is more straightforward than DIY blends because it already makes all your calculations.
- You can easily mold it according to your floor shape and slope.
2. Quikrete Sand/Topping Mix
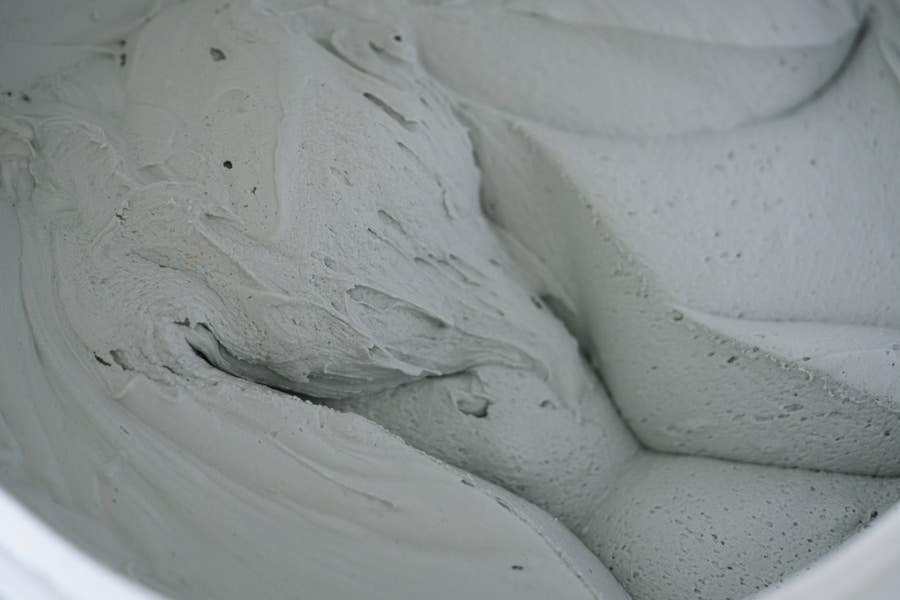
Quikrete Sand/ Topping Mix comprises commercial quality sands, portland cement, and other materials.
It is a fantastic concrete mixture for shower pans and is available in sizes of 10 lb, 40 lb, 60 lb, and 80 lb, making it simpler to purchase per your need.
Compared to the Floor Mud mix, it is also available at most Home Depot locations, making it simpler to obtain.
Directions
Take a bucket, tray, or wheelbarrow, and mix Quikrete Sand/Topping mix into it. After that, use a trowel, shovel, or hoe to incorporate the appropriate water.
To let you know, spreading, packing, and forming the mixture into a shower pan with any shape or slope is simple. Therefore you will get a sturdy and slick shower floor after proper installation.
The benefits of making your shower pans include their water resistance and flexibility in slope.
A hand-made concrete shower pan is a fantastic option to avoid leaks, puddles, or standing water or if you wish to have a custom-sized shower.
3. DIY Shower Pan Concrete Mix
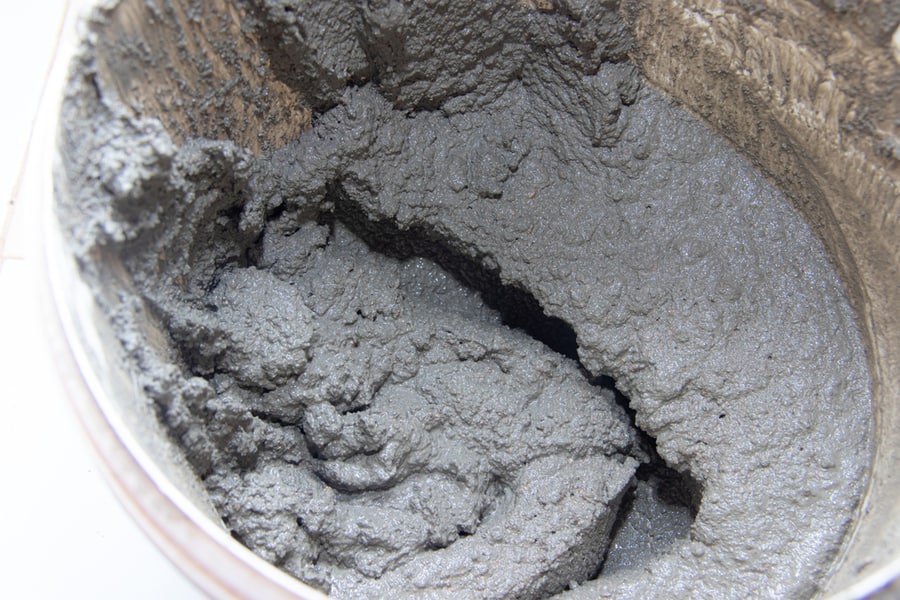
Regarding concrete, you have two options: purchase pre-mixed bags or create your own. Making concrete is relatively easy because it consists only of portland cement, sand, and an aggregate like gravel diluted with water.
You may change the strength and functionality of concrete by varying the amounts of each constituent.
The advantages of making your mixtures are numerous. If you mix a lot of concrete, they’re less expensive and customizable. Moreover, you can change the ingredients per your requirements.
Nevertheless, we advise sticking to the typical components and mixtures that Quikrete uses.
Directions
Mix 1 part of portland cement and five parts of sand into the water. For accurate amalgamation, you need about 4 quarts of water to mix an 80 kg bag of concrete.
It takes only a few easy steps to make this DIY shower pan mixture.
Measure your cement and sand separately first. Second, add the ingredients to a wheelbarrow, tray, or concrete mixer and thoroughly stir the dry ingredients with a hoe, shovel, or trowel. Finally, add the water and mix it to create finished concrete.
Keep in mind that making your shower pan concrete can help you save a little money, but it also requires more work. Since measuring and purchasing each component is tiresome, you can opt for a readymade mixture like Quikrete.
However, we only advise purchasing Quikrete if you require a custom mix or a large quantity of concrete because extra work is unnecessary for the savings of just one shower.
Consistency
The consistency remains the same regardless of the three products you select. Your ultimate result will be a semi-solid, relatively dry combination.
However, keep it light enough to pick it up and shape it into a snowball with your hand. You should balance out the mixture with a dry mix if it won’t retain its shape or seems too wet.
Squeezing the ball should cause some water to leak out while maintaining its shape. Your mix is ready for usage if it satisfies both of those requirements.
There is moisture content inside, even though you desire a dry mixture.
Take 4 quarts of water for an 80 lb bag of dry mix. Also, Add the water gradually after mixing. We advise you to begin by adding only 2/3 of the water. Then, add more as necessary after combining.
Other Materials in Shower Pans
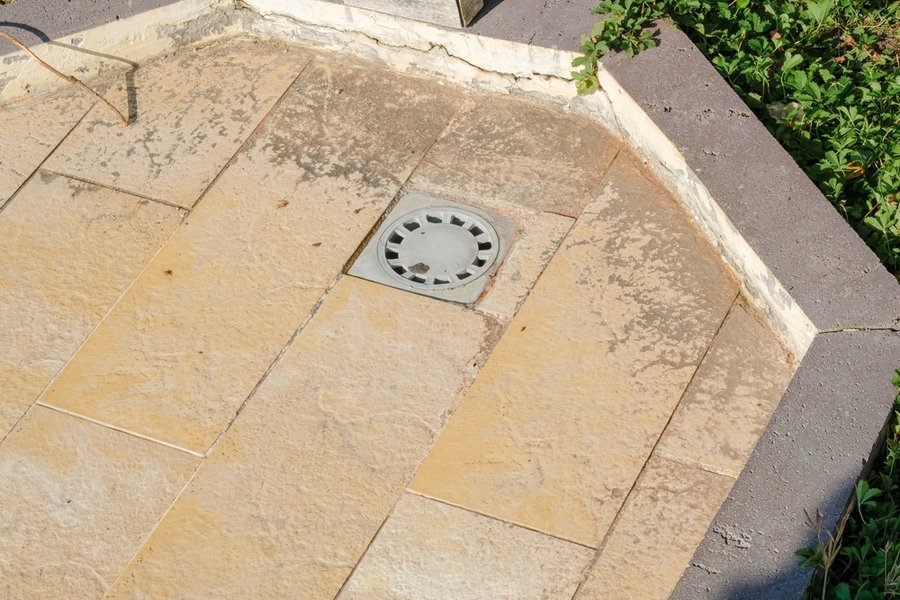
Now that you know the mortar or concrete mixture for your shower pan, it is time to understand its composition.
Once you construct the mortar basis for your shower, you can easily make a shower pan from any of the materials listed below.
1. Acrylic Shower Pan
Acrylic is popular and widely used material for shower pans. The advantage of acrylic shower pans is that they spare you the cost of maintaining the grout.
Aside from that, you don’t need to spend money on heated flooring since the pans already give you a warm feel.
2. Tile Shower Pan
Although tiles have a striking visual appeal, you must install them skillfully and precisely to serve as a watertight barrier for the rest of the floor.
In addition, they need routine maintenance. For example, when installing tiles for a shower pan, the mortar bed around the perimeter should be at least 2 inches thick to allow for water drainage.
3. Fiberglass Shower Pan
Fiberglass shower pans contain firmly woven polymers of glass fibers that serve as reinforcement. However, keep in mind that these pans are prone to soiling and scratching despite being economical.
Material Composites
The quality of a shower pan will differ depending on the material used to make it from other options. However, It is possible to strengthen acrylic and fiberglass to create a shower pan superior to one constructed from just one of the two materials.
Moreover, the manufacturer must provide the necessary thickness to function effectively to manufacture fiberglass, acrylic, and composite shower pans.
Necessary Considerations
Before installing a shower pan in your bathroom, ensure the space can support the whole weight of the construction. Put in some fundamental support at the subfloor level.
It could be either a wire mesh or a paper slip sheet. First, determine the existing reinforcements, and ensure to install the suitable base. To support the sub-base, use a wooden frame and determine the drain’s height and drainage point.
Since the drain must be the lowest point, choosing the slope from the drain point to each perimeter is essential.
A more significant gradient is appropriate, yet we recommend you have a 1/4 inch of the pitch for every linear foot as a general guideline.
Conclusion
To summarize, shower pan construction works wonderfully with Quikrete’s Sand/Topping mix and Floor Mud. These items can withstand the force exerted by shower users and guard against water damage to the floor.
When using a premade product, carefully read the manufacturer’s instructions to determine if the mortar or concrete mix bed should be thick or thin.
As you install the tiles in your shower pan, be sure the bed is 3 inches thick and thinner as it gets closer to the drain.
Frequently Asked Questions
What Is the Durability of Concrete Shower Pans?
Concrete shower pans typically live for at least ten years and occasionally up to 45 years, a rather lengthy lifespan.
However, things may shift depending on the material and how old the pan is, and this shifting of the shower pan can result in leaks, mold, or even possible bathroom floods.
What Ingredients Can I Add to the Mortar To Make It Waterproof?
Cement mix, fortunately, is a practical fix for this issue. When mixing mortar or concrete, cement mix is a substance that takes the place of water.
Hence, you can directly pour it into the mixing bucket, cement mill, or another appropriate vessel in the same proportion as water.
How Much Sand Should I Add to the Portland Cement for Constructing a Shower Pan?
Combine the sand and portland cement thoroughly with a shovel or mason’s hoe. Draw the mixture back and forth to ensure an equitable distribution of the ingredients.
You can add more mix to maintain the fundamental ratio of 5 parts sand to 1 part portland cement.
What Type of Concrete Should I Use for Dry Packing?
Masonry repairs frequently involve dry pack mortar, robust sand, and a cement mortar mixture. It is created by mixing portland cement, sand, and only enough water to hydrate the cement.
It’s sometimes referred to as floor mud or deck mud. In addition, we often utilize dry mix to fix broader and deeper gaps.
Is Sand Topping Mix Similar to Gravel?
Gravel is a component of concrete mix, which strengthens and increases the material’s durability. At the same time, the sand mix is typically used for mending or in areas where you want a very smooth finish.
Before beginning any job, check the state and local codes.
