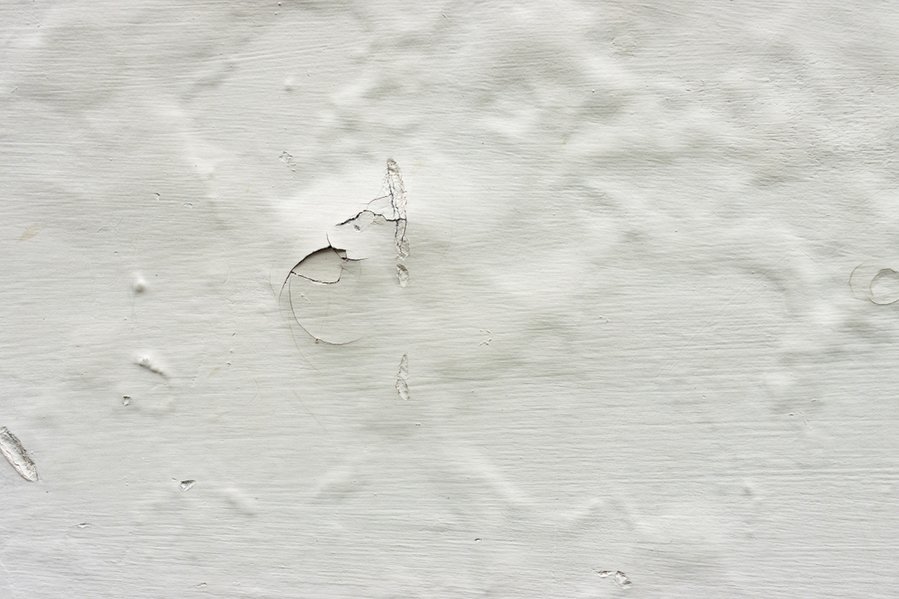
Painting walls brings the best out of your living spaces. It is a truly artistic project that requires delicacy and great attention to detail.
However, nothing is more sorrowful than spending countless hours dusting and cleaning before applying the beautiful paints, only to come back to bubbles a few hours or even months later.
If you, too are a victim of paint bubbles then worry not. This is a common issue that occurs mainly because of the underlying surface. Therefore, we will learn everything about why your paint bubbles and how you can fix it.
Painting your walls is fun, but it also takes a lot of time and effort. However, coming back to bubbles after a few days or months can be quite disheartening.
The most important takeaway is that the paint has several causes of bubbles. Therefore, you must address each issue accordingly.
Here is a list of items you will need to fix paint bubbles:
- Putty knife.
- Primer.
- Patching compound.
- Sandpaper.
- Boric acid.
These are required items that are essential to fix paint bubbles by yourself.
Since paint bubbles can occur due to many reasons, therefore, we will learn about the five major causes. In addition, we will also discuss the recommended solutions to apply the required fixes.
What Causes Paint Bubbling?
The first step to fixing paint bubbles is to determine the cause. Second coats may not always work and can be an unnecessary expense. To clarify, if you do not address the original cause, the issue will likely rise again.
Here are five reasons why your paint is bubbling.
1. Unclean Paint Surface
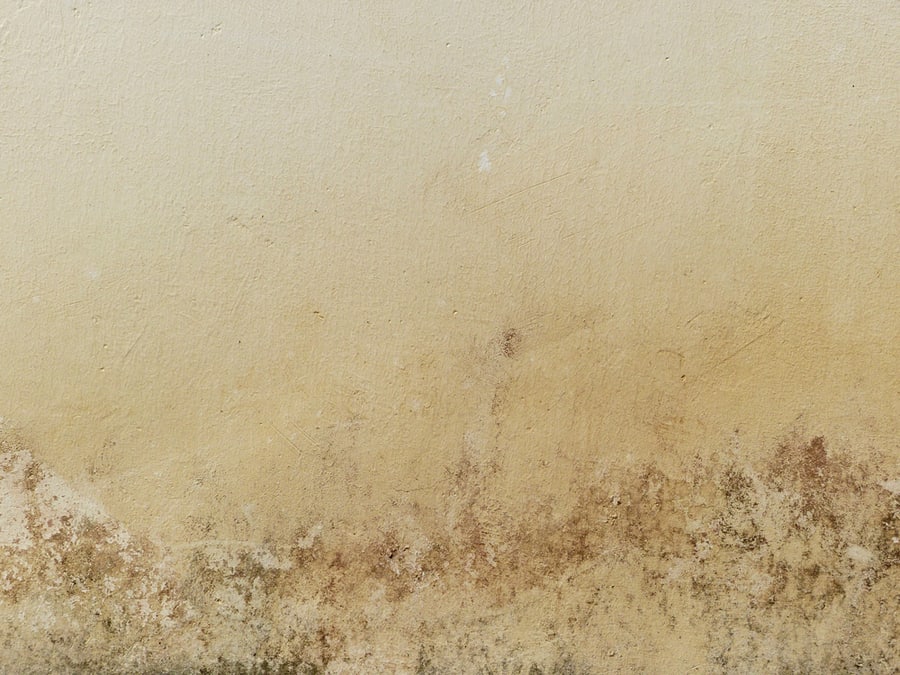
It is relatively common for dirt to build up on your walls without you noticing it. However, if you are not careful and apply fresh paint without cleaning the walls first, you will most likely return to bubbles.
The main reason is that fresh paint coats cannot stick to dust particles. Therefore, the small spaces cause paint bubbles.
Moreover, in case of removing dirt and grime from your walls with only water, you must let them fully dry off before you paint them.
2. Presence of Moisture
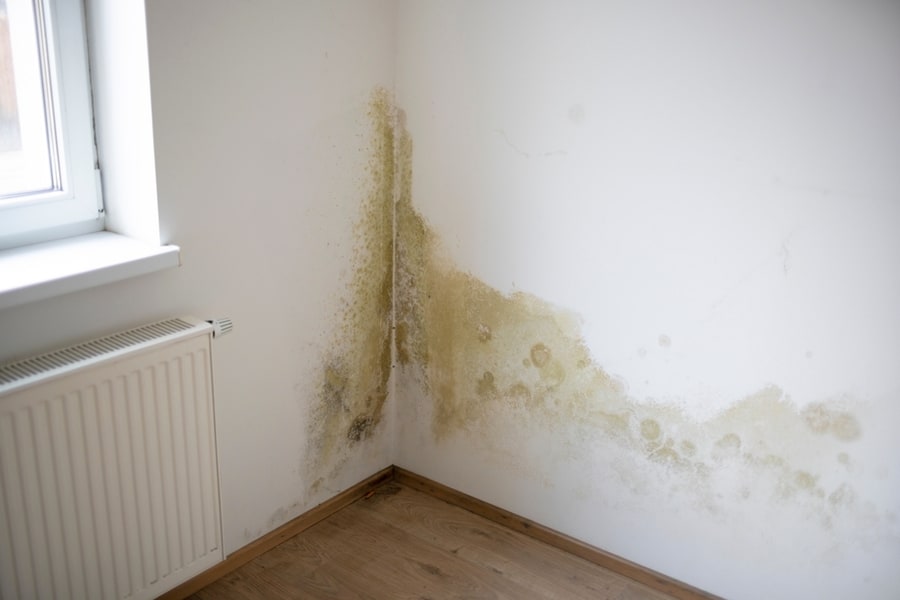
This moisture can come from anywhere. For instance, as aforementioned, you might not have allowed the clean wall to dry completely before painting.
Apart from that, another reason is the high humidity in your area. This could either result from the environment or spaces inside your house.
That is to say, high-humidity areas include bathrooms and kitchens. Excessive moisture can easily lead to paint bubbling. Once again, do not paint walls if the surface is still damp.
3. High Temperature
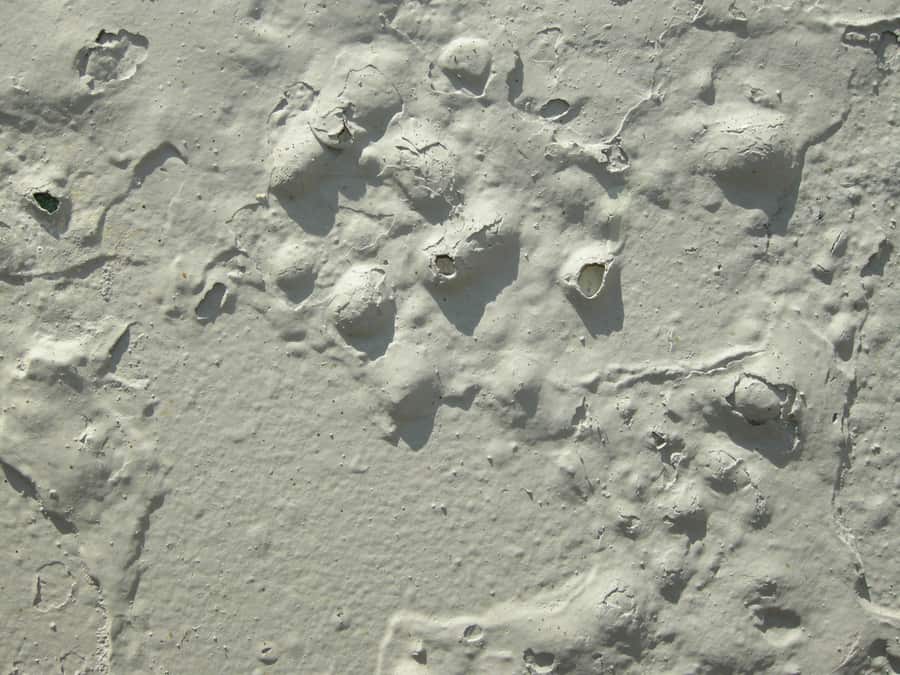
Yes, high temperatures are also a leading cause of paint bubbling. The room where you are experiencing this issue may be getting a lot of direct sunlight.
In addition, it is also possible that the particular space has heat-generating appliances. For instance, refrigerators, ovens, and electric kettles.
When you apply paint in such an area, the coat dries rapidly, bubbling paint. Yet again, kitchen walls are highly likely to suffer from this cause.
4. Termites
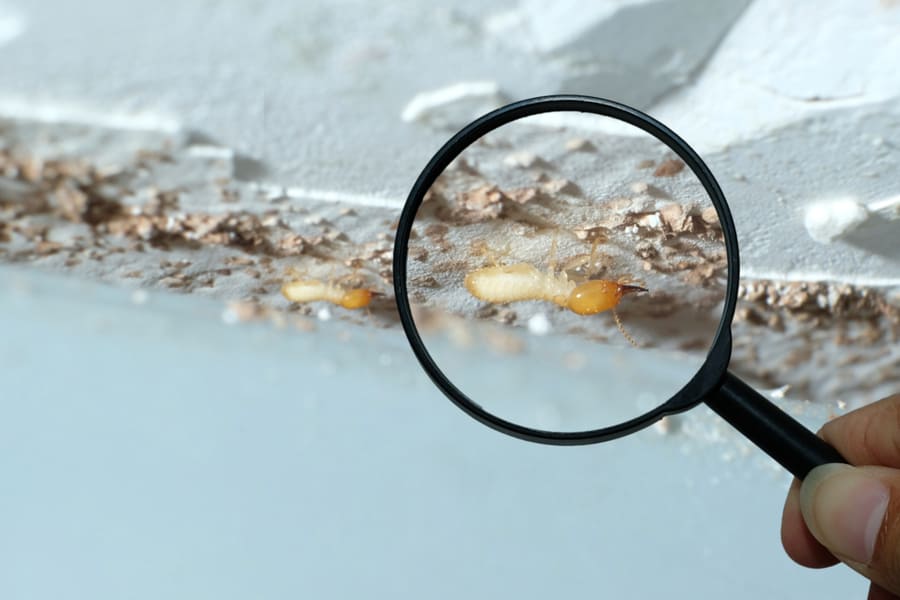
Termites are possibly the worst issue you can encounter because you cannot even imagine termites infesting your home.
However, termites require a lot of moisture for their growth, and when they are building their tunnels, they add a lot of moisture that can cause paint bubbles.
Furthermore, termites are persistent, and you cannot eradicate them by just breaking their nests. Even if you apply a new paint cover, it will just happen again.
This is a prime example of why you should address the issue before applying the fix.
5. You Did Not Use Primer
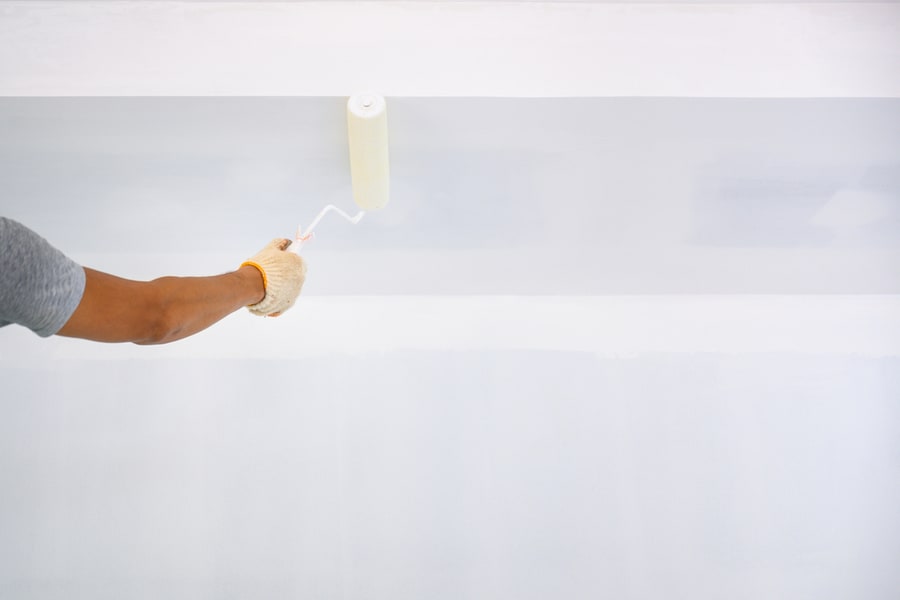
Skipping primer is a common error. Experts suggest that slightly rough and even wall surfaces are idle for paints. However, sanding all the walls can take countless hours.
Therefore, primer is an alternative method to help the paint stick. On the contrary, not all primers have the same functionality.
Nevertheless, the ultimate goal is to roughen up the wall’s surface.
5 Solutions To Fix Paint Bubbling
At this point, you are knowledgeable about the major causes of your paint bubbles. The information comes in handy when looking for a fix.
Based on the mentioned causes, here are five ways to fix paint bubbling.
1. Fix Bubbles Due to Dirty Walls
If you were not careful and painted on dirty walls, pick up your putty knife to make amends. We recommend the scraping and patching technique to get the quickest fixes possible. Exactly as the name suggests, you scrape off the affected areas and then patch them.
However, after you scrape the surface, use a sponge soaked in soapy water to clean the surface. Once you remove all the dirt and grime, use a dry rag to wipe off whatever remains.
Finally, let the wall dry off completely before applying primer and paint to the areas.
2. Fixing Bubbles Due to Moisture
This solution might appear simple but can easily be more tricky than the others. The first and most important step is to inspect and determine where the moisture is coming from.
For instance, it can be humidity from kitchens and bathrooms, a possible roof leak, and even loose plumbing connections.
Once you have determined the cause, attend to that first and ensure that no more moisture can reach your walls from that source.
Now, getting back to the paint bubbles, you will need to go for scraping and patching. Simply scrape the affected areas and clean them. Let the walls dry out before you patch them.
3. Repair Heat-Induced Paint Bubbles
Direct sunlight is not the only cause of heat-induced paint bubbles. That is to say, even heat-generating electric appliances have just as severe an impact.
You can make repairs by using a scrapper to get rid of the damaged areas. After cleaning and priming the wall’s surface, ensure that your home’s temperature is between 50 – 85 F.
However, read the manufacturer’s instructions on the paint package if the temperature deviates from the range. This information will better guide you on how to paint for specific temperatures.
Furthermore, try to work with indoor lighting as the main source while painting and close the blinds. This practice will help moderate the temperature.
4. Use Boric Acid To Get Rid of Termites
There are many chemical products that you can use to get rid of termites. However, if you are hesitant and need a non-toxic approach, then this is it.
You can use boric acid (borax powder and water solution) to kill termites. Pour your solution into a spray bottle and spray it on the infected areas.
After a while, you will notice how the problem is being solved after only a few applications.
5. Use a Suitable Primer
If you forgot to use a primer or just skipped it, chances are you now have plenty of paint bubbles, and your wall paint is also peeling off.
However, there is no need for panic. You can use the scraping-and-patching technique to fix the affected areas.
Before you apply a primer, remember that oil-based primers offer the highest resistance to moisture. Therefore, they are a better choice if you paint in high-moisture spaces.
Nevertheless, even a latex primer will do the job if you do not have external factors influencing the wall paint.
How To Scrape and Patch?
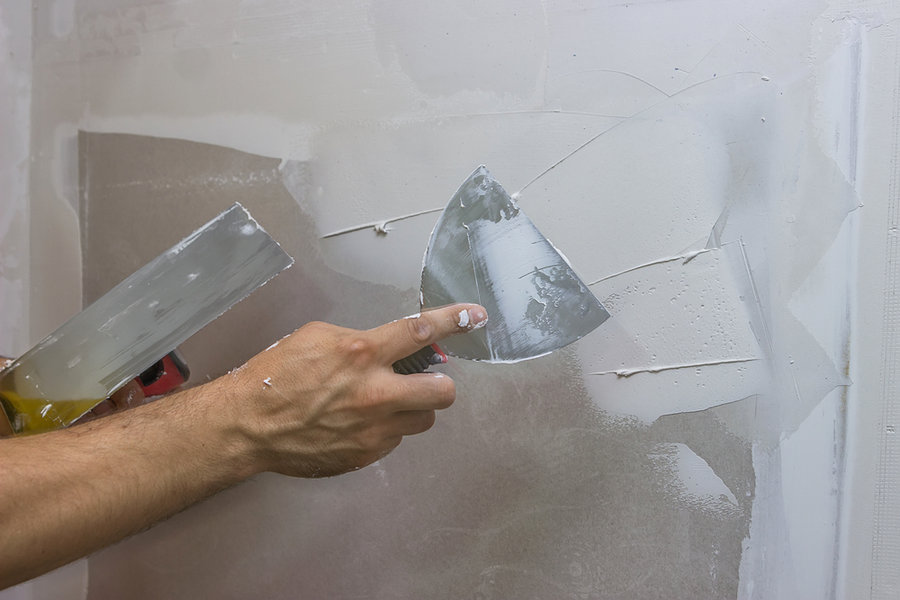
Scraping and patching is a technique that is used in nearly all the fixes for paint bubbling. If you are curious about the steps involved, it is quite simple.
Here are the three steps to the scraping and patching technique:
- Scrape the damaged paint – You can use a putty knife to remove the paint carefully. Try to use vertical and horizontal long strokes for the best results.
- Apply the required fixes – Depending on the cause, you can apply the required fixes. For instance, if you skipped primer, then now is the time to use it. Similarly, you can dry out the moisture.
- Repaint the wall – After you have applied your fixes, let the primer dry and use a suitable roller or brush to repaint your walls.
When you are at step two, check for any indentations or holes and fill them with a patching compound. As for repainting, ensure that you stir the paint gently and slowly to avoid bubble formation.
Finally, don’t brush or roll at high speeds.
Conclusion
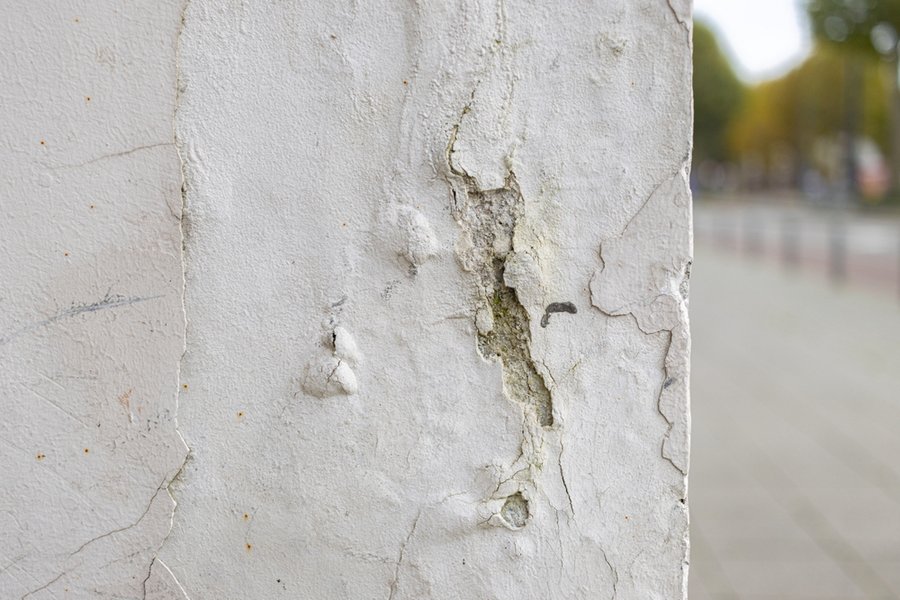
Painting walls is not just for fun and beautification but also a necessity. However, there is always something that gets in the way of making the perfect home.
The most common issue is your paint bubbling but it is not something to worry about unless you don’t do your homework.
That is to say, determining the cause of paint bubbles is just as important as fixing them. The only thing that is common in all the solutions is scraping and patching.
On the other hand, each cause requires a different approach after you scrape off the areas.
Frequently Asked Questions
Is It Okay To Pop Paint Bubbles?
No, if paint bubbles do appear, do not touch them. Give your wall enough time to fully dry and cure. Afterward, proceed to scrape, patch, sand, and clean the wall.
Finally, repaint the wall.
Is Bubbling Paint a Sign of Mold?
If you notice your wall paint bubble, there is a possibility of mold growth. In any case, there are several reasons for bubbling. Therefore, thoroughly check the walls to find the exact cause.
