Ahoy! Are you looking to make your boat more seaworthy? Or perhaps you’ve got a sheet of marine-grade plywood that will make a killer exterior table.
Take a peek at this article and learn how to seal that plywood correctly with clear penetrating epoxy. Keep reading to ensure your project doesn’t go sternwards (that’s backward to you landlubbers).
Just because plywood is marine-grade doesn’t mean it’s ready to get dunked in water. Marine plywood is durable and offers some added resistance to the elements. Still, you’ll need to seal your marine plywood with epoxy.
Sealing your plywood with epoxy will help keep moisture out and prevent water from damaging the wood.
The first step is sanding the plywood, working from coarser grit to finer grits, then wiping clean of sawdust and debris.
Next, wipe the entire surface with acetone, which helps remove any embedded grease from the work surface. It will need to dry for a couple of hours.
Your plywood is now ready to epoxy. Work in small sections using a foam roller or brush. Coat every surface of the plywood.
Once the whole surface has been epoxied, it needs to dry. If the finish feels rough, knock it down with wonderful grit sandpaper, and wipe it clean. Re-apply several more thin coats of epoxy.
That’s it! You’ve successfully sealed your marine-grade plywood.
Sealing marine-grade plywood is an excellent chore for a homeowner. The epoxy will create a long-lasting bond, and you’ll enjoy the fruits of your project for years to come.
Tools You’ll Need
Here is a complete list of the tools and supplies you’ll need to seal your marine-grade plywood with epoxy:
- Acetone.
- Clear, penetrating epoxy.
- Soft cotton cloth.
- Tack cloth.
- Sandpaper (various grits).
- Electric or orbital sander (optional).
- Foam brush.
- Foam roller.
- Paint tray.
- Paint tray liner.
- Latex gloves.
- Drop clothes or plastic to protect your flooring.
- Sawhorses (optional).
Sand, and Sand Some More
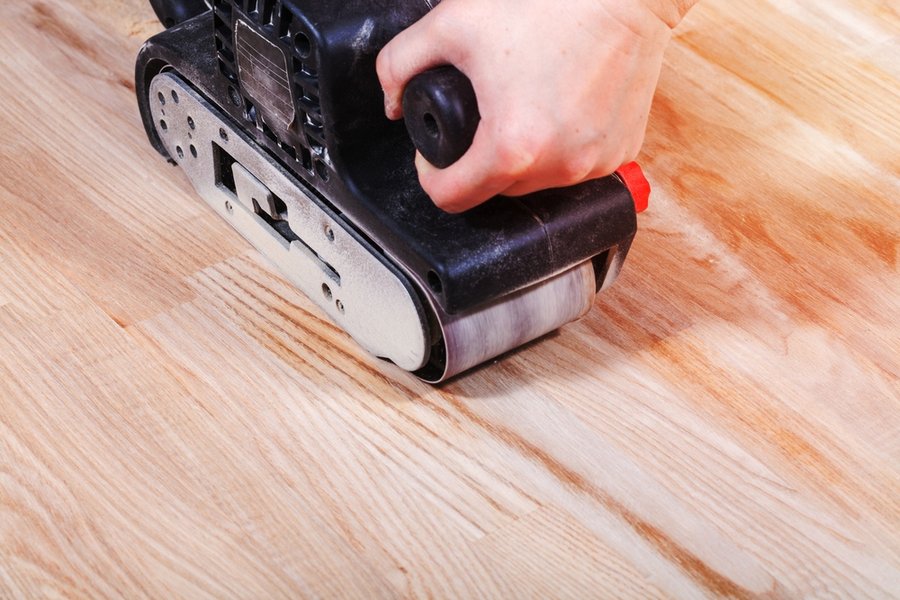
You didn’t think you’d be doing a woodworking project and get away without sanding anything, did you?
Depending on the size of your project, an electrical or orbital sander might make your life much simpler. If your project is small, you can likely get away with a piece of sandpaper wrapped around a wood block.
Throw down some plastic or drop clothes to protect your flooring, then set up your sawhorses on top of the covered area. Now, lift your project onto the sawhorses.
Sand every inch of the wood, including the tops, sides, and back. Use coarse grit if necessary, then medium grit, and finally fine grit. If you’re using an electric sander, don’t let it sit in one spot for too long, as you can sand through the veneer and into the ply.
Once you’ve finish sanded the marine plywood with fine-grit sandpaper, you’ll need to wipe off any sawdust and residue. This can be done with a tack cloth or a clean cotton cloth.
Wipe With Acetone
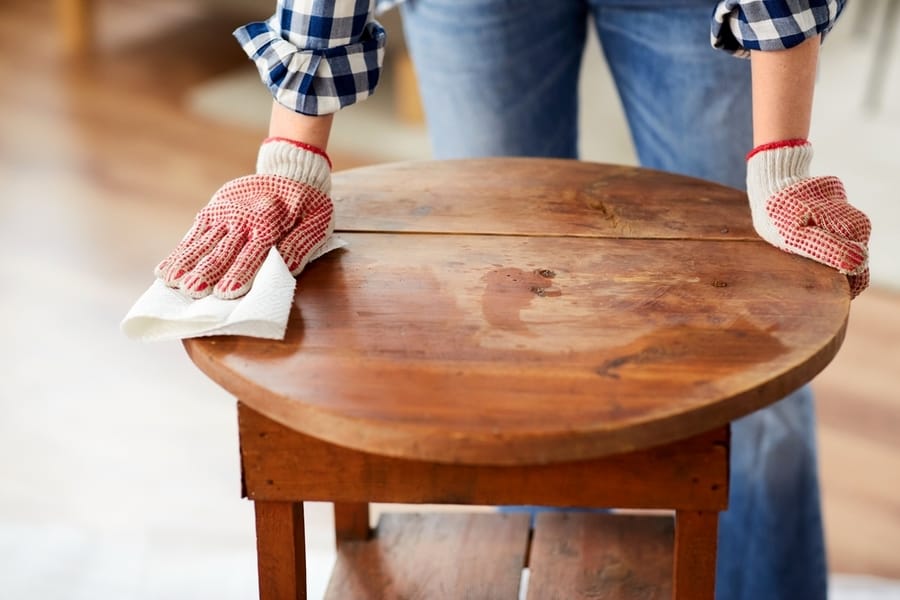
Once your plywood has been sanded, you’ll need to wipe everything with acetone. This will help remove any grease that’s trapped in the wood.
Grab a soft cotton cloth and slightly dampen it with acetone. Wipe every inch of the wood until it appears wet.
Allow the marine plywood to sit for at least 1 to 2 hours to dry fully. Grab a snack while you wait.
Apply the First Coat of Epoxy
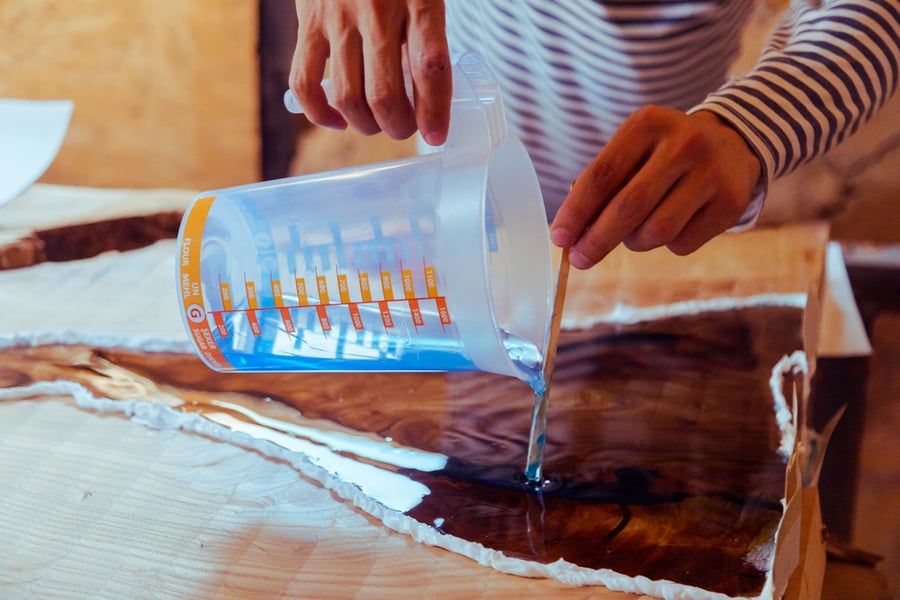
Get your latex gloves on. It’s time to apply the first coat of clear penetrating epoxy. If your epoxy needs to be mixed with a hardener, do so now.
Please read the instructions on the epoxy you chose and defer to their instructions when necessary.
Use a foam brush, not a brush with bristles. Bristles leave marks – foam does not.
You’ll also want a foam roller cover. Save the polyester ones for another project, as the epoxy can cause the fibers to shed. You wouldn’t want stray fibers in your finished project.
Dip your foam brush into the epoxy, and coat any areas you won’t be able to use your roller on. Don’t over-apply, or you’ll get runs – many light applications are always superior to a few heavy applications. Apply epoxy to the top and sides of your project before applying it to the face.
Pour some epoxy into your paint tray liner, and begin an application with your roller. Use gentle pressure on the roller, working in small sections, as the epoxy dries quickly. Apply epoxy to your entire project, front and back, top, bottom, and sides.
Let It Dry
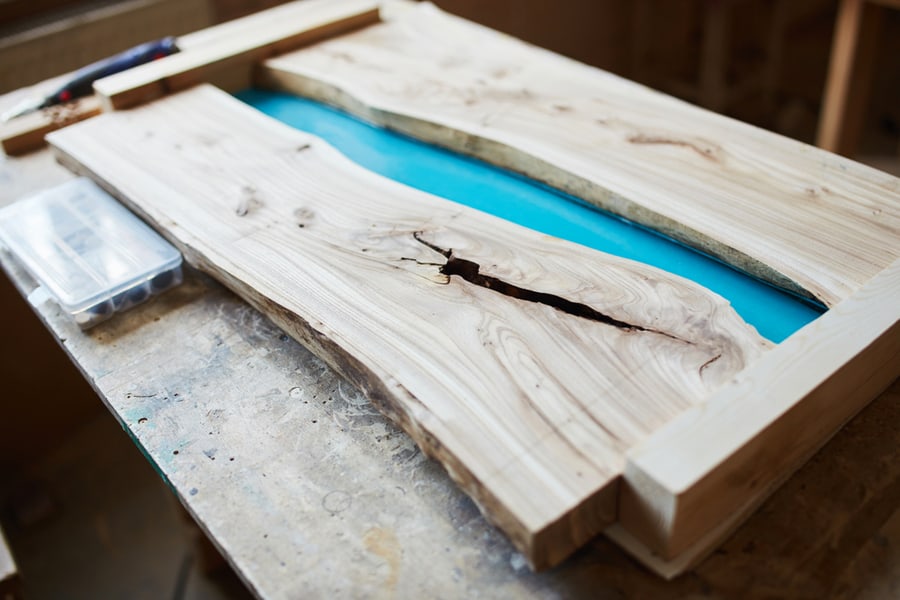
Once you’ve coated your entire piece of marine-grade plywood, you’ll need to let it dry. Typically this takes an hour or two, but check your label to see if the epoxy you selected requires more time.
Once it’s dry, run your hands over the piece. If you feel any bumps or rough spots, you’ll want to sand them with fine sandpaper (300 grit or higher). After sanding, wipe away all dusty residue with a tack cloth or clean cotton cloth.
Apply Additional Coats of Epoxy
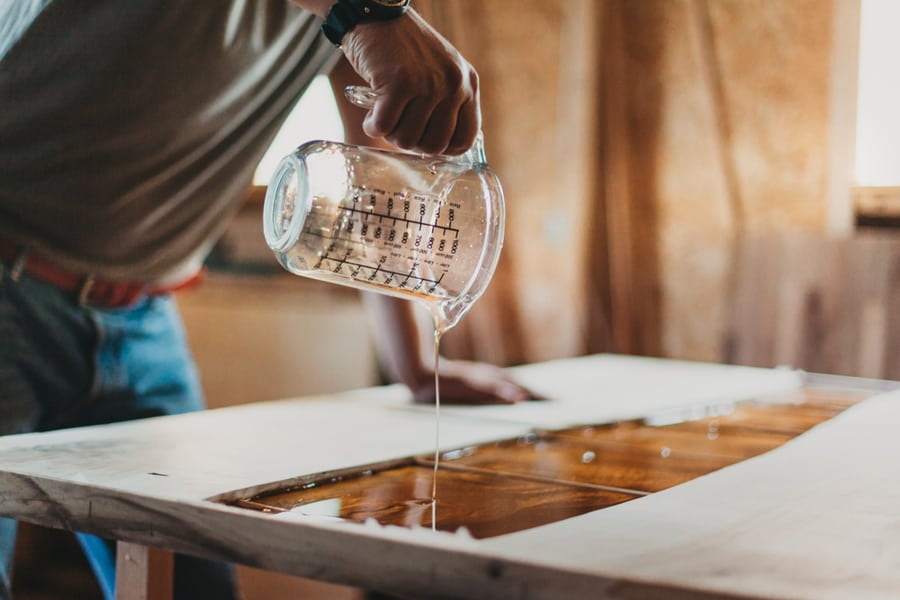
Apply subsequent coats the same way you applied the first coat, using a brush and then rolling. Remember that many light coats are superior to fewer heavy coats.
After each coat, check to see if sanding is necessary. Wipe away dust with a cloth if your project requires sanding.
There’s no hard and fast rule for how many coats of epoxy you will need to apply. You’re going for a glossy, consistent finish. Plan on something in the 5 to 7 coat range.
Set Sail
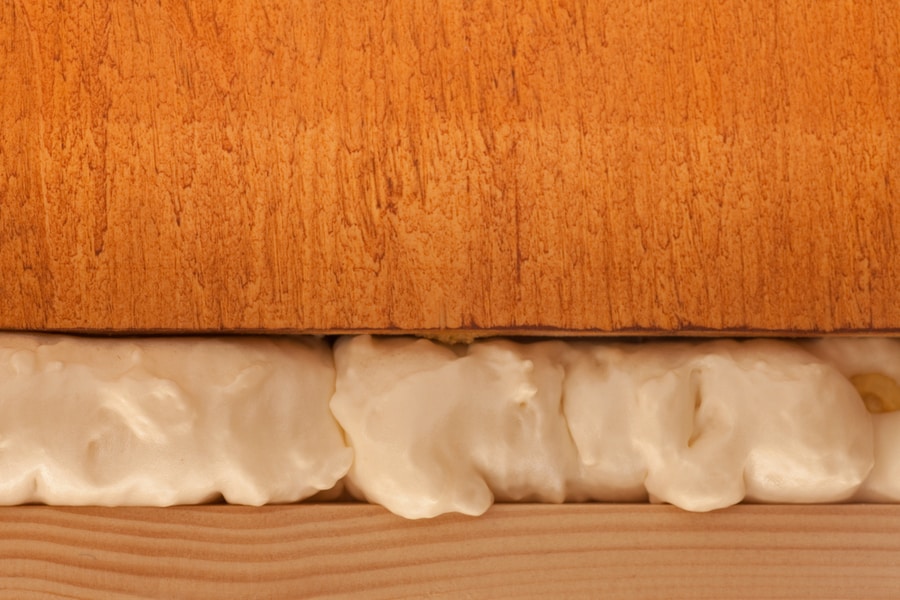
If you’ve got something made of marine-grade plywood, you’ll need to seal it to protect it against water fully. Clear penetrating epoxy is the easiest sealer to apply and the longest lasting.
Sand your entire project, working from coarse grit to fine grit. Then wipe it to remove any residue.
After applying acetone to your plywood, you’re ready to seal with epoxy. Use foam brushes and rollers, and apply several light coats, sanding between coats as necessary.
