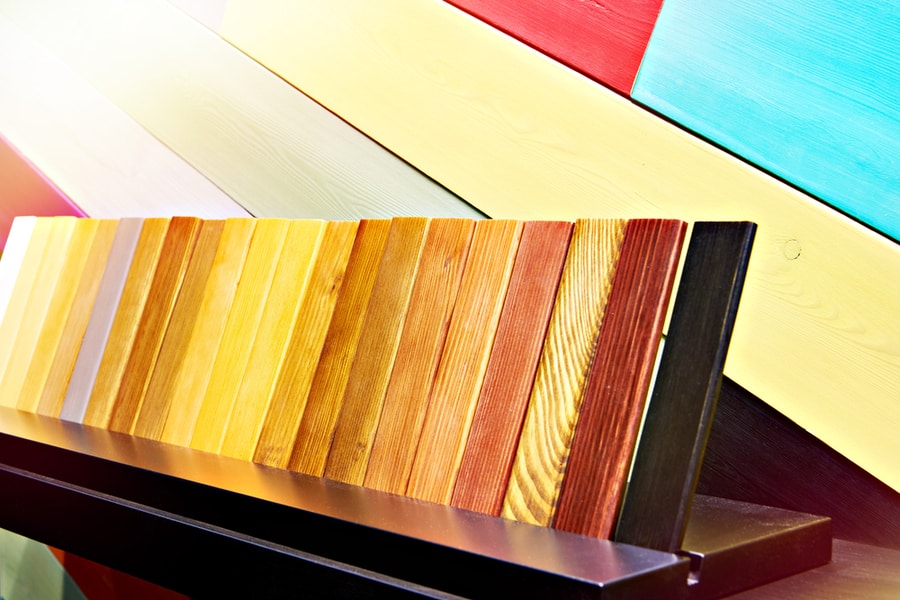
Matching stain colors is a form of art. There are so many ways to go on about it. Hence, it can be incredibly confusing.
You might be a DIY pro or just trying to repair or refinish your wood. Either way, knowing how to match stain colors is an important skill.
To clarify, knowing exactly how to accomplish this will ensure that your final product does not stray far away from its original appeal.
Also, keep in mind that the final results will only show after applying the matching finish.
Basically, all you need to learn how to match stain colors is a wood identification kit.
The rest of the journey involves a trip to nearby stores or an online store.
There are five crucial steps to matching stain colors. The most important part is identifying the sample, stain, and finish.
Choosing the right finish will ensure long-lasting and more appealing results.
Here’s a list of some finishes that you can pick after you match stains:
- Water-based polyurethane
- Oil-based varnish
- Lacquer
Remember that each finish functions differently. Therefore, picking the perfect one is crucial in this process.
This article concisely covers the steps to match wood stains efficiently. Matching stain colors is often considered a challenging task, yet it is done for good reasons. Once you get the identification part, the rest is easy.
5 Steps to Match Wood Stain Colors
It’s time to dive into your stained wood project. Whether you need to repair or refinish, matching wood stains can be a real DIY challenge.
Fortunately, it is doable, and you can avoid labor costs by carrying out the project yourself.
Here are five concise steps to match wood stains:
1. Choose the Right Sample
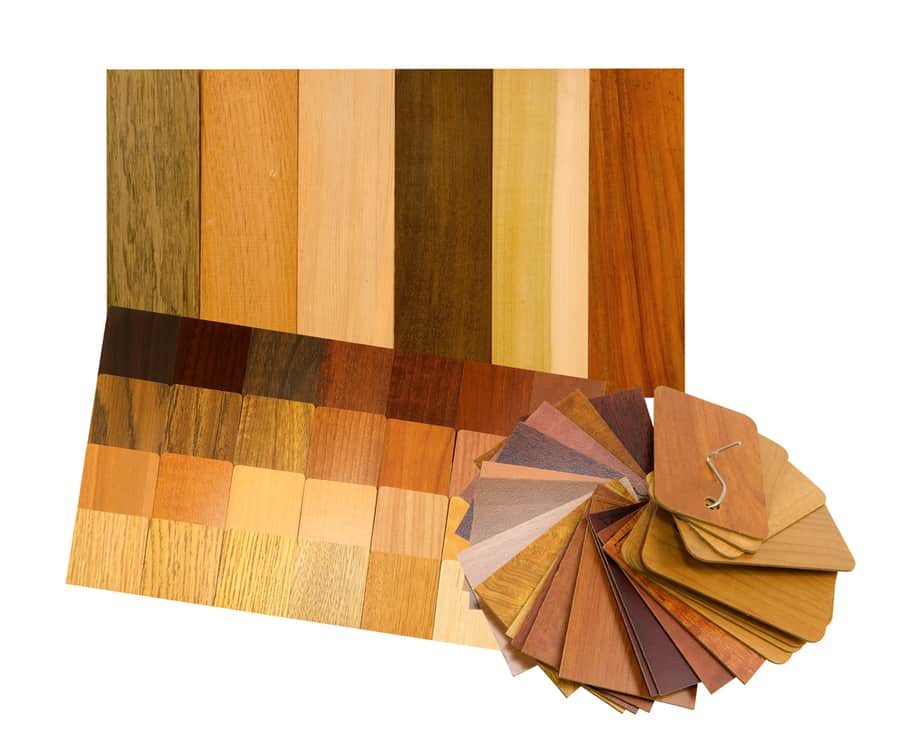
The first step consists of picking the right sample that is of the same grain and species.
You can even grab samples for comparisons until you find the best match.
Choosing the right grain and species is an important step. It will determine how the stain appears after it dries out.
Moreover, if you are fortunate enough to have excess material from the same piece of wood, you can use that.
However, if you are not so lucky, you will need to do a little more work.
Start by identifying your wood type. You can accomplish that by purchasing a wood identification kit.
Once you have identified the wood type, proceed with getting the wood stain and finish.
2. Identify Your Sample

The second step involves visiting a nearby paint or home improvement shop.
If you are not an expert, it is recommended that you visit someone that offers identification services.
When at the store, compare the stain sample you picked with the ones offered. Feel free to ask an employee for further information.
However, if you want to dodge the trip, you can visit websites that offer stain samples online.
From there, run a comparison. This won’t be as accurate as going to the shop, but it works.
3. Buy the Perfect Stain
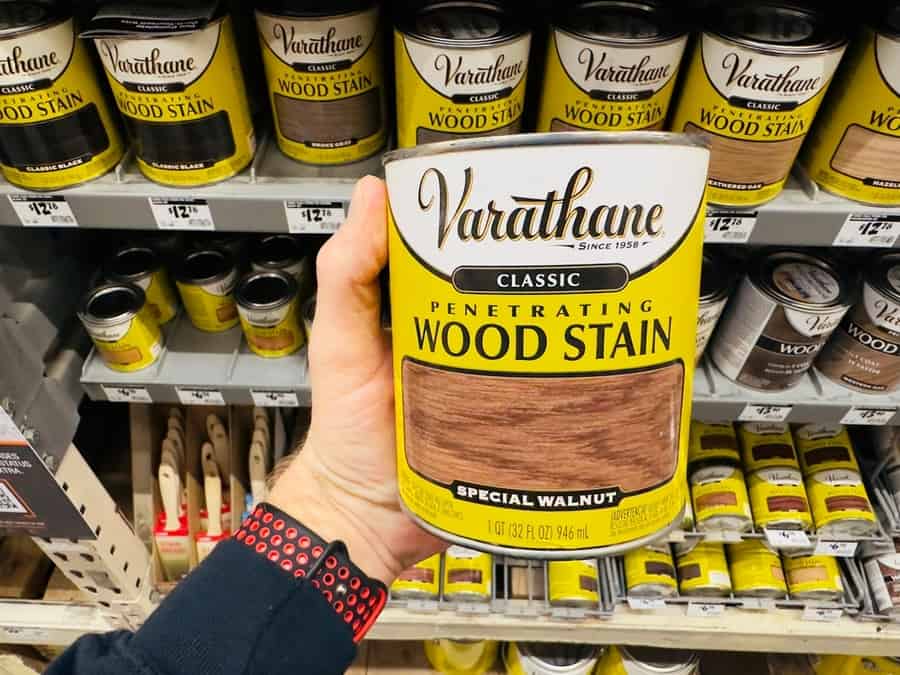
The first two steps involve identification only. Now that you have a matching sample, compare it with the stains offered in the store. Pick the one that best resembles your sample.
An important part of this step is to purchase multiple stains. You can’t know for sure if your sample is correct until you apply.
Therefore, having several samples at hand can help save multiple trips.
In addition, you might also need to purchase multiple stains if you are going for a custom wood stain mix.
4. Pick the Right Wood Finish

When it comes to home improvement, applying a finishing layer is always important. This protects your wood surface and enhances its lifespan.
Therefore, pick a finish that can offer the required protection for the setting.
It’s recommended that you go for the one that matches the sheen and color of the stain.
Here are a few finishes that you can choose from:
- Oil-based varnish: It can seep into your wood and deepen the color of the stain. It is highly effective when you want to make the color darker than it was.
- Water-based polyurethane: This is a durable option. It is also safe and environmentally friendly. You can opt for this if you want to lighten the stain.
- Lacquer: You can get the highest amount of durability from lacquer. It’s mostly a popular option for outdoor furniture. Go for this if you want a glossier sheen.
5. Apply the Stain and Finish
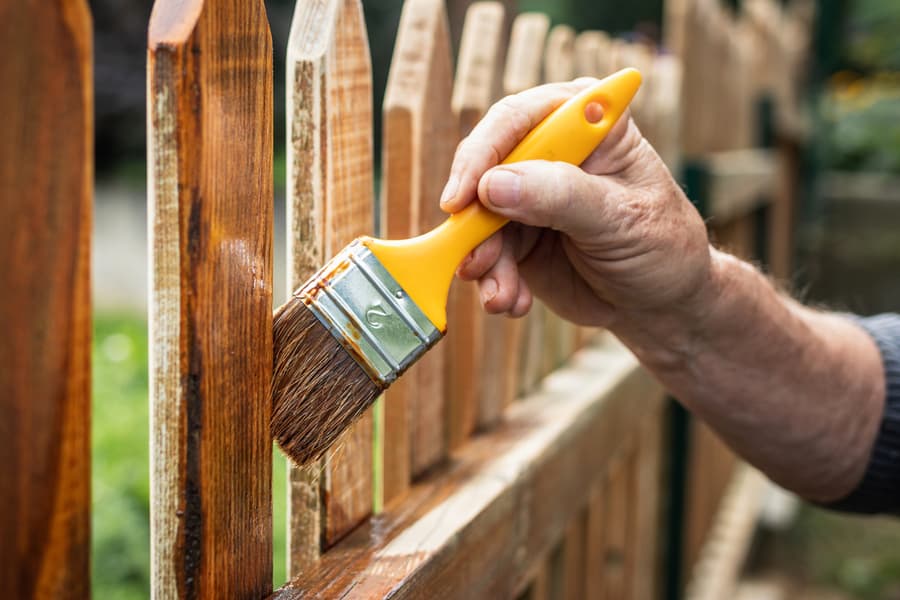
The only hard part of matching stain colors is identifying.
Now that you are past it and have your stain and finish at hand, you can proceed with applying it.
This is the easiest step of the process. All you need to do is apply one coat and just observe what you end up with.
There is a high chance that you might not get the results you are expecting on the first go.
Therefore, don’t stress out and continue the process. You will only be able to see the results after you apply the finish.
Takeaway
Matching stains can be quite a challenging DIY project. However, if you know how to match stain colors, you are already halfway there.
From the five steps discussed in this article, the focus primarily revolves around identification.
Therefore, the most important part of this DIY activity is knowing which product to buy.
Once you get the right products, the rest of the task is super easy.
Frequently Asked Questions
Can I Match Stain Colors?
Yes, you can match stain colors. Many water-based solid color stains settle like paint without covering the wood grain. You can pick the one that works best for you.
Can I Stain Atop the Stain Without Sanding First?
Yes, you can stain your wood without having to sand it first. You can accomplish this by adding a gel stain on the present finish.

