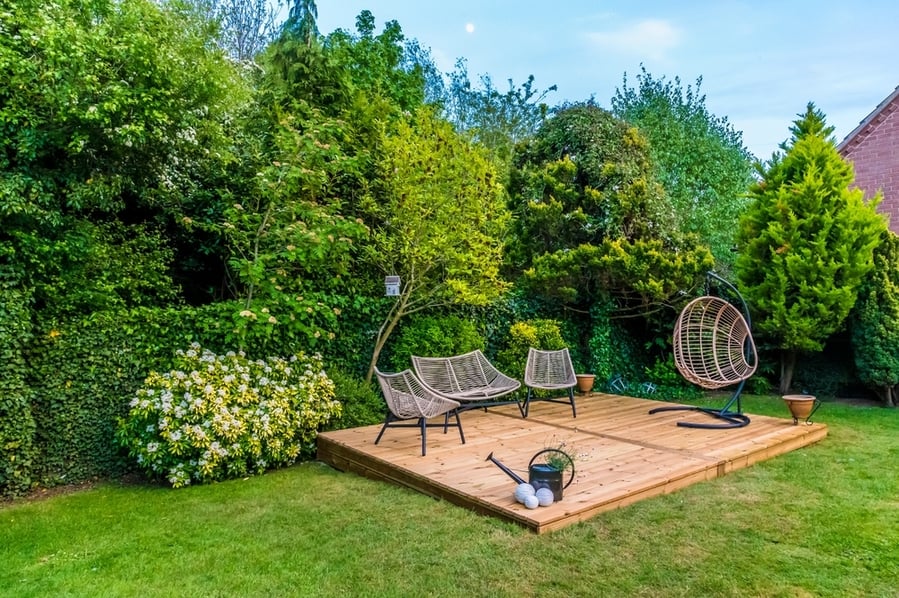
Have you ever thought about laying decking on your grass but didn’t know where to start? If you are actually thinking about laying decking in your garden, this article is absolutely for you. The great thing about decking is that it can be used on almost any kind of soil and turf.
Decking is an excellent way to add some extra value to your lawn, and it gives the appearance of being more expensive than it is and can help increase the value of your home.
Here are the steps on how to lay decking on soil or grass.
- You need to choose the appropriate decking type for your situation.
- Lay the decking in a straight, level line, and make sure it’s not crooked.
- Run a string line under each board to keep them straight.
- Use a screwdriver to fasten the boards together.
- Applying decking adhesive.
These steps on laying decking on soil or grass are easy to follow and give you the best results.
There are different methods of laying decking, and they all take different amounts of time to do. Keep reading if you want to know how to lay decking on soil or grass. This post is for you.
How To Lay Decking on Grass or Soil
If you’re going to take on a project like building a deck, why not make it unique? There are many steps involved in creating the deck from start to finish. Decking is a fantastic invention, but there are a few things you must keep in mind.
Here is the ultimate guide on how to lay decking on soil or grass:
Check Your Local Building Codes
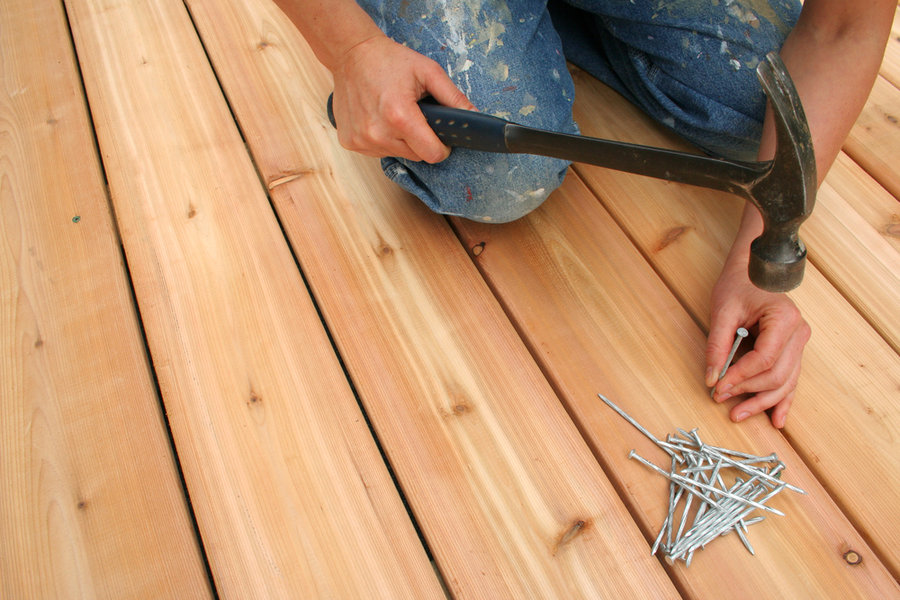
If you live in a city, check your local building codes before you begin. Many cities require that decking be installed with screws and not nails. If you plan on installing the decking yourself, it’s best to ensure that any materials used meet these requirements.
Some cities have strict requirements for spacing between joists and beams, while others may require different types of lumber.
You’ll also want to ensure the local building code has approved the type of wood used for your decking before buying or installing it. Many types of wood are not allowed under some codes because they can cause problems with moisture and pests.
Prepare the Ground Well and Lay a Foundation
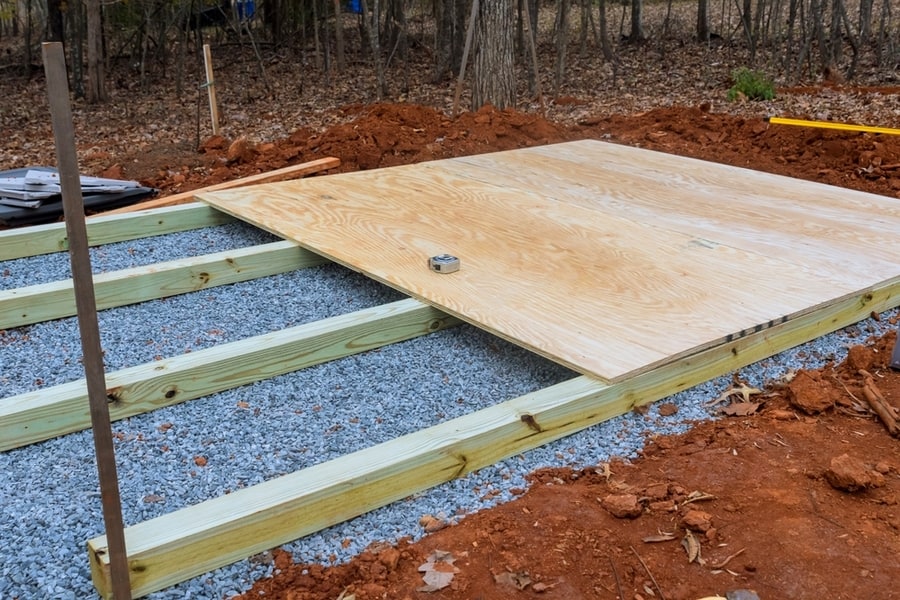
This means ensuring that there is good drainage and that you clear away any weeds. It would be best if you tried to dig down around 50mm below the soil level so that water can drain away easily.
If you use gravel, this must be mixed with a binding agent such as sand or limestone, and this will help prevent your gravel from sinking into the ground and creating a muddy mess when it rains.
Laying a foundation for your decking. It can be done by digging a hole that is the same size as the base of your decking and then filling it with gravel or sand. You may also choose to lay pavers or bricks instead of concrete, but you must ensure they are adequately secured to prevent them from shifting when people walk on them.
Use a Level To Make Sure the Area Is Flat
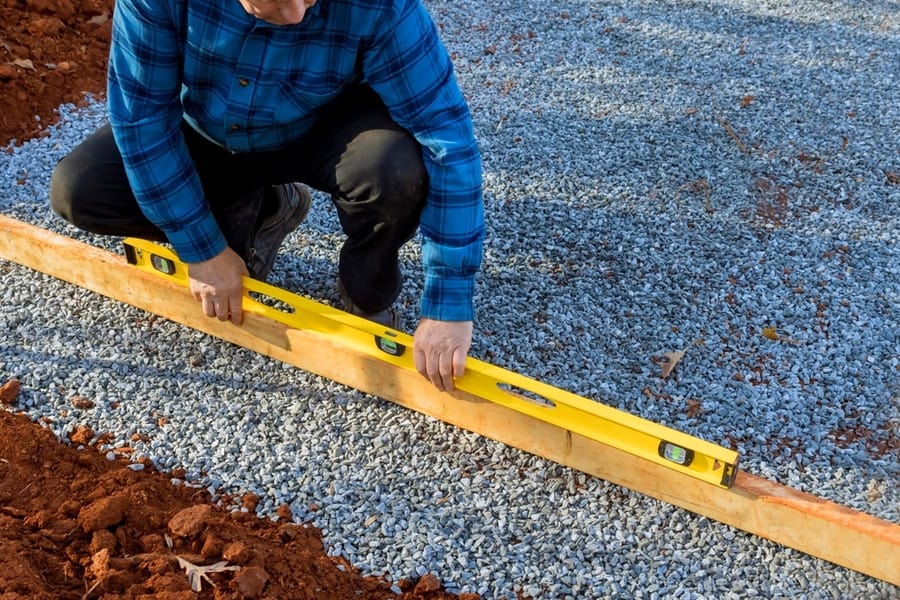
When laying decking, it’s essential to ensure the area is flat. If you place the board on top of uneven ground, then the board will not be level and could cause problems with water drainage.
If possible, remove all stones or other materials from around the area where you’re going to lay your decking. This will help ensure no obstacles prevent the boards from sitting flush with one another.
A level will help you determine if there are any issues with uneven ground or dips in the ground. This will ensure that your new decking doesn’t have any problems when installed.
Use a Long, Straight Edge To Lay Out Your Boards
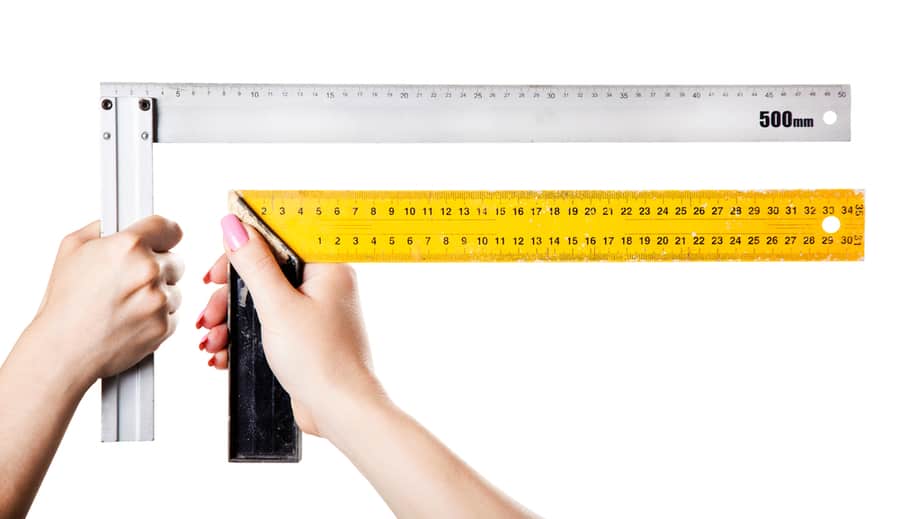
Use a long straight edge to lay out your boards. A straightedge is a tool used to measure straight lines and angles. It looks like a ruler with two ends: one end is longer than the other and has a pencil attached at the top end. The other end is shorter than the first, with chalk attached to the bottom.
Place one end of your straightedge against one side of each board so that it touches them all together but does not draw any lines. Then use your other hand to draw lines connecting all four points along this edge. These will become your studs.
Mark Your Cut Lines on the Board and Cut With a Handsaw
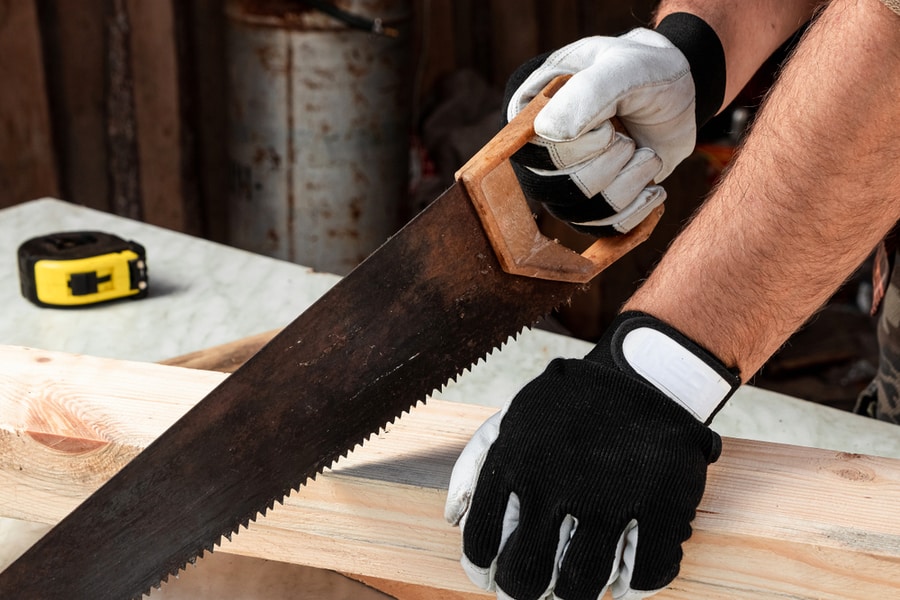
If you’re using a string line to mark your cuts, measure from one end of the line to the opposite end and make a mark there. Then measure from that mark to where you began measuring and make another mark there.
Now you have two lines that are spaced evenly apart. You can use these as guides for making your final cuts with a handsaw.
If you’re cutting boards with a handsaw, you must ensure your blade is sharp enough for this task before starting. You’ll also want to avoid damaging any of the edges of each board because this will result in uneven cuts once they’re laid out flat on soil or grass.
Lay the Rails/Decking As Close Together As Possible
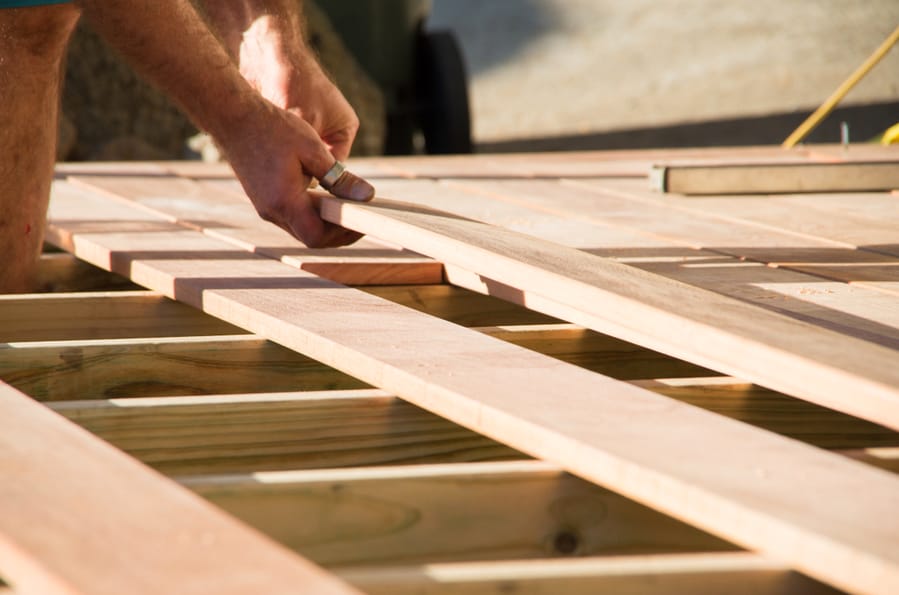
The rails and decking should be laid as close together as possible. The closer they are, the less likely they will be damaged and the longer they will last.
You can use spacers between the boards to achieve this, but you’ll need to ensure they’re at least 3 cm thick to support the boards’ weight.
This will help prevent gaps between the boards and ensure that any nails or screws do not come into contact with mortar or other materials on the ground. This can cause moisture problems and rust, so you must lay your rails/decking in such a way that they are as close together as possible.
Position the Side Rails First and Then the Ends

You must ensure that your side rails are perfectly straight and won’t sag or bow under their weight. An easier way to do this is to lay them on top of a board with a level attached, like a spirit level.
Set your boards at least 8 inches apart, then place a rail on each one. Check that all your boards are straight by using a spirit level again.
Use Push Nails To Secure the End-Caps to the Posts

The end-caps are the most critical part of the decking because they help maintain your deck. You can use push nails or screws to secure them onto the posts, but if you’re using screws, you’ll need a drill bit that is a few millimeters larger than the head size of your screw.
To simplify this process, use a hammer and chisel to remove dirt or grass under your decking boards. This will leave a clean surface where you can apply pressure without damaging it.
Hammer the Nails One at a Time
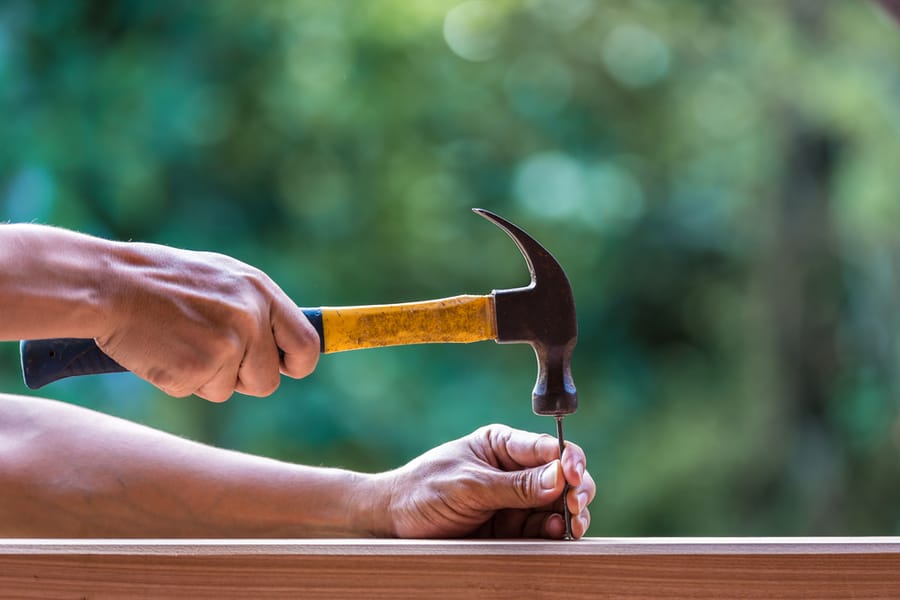
You’ll want to hammer the nails one at a time, so you can see what you’re doing. The easiest way to hammer is with a regular old hammer.
If your decking is not expansive, it will be easier to nail one row at a time. However, if your decking is wider than 2 x 4 feet, it will be easier to nail two rows.
If you use two rows of 2 x 4’s spaced 6 inches apart, nail each row in four places along its length and leave 1/2 inch between rows when nailing them together.
Tighten the Joist Hangers
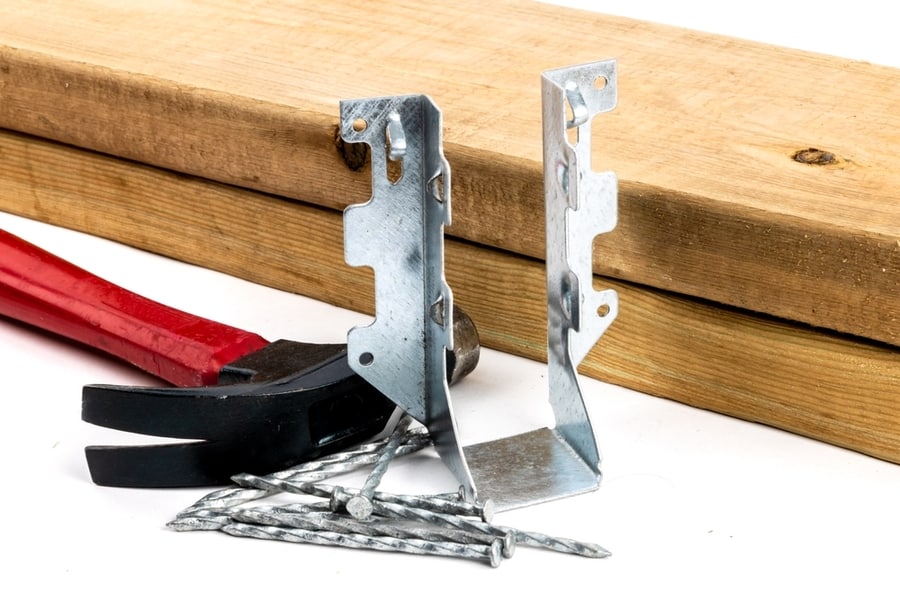
If they are loose, they will sag and not support the weight of the decking. To do this, find a block of wood at least as long as the distance between your joists. Place it under one end of each joist hanger and screw it in place with a screwdriver.
Now tighten all other joist hangers in line with this one until they are all equally tight. You will see which ones need tightening if you loosen them one at a time.
Build Up Each Board With 2-1/2″ of Decking Screws
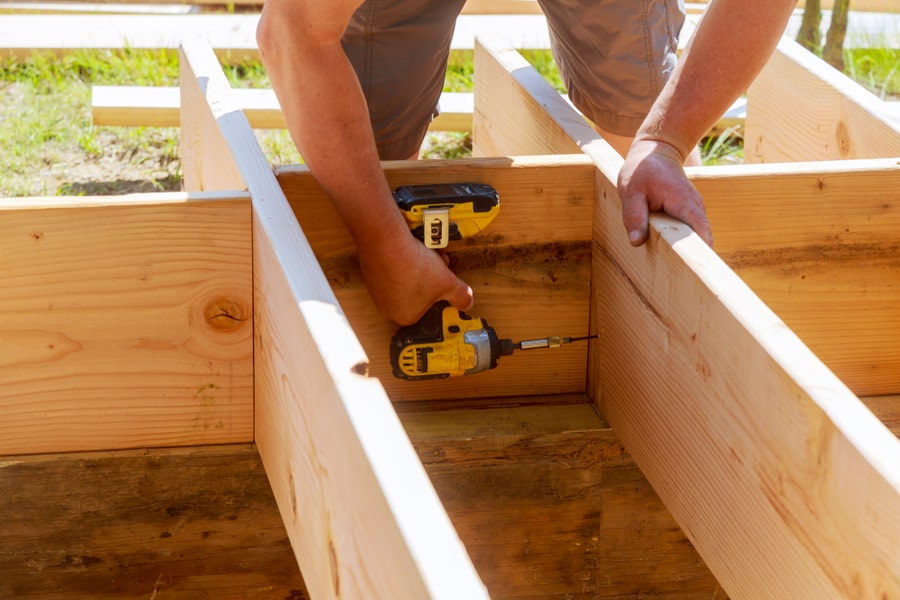
If you’re laying your decking on grass or soil, you must build up each board with 2-1/2″ decking screws. Most grasses and soils are too soft to support a stiff board. In addition, all the boards must be firmly attached to each other and the subfloor before you start driving screws into them.
Build up each board with 2-1/2″ decking screws like you would any other wood product. Start by placing the first screw through both sides of the studs and into the foundation.
Then, drive two more screws through one side of the studs and into the foundation. Repeat this process until you’ve reached the top of your deck.
Apply Decking Adhesive and Screw It Down
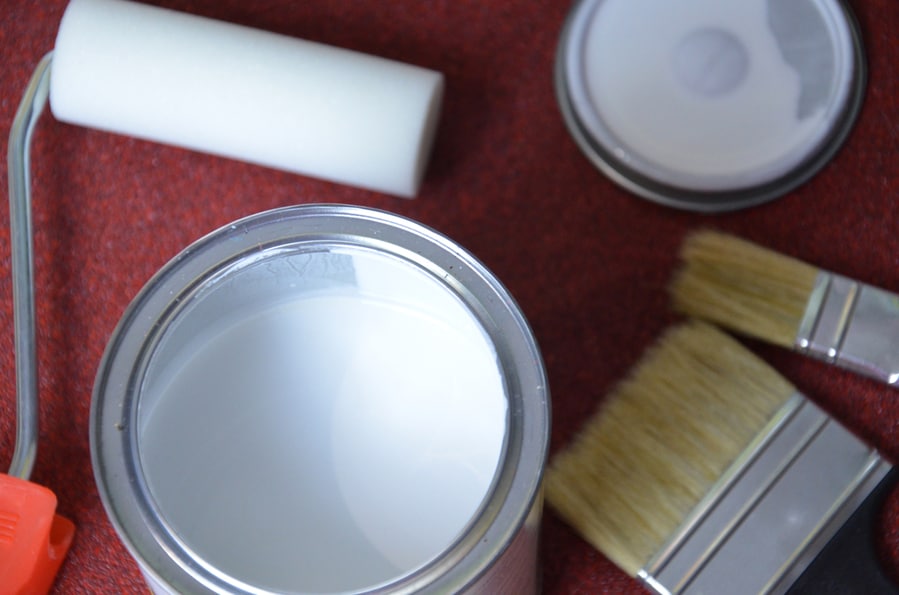
Most decking adhesives are water-based and will not damage grass or soil. You can also use an acidic adhesive that will not harm the grass.
Apply a couple of layers of decking to the underside of each board. You can use a brush or roller, but it’s easier to use a roller. If you use a roller, put the bristles in a bucket before you start so they don’t stick together.
Applying adhesive and screwing it down will help hold your boards firmly in place and make them more resistant to wear and tear over time, which means they may last longer than if you didn’t use screws!
Conclusion

Decking should be considered the finishing touch to the home, and it will help protect against fire and water damage and makes it more attractive to buyers.
You may have had to lay decking on soil or grass before but never thought about how to do it. Getting used to laying decking on soil or grass takes a while. Especially when you first try it out. But once you have done it enough times, it will become second nature for you.
Hopefully, this guide will help you decide how to lay decking on grass or soil. It is essential to check your local building codes, ensure that your ground is level, and tighten your joist hangers for a fantastic finish.
Frequently Asked Questions
Do I Need To Remove the Grass Before Decking?
No. You don’t need to remove the grass before laying your decking. The grass will grow back after the decking is installed. You can lay decking directly on a lawn or grass if it’s not too thick.
It’s best to remove any weeds and use your hands and pull them out. If you’re using a power tool like a weed eater, you’ll want to ensure that there’s no debris left behind that could damage your decking.
How Do You Prepare the Soil for a Deck?
When preparing the soil for a deck, you want to ensure it’s as level and smooth as possible. If your soil is uneven, then you will have trouble fitting the deck boards on top of it. The very best way to prepare the soil for a deck is to use a tiller or rake before laying down your decking boards.
Then when you’re done with laying them down, you can weed around them so that they don’t get stuck in any cracks or holes in between them.
