Changing a light bulb is a fact of life in the modern day. Often, light bulbs are accessible in their light fixtures, or the way to open the fixture is signaled by noticeable screws.
However, some fixtures do not have screws. In this case, how can you replace the light bulb? It’s easier than you think!
There are a couple of different light fixtures that do not have visible screws. The way to open the fixture will depend on what type you have.
- Notched closure
- Spring closure
- Slotted closure
- Flush closure
In order to open them, you will need to be elevated high enough to reach the fixture easily with both hands. Otherwise, you risk damaging or dropping the fixture.
Read further for explanations of the two types of light fixtures, how to tell which you have, how to open them, and tips for a safe install.
4 Types of Screwless Light Fixtures
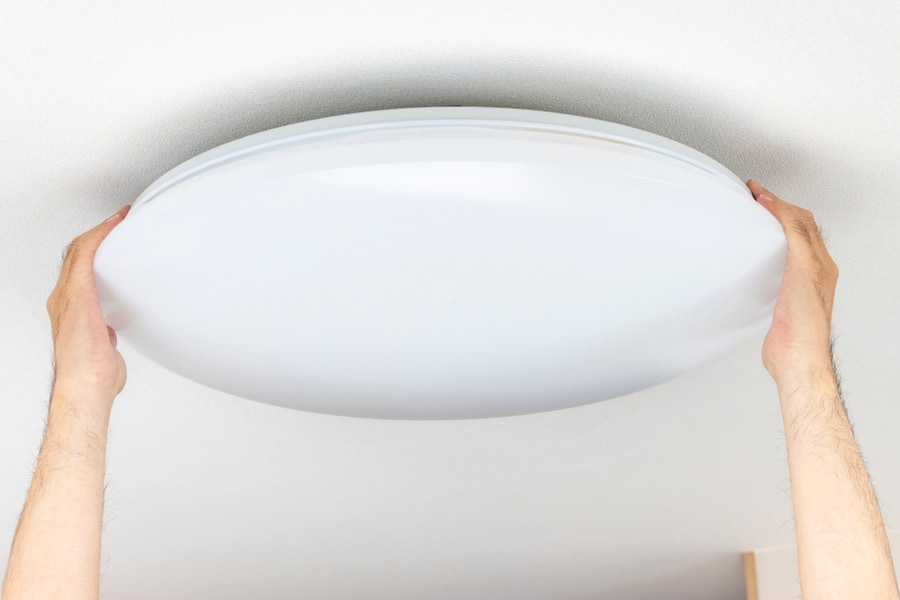
Most screwless light fixtures are dome or saucer-shaped. To stay fixed to the ceiling, they rely on a metal track. This metal track can fasten either with a notch or with springs.
1. Notched Closure
This light type has a couple of variations, but all are removed similarly. A notched closure light will rotate freely as a unit or in two pieces. It works by having a notch cut out of the track (attached to the ceiling).
This corresponds to the shape of the mobile piece. Only when these are lined up, you’ll be able to remove them.
Supplies
- An A-frame ladder.
Method
- Set up your ladder just under the light.
- Stand on the ladder to comfortably reach the light with both hands.
- Gently try rotating first the metal portion of the light, then the glass piece (one should be easy to move while the other isn’t).
- Hold the nonrotating piece steady and press upwards with one hand while gently turning the other.
- You should feel the fixture become heavier once the notches are lined up, and the fixture will “fall” into your hand.
- Carefully put the removed fixture somewhere safe, and continue with your work.
- When it is time to replace the fixture, line up the notches (this should be visible on the removed fixture).
- Gently press the light back together, and rotate slightly to unalign the notches.
- If the light is correctly reinstalled, it should no longer come apart if you gently tug downward.
2. Spring Closure
Spring closures are more secure but also more tricky to take apart. You will need to pry the fixture off the ceiling without damaging it.
Supplies
- A flathead screwdriver.
- An A-frame ladder.
Method
- Set up your ladder just under the light.
- Stand on the ladder to comfortably reach the light with both hands.
- Work the flathead screwdriver in between the ceiling and the light.
- Gently pry back and forth until enough room to put your fingers in the gap.
- Pull one side of the fixture away from the ceiling to access the lightbulb.
- Most spring closure fixtures are designed to hold themselves up while you change the lightbulb, but don’t let go until you know it won’t fall.
- Once you are ready to replace the light, press it back into the housing and work it in until you hear a click.
- Slowly let go, and the light should look the way it did before.
3. Slotted Closure
A slotted closure light will look similar to a notched closure light. However, you do not need to exert upwards pressure when removing it.
Supplies
- An A-frame ladder.
Method
- Set up your ladder just under the light.
- Stand on the ladder so that you hold the light easily without tilting or stretching.
- Gently rotate the light from the center (it should move easily).
- Hold the nonrotating piece steady while gently turning the other.
- You should feel the fixture become heavier once the slots are lined up, and the fixture will “fall” into your hand.
- Carefully put the removed fixture somewhere safe.
- When it is time to replace the fixture, line up the slots (this may take a little trial and error).
- Gently press the light back together, and rotate slightly to unalign the slots.
- If the light is correctly reinstalled, it should stay when you let go.
4. Flush Mount
This fixture is flush with the wall and has a piece called a finial in the center (this is usually designed to look decorative and made of metal). It screws into place using a threaded piece of metal set into the ceiling.
Supplies
- An A-frame ladder.
Method
- Set up your ladder just under the light.
- Stand on the ladder so that you hold the light easily without tilting or stretching.
- Hold the dome with one hand, and use the other to turn filial.
- Gently turn the filial counterclockwise.
- Once the filial is completely unscrewed, the dome will come loose.
- Set aside the loosened fixture somewhere safe.
- To reinstall the light, place the dome in the correct spot and slowly screw the filial back in by turning it clockwise.
- Once the filial is fully tightened, it should become difficult to screw (don’t force it, as this could cause it to become stuck).
In some cases, such as a notched closure light, or a huge light, it may be difficult to hold and open at the same time. In this case, doing the job with multiple people can be helpful. One person will release the closure while the other holds the light steady, prepared to catch it when it releases.
Takeaway

Once you know the trick, most of these lights are relatively easy to remove. Moving gently and not being in a precarious situation when the light comes loose are key to success.
You will not need equipment to get this job done, just a ladder to give you more leverage when holding the light. When you are done, they can be reinstalled by doing what you did to remove them in reverse.
Frequently Asked Questions
Why Won’t My Ceiling Light Cover Come Off?
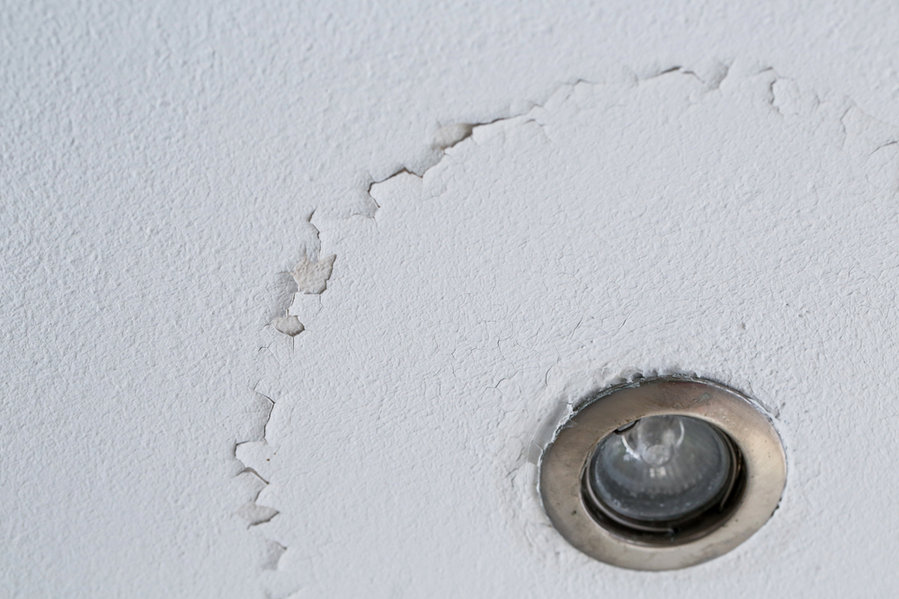
If you’ve tried to turn, twist, and pull the light cover off without success, then it is possible that the light fixture was overtightened or painted over. Much like a stubborn pickle jar, you will need extra leverage to start the process.
- Make sure you are using the right motion for your light. Otherwise, exerting more force could break it.
- Use a pair of pliers to hold onto the light for more leverage (especially helpful for lights with a filial).
- Have a friend hold it steady so you can turn with both hands.


