Are you looking to attach wood to the wall without nails? Many people are interested in learning how to attach wood to walls without nails, but they don’t know how.
The excellent news is that there are many alternatives to doing this.
It’s pretty easy to attach wood to the walls without nails; you only need the wood you want to attach and special attention to the process.
- Use a strong adhesive like liquid nails.
- Try using heavy-duty double-sided tape.
- Glue a wood slab to the wall.
- Secure a thin wood using velcro wall hangers.
- Use a small length of wire to hold it.
There are so many ways to attach wood to walls without nails that are better than just nailing it up there.
When attaching wood to a wall, you would think you could nail it; however, smarter ways exist if you want your project to look good and make it last. And luckily for you, this article has the top ten ways to attach wood to walls without using nails.
How To Properly Attach Wood to Wall Without Nails
Attaching wood to the wall is something you may face multiple times during your home-decorating experience. And if you are an amateur, you may find it difficult on the first attempt.
The following tips will help instruct you on attaching wood to the wall without using nails:
1. Double-Sided Adhesive Tapes
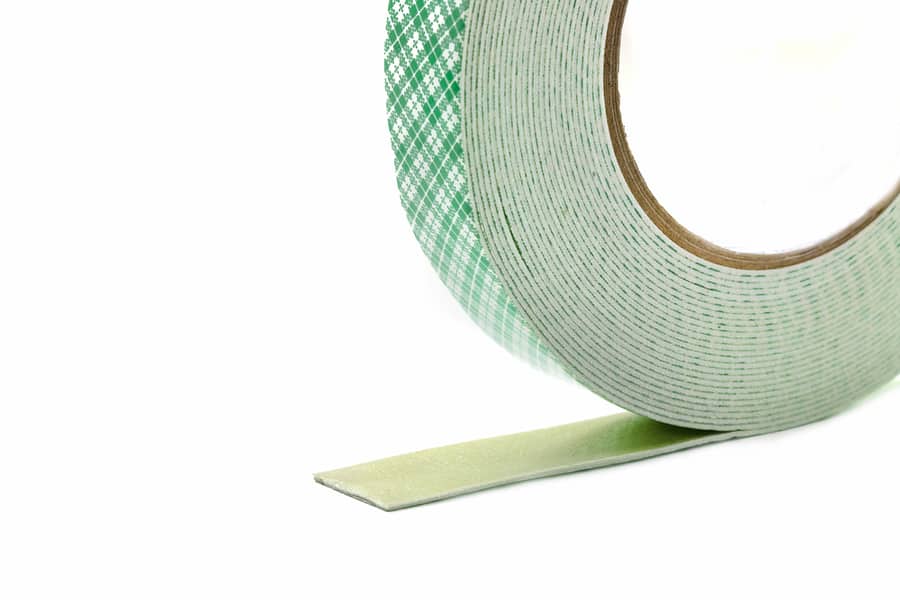
Double-sided adhesive tapes are easy to use and have a long life span. These tapes come in rolls that are about 1/4 inch wide. When you buy double-sided tape, make sure it’s made for use on wood and has a strong bond.
To use double-sided adhesive tape:
- Measure the length of the wood you want to hang up on your wall.
- Cut a piece of double-sided tape slightly longer than this measurement by about 1/2 inch.
- Peeling off one side of the double-sided tape, it is sticky and still attached tightly to its backing paper. If any part isn’t sticking well, don’t worry; smooth it out with your fingers until it sticks securely.
- Carefully apply this sticky side onto the back of your wooden item where you want it mounted on your wall or another surface. Make sure there aren’t any air bubbles trapped under this tape.
- Use an old credit card or something similar to gently push out those bubbles from underneath.
2. Command Strips
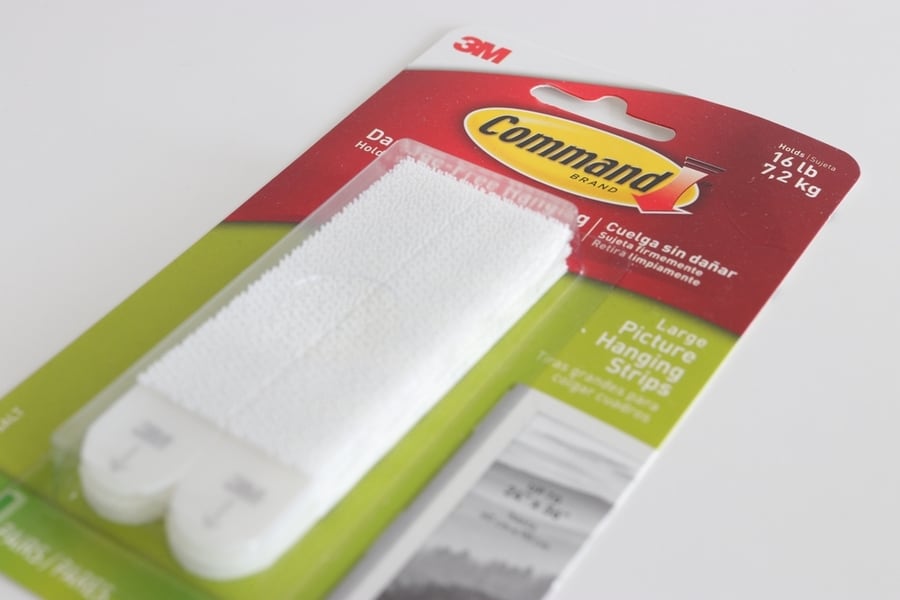
Command strips are a great alternative to nails and screws when attaching wood to walls. They’re easy to use and come in different sizes so that you can choose the best for your project.
To use command strips:
- Start by measuring the length of your wood piece from top to bottom.
- The width of the strip should be at least 1 inch longer than your wood piece. You may need to cut the strips down if they’re too long for your project.
- After measuring, peel off one end of each strip and press it against the wall where you want to attach the wood. Make sure that the adhesive side of the strip is facing outwards.
- Place both pieces on top of each other so that they form a 90-degree angle with each other.
- Place your wood piece on top of both pieces of tape and press down firmly until all three pieces stick together securely.
3. Velcro Strips
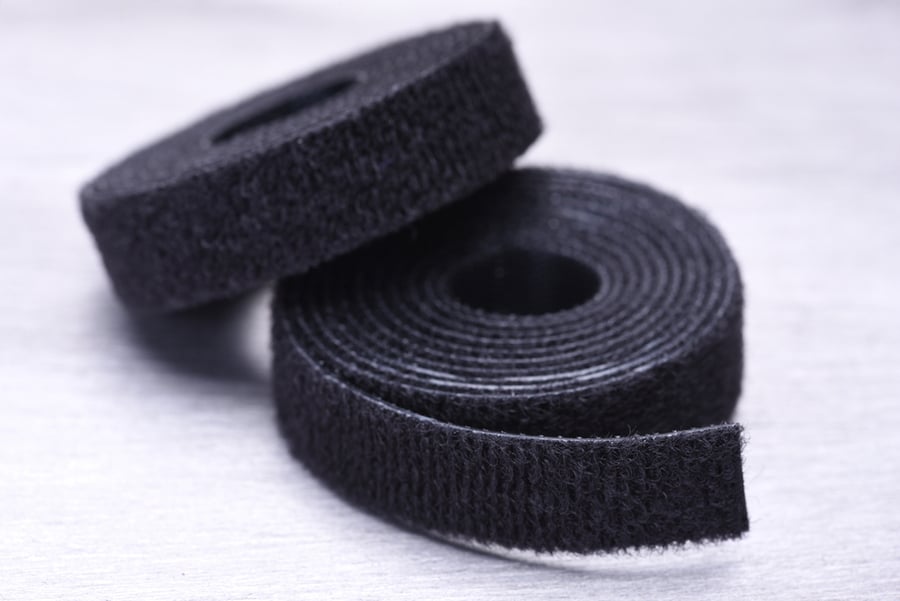
One option is velcro strips. They come in two different sizes: large or small. The small size can be used for hanging pictures or other lightweight items, and the large size is for heavier items such as shelves or cabinets.
To use these strips:
- Peel off the protective backing.
- Stick one side on the back of your item and the other on the wall.
- Slide the hook over the hook side of the velcro strip until it clicks into place. That’s all there is to it.
4. Adhesive Hooks
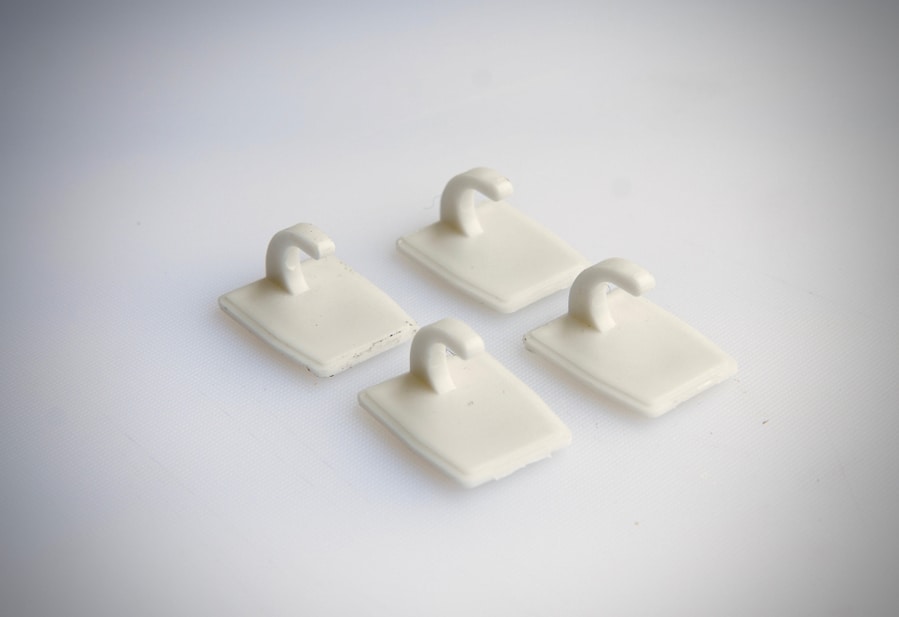
They’re easy to install and remove and provide a stronghold for lightweight items like clothing, towels, or keys.
Adhesive hooks are made from sturdy, thick plastic designed to hold up against high temperatures and moisture.
They come in a variety of many colors and shapes. You can find them in different sizes, from small ones to just an inch or two. These large hooks can be used for heavier items like coats or backpacks.
To install an adhesive hook, follow these steps:
- Clean the wall’s surface with an alcohol wipe or other cleaning agent; this will remove any dirt or grime that might prevent the adhesive from working correctly.
- Apply a thin layer of the adhesive over where you want to place your hook; allow it to dry completely.
- Place one side of your hook against the wall and press firmly; hold for several seconds until secure. Repeat this process on all four sides of your hook.
5. Use a Hanger
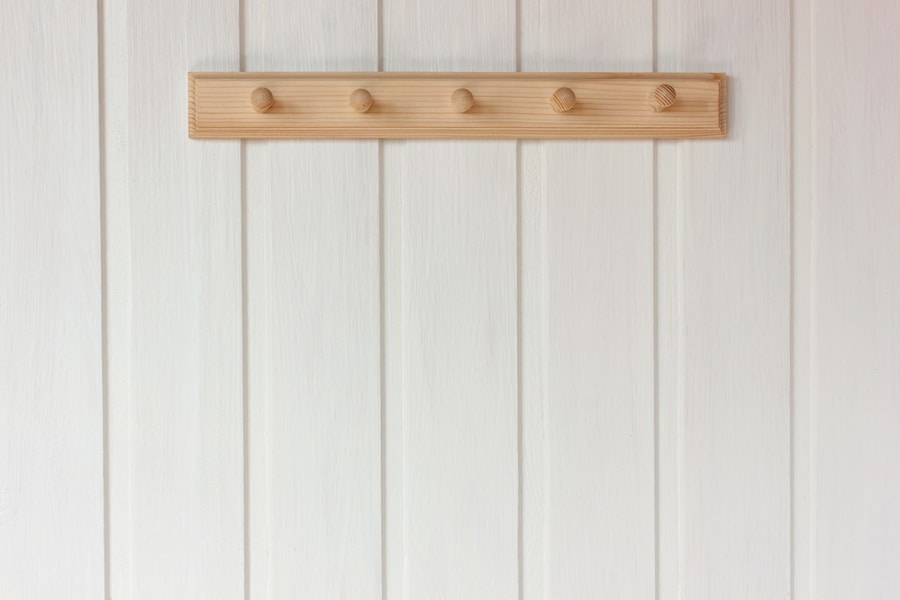
This is one of the easiest ways because it requires no tools or hardware other than the hanger itself.
Hangers come in different shapes and sizes, but they all function the same way: by using gravity as an anchor point for the weight of your furniture or artwork.
The most common type of hanger in stores is one with a broad and narrow end. The wide end goes on top of your furniture, while the narrow end goes into your wall stud.
For this method to work correctly, you’d need at least one stud in each corner, though two studs per corner would be even better if you had them available.
6. Picture Hanging Strips

Regarding hanging artwork, picture hangers are a great alternative to nails. Most of the time, you can use them to hang pictures from the back of the frame. They work well with various types of frames, including wood and metal.
- The first step is measuring your wall to see how long your strips need. Usually, they come in lengths of 16″ or 24″.
- Next, place the strip on your artwork to cover the back of the frame and hang down about 1/4″ on each side.
- Once you have it in place, use a hammer or mallet to pound it into place.
- If you’re using a small frame and only need one strip, then just put one piece across the back of the frame instead of two pieces on each side.
7. Glue
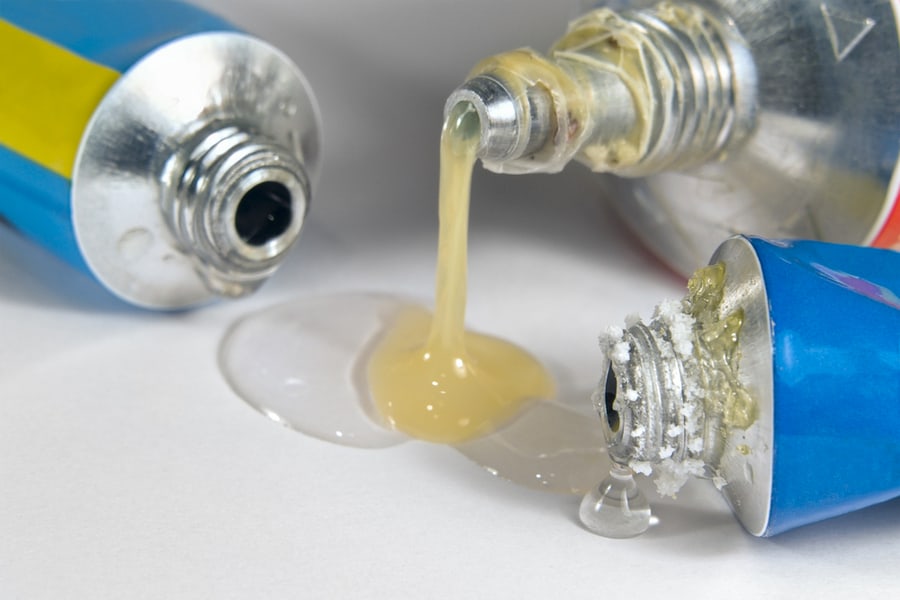
For smaller pieces of wood, such as wooden letters and shapes, use hot glue or craft glue to attach them directly to the wall. The wood will stick better if you coat it with paint first.
If you’re hanging multiple pieces of wood at once, use masking tape to mark where each piece will go before gluing them onto the wall, and this will ensure they’re evenly spaced apart.
8. Magnetic Tape

To use magnetic tape, you need to have a very clean surface, and it will not properly stick if you have any dirt or grime on your wall.
- Clean the area with soap and water before applying the magnetic tape.
- Once the surface is clean, peel off one side of the backing from the magnetic strip, leaving one side attached to itself.
- Stick this side on your wall where you want your picture frame or other item hung up.
- Once it sticks, remove the rest of the backing and place the frame on top.
9. Adhesive Putty Strips
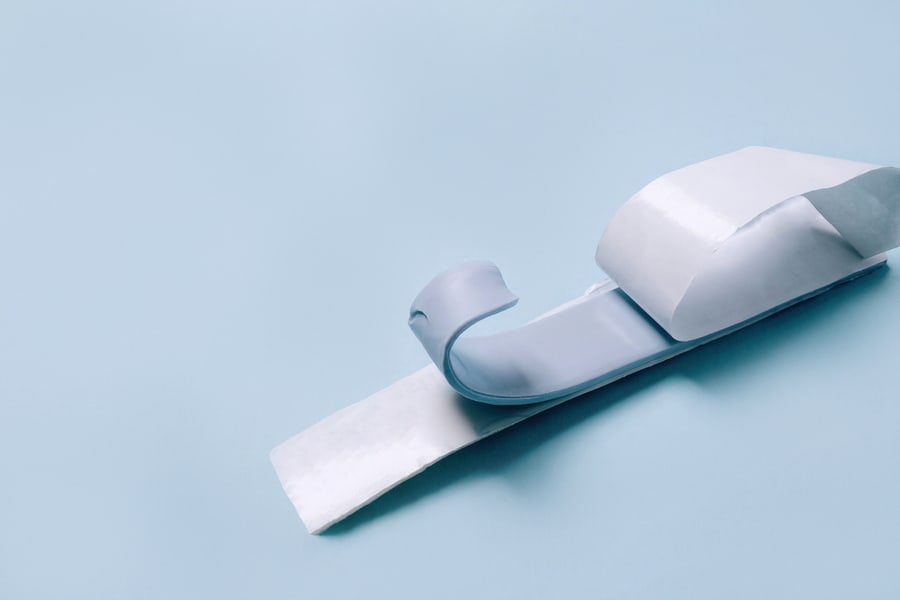
Putty adhesive strips are available at hardware stores in various lengths and widths. These come in handy when attaching thin pieces of wood, such as trim molding or picture frames.
- Place the putty strip over the back edge of your wood piece and press it into place. The putty will expand, creating an invisible bond between your wood piece and the wall surface.
- By wrapping them around the back edge, you can use putty strips to secure larger pieces of wood, such as a cabinet door or drawer front.
- Then press them into place on top of the cabinet face frame or drawer box so that they attach inside the frame groove instead of just on top of it like picture frames do when using this method.
10. Rubber Bumpers
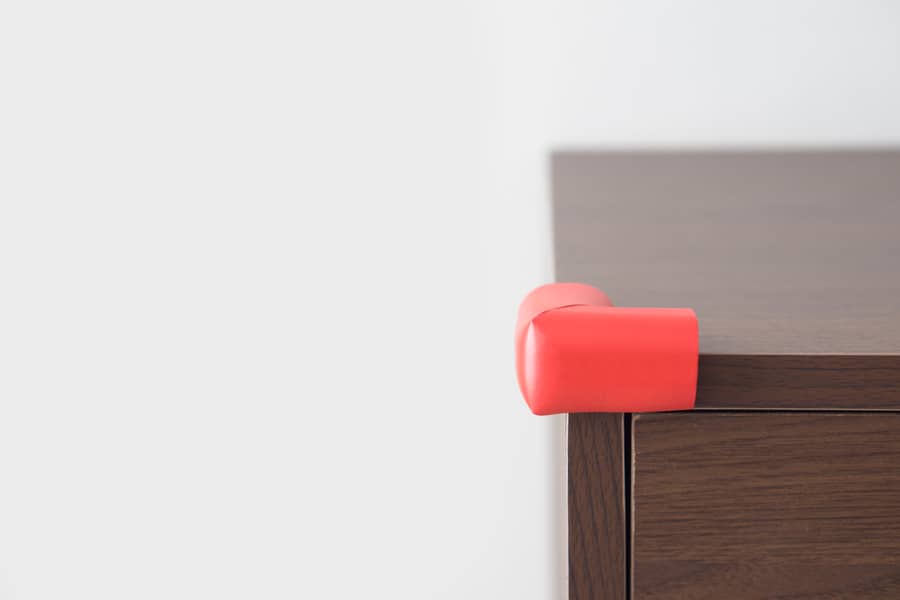
Rubber bumpers are small pieces of rubber that attach two objects by pressing them against each other.
They come in many sizes and shapes and are used for many applications. You can buy them at any hardware store or home improvement store.
The rubber bumper has a metal arm that can be attached to the wall, and then the wood is placed on top of the rubber cushion. The rubber cushion is pressed down onto the wood until it’s firmly in place.
Conclusion
Nails and screws work great for attaching wood to the wall, but for a truly secure attachment, you’ll have to use wall anchors, command strips, or double-sided adhesive tapes.
These simple tips should help you build projects, such as furniture or decor, or even attach a picture to your wall without using nails.
Use these steps to save time and money from buying new expensive tools and spend more time doing the things you love.
Frequently Asked Questions
What’s the Best Adhesive for Wood to Drywall?
The best adhesive for wood to drywall is a construction adhesive. This adhesive is designed for construction and can be applied with a brush or roller.
Construction adhesives are water resistant, which makes them ideal for use with wood and drywall because moisture may cause the adhesive to fail.
Adhesives that come in tubes or cartridges are typically better than those that come in cans, as they tend to be more expensive but also more effective.
When considering an adhesive, look for one labeled as waterproof, moisture-resistant, and weatherproof.
How Do You Stick Things to the Wall Without Screws?
There are several ways to stick things to the wall without using screws or nails. One popular option is using a glue gun.
Glue guns can be purchased at most hardware stores, and they work by melting hot glue that you then use to stick objects to walls and other surfaces.
You can also use mounting tape, which is adhesive and captures the object you want to hang in place until it’s firmly attached.

