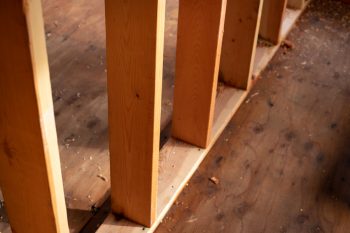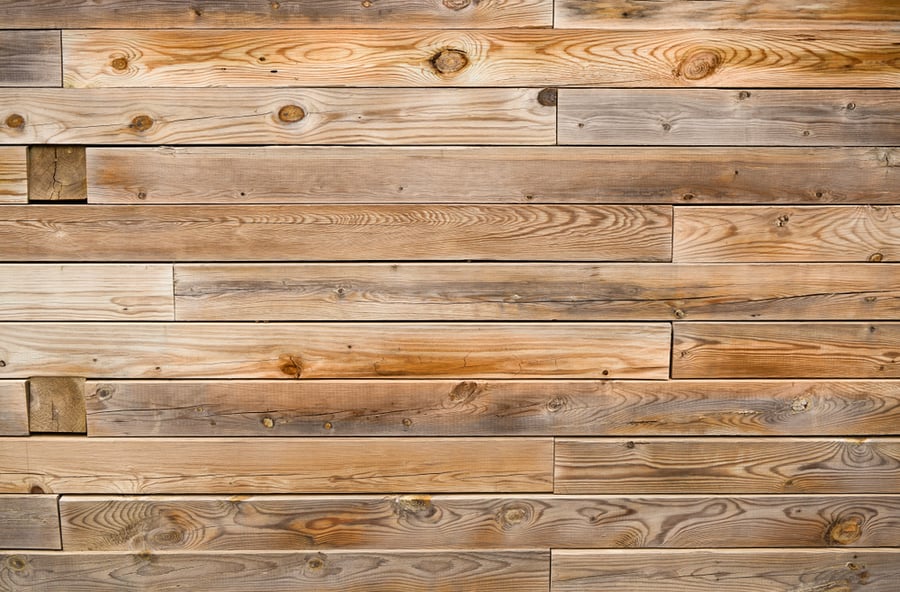
Wood beams can be a wonderful ornament to add to your existing decor. Whether you have them on a ceiling or a wall in the corner, they would look amazing regardless of the space.
However, the main concern arises when you have to stain them and do it in a way that compliments everything around them.
So, how do you stain wood beams? Staining wood beams can be hectic because it is often impossible to stay in lines without messing up everything.
To stain wood beams, you have to do 4 things: Prepare everything, start the staining process, clean the aftermath and enjoy the cozy results.
Carry on reading this article, as I will share the 4-step guide on how to stain wood beams like a PRO.
The quick 4-step guide on how to stain wood beams includes the following steps:
- Preparing everything required.
- The staining process.
- Cleaning the aftermath.
- Enjoy the warm cozy tones.
Each of the steps mentioned here will be discussed in detail so that you won’t have a tough time staining wood beams!
By the end of this article, you will get your queries answered about how to stain wood beams.
4 Step-Guide on How To Stain Wood Beams
If you are looking to add a unique touch to your home or office, staining wood beams is a great way to do so. Stained and sealed wood beams can give an area a beautiful and classic look while still providing the strength and durability of traditional wood.
Here are some tips on how to stain wood beams:
1. Prepare Everything Required
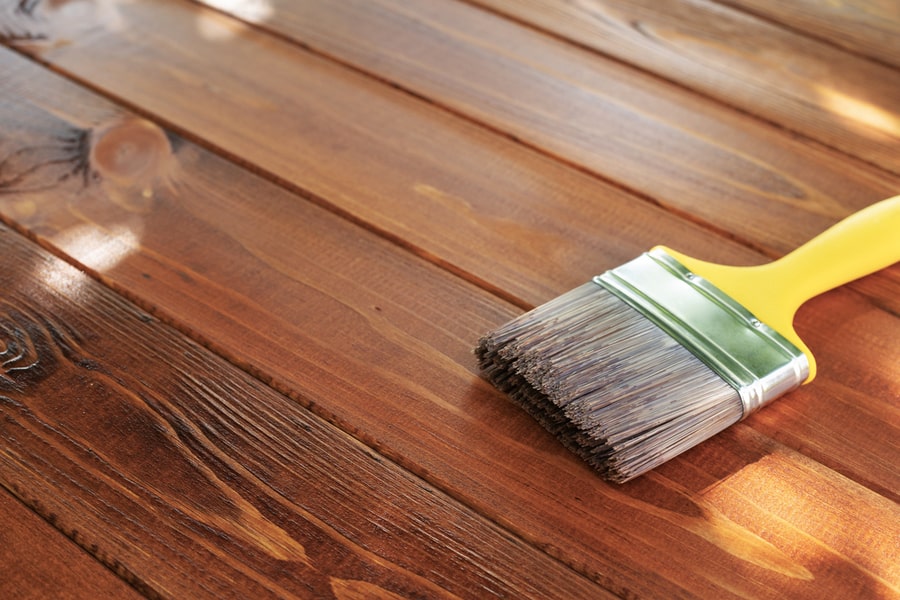
Below are some essentials you will need to start staining wood beams.
- Woodstain
- Painter tape
- Pain stirrer
- Paintbrush
- Wood cleaner
- Ladder
You must start clearing out the room when you gather all the supplies. I am sure none of you would like to stain your favorite rugs or couches, so you better clear out everything. If you are not fond of moving out the furniture, you can also try draping them using old rags or tablecloths.
Once the area is clear, you need to start cleaning the beams. For that, you have to get a safe ladder that is not known to slip. I will advise everyone to be careful with the ladder while cleaning beams not to lose sight.
Try to use a specialized wood cleaner so the beams will not suffer any damage during the cleaning process.
Now comes the most crucial part of staining wood beams. When I first stained my wood beams, I had no idea how to do it, and I ended up messing with the surfaces surrounding the beams, which looked horrible.
I don’t want any of you to go through what I went through; for this reason, I would suggest taping all the areas surrounding the beams.
Take your time and fix the tape as accurately as possible by paying attention to the lines where the beam meets your wall. Worry not if you ever mess up by mistake.
You can dab it out using a paper towel; however, avoid rubbing it down, as this will make the stain more prominent.
2. The Staining Process
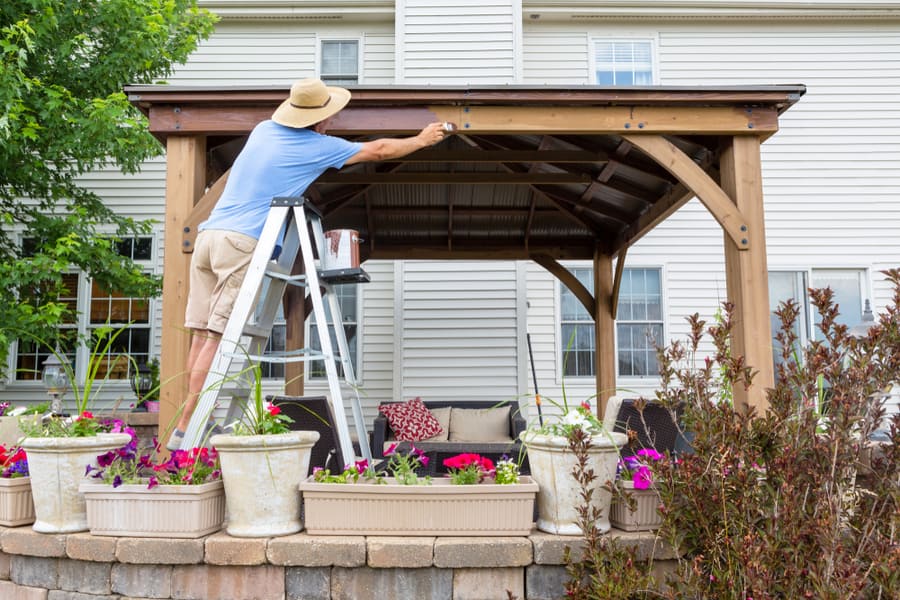
Okay, so everything is clear, you have your beams ready and cleaned, and now you can finally start with the staining process. For that purpose, you first have to prepare the stain you will apply to the beams.
Don’t frown because you don’t have to scratch your head with measurement cups; you just have to follow the directions on the staining can and give it a good stir using a paint stirrer.
To have the best results, I would advise you to check your stain first. You can do this by applying it to an area that is not visible. As your staining liquid is ready, you next have to decide what applicator you will use for the application process.
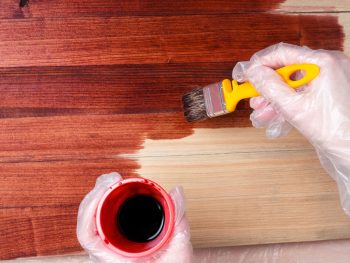
When sure about the stain, apply it all over the beam using a rag or a paintbrush. I would also advise you not to stain several beams at once, as it would leave you with some uneven coatings. Try to stain one beam at a time and evenly coat the surface.
3. Cleaning the Aftermath

Let the stain dry for a while, and in the meantime, you can start cleaning up your tools and restore your room to the usual setting. Remove the tablecloths and store the remaining stain in a separate container.
Once you are sure the stain is dry, remove the tape carefully so as not to pull up any paint with it.
4. Enjoy the Warm Cozy Tones

Now that everything is back to normal, you can sit back, relax and appreciate your tiny yet beautiful DIY project. Even though staining wood beams may seem like an easy and simple project, the impact it will have on your room will be enormous.
To have some of the best results, make sure to:
- Tape the surrounding areas of the beams properly.
- Try to check out the intensity of the stain before applying it all over the beams.
- Don’t forget to cover up the furniture before starting.
Takeaway
I am sure you all have enjoyed my take on this 4-step easy guide on how to stain wood beams. The process is quick and easy.
All you have to do is prepare everything required for the process, proceed with the staining process, and finally clean and enjoy the cozy tones. Don’t forget to grab a cup of coffee!
Frequently Asked Questions
How To Stain Rough Wood Beams?
To stain rough wood beams, you can use a brush or roller to get into corners and cuttings along the edges. You can also use a roller if the surface is rough beyond the limit.
Can I Stain Wood Beams Without Sanding Them?
Yes, you can stain wooden beams that are not sanded using gel stain. You can apply the gel to the existing rough finish. For this, start cleaning out the surface and coat the wood grains with a gel stain to have an even stain.
