Have you ever been working with plywood and noticed it’s sometimes not as smooth or shiny as it should be? Then, you’ve come to the right place! Here you’ll find twelve simple tips to help you start making your plywood completely shiny and smooth.
Everybody wants their plywood project to look smooth and shiny, but they don’t know how. Fortunately, there are several ways you can use to get your plywood work looking the best it can be. Here are the steps to making your plywood look smooth and shiny.
- Get the right plywood.
- Wipe down the wood with mineral spirits before sanding it.
- Apply a coat of paste wax and let it dry.
- Sand the board to remove any visible grain and blend the angles of different pieces.
- Varnish the plywood.
With some work, plywood can be shiny and smooth and look better. Use this method to make plywood smooth and shiny.
Making plywood smooth and shiny can be tricky. There are many ways to do it, but some are better than others. This guide will help you find the best tips for making plywood look great on your projects.
How To Make Plywood Smooth and Shiny
Having a smooth and shiny plywood place is one thing you can do that will make people appreciate your work. The following tips will help you become a master at smoothing wood and making it shine like never before.
1. The Wood Should Be Clean
Before you start sanding plywood, make sure that the wood is clean. This will ensure that you don’t get any unwanted splinters or debris stuck between the layers of plywood. Also, if there are any cracks in your plywood, fix them first before sanding.
The best way to clean your wood is to remove all the dust, dirt, and debris from it so that it has a smooth surface. Then, you can use a vacuum cleaner or clothes with soap or detergent to clean your wood.
If you are using acid-based cleaners, make sure they are diluted in water first so that they do not damage the surface of your plywood.
2. Wipe the Plywood With Mineral Spirits
It’s ideal for cleaning up oily residues, like fingerprints, from the surface of the plywood. Mineral spirits are sold in hardware stores and home centers but can also be purchased online.
Mineral spirits will help you eliminate any grime that may have accumulated on your plywood during shipping or storage. Mineral spirits will also work well to remove oil stains from your plywood surface if you apply it with a rag or soft brush.
For best results, use mineral spirits on a dry day. You’ll need to wipe over the entire surface of your plywood to remove any residue that may have soaked into the wood fibers.
Make sure that you don’t dilute the solution with water; if you do, it could cause some damage to the surface of the plywood’s surface and its finish.
3. Sanding Begins With the Rough Side
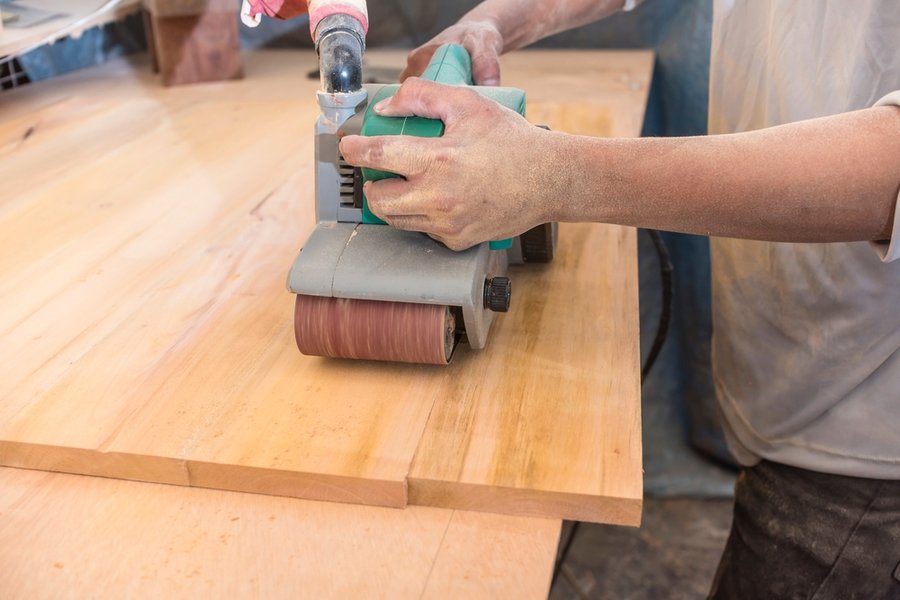
The first step in sanding plywood is to find the rough side. The rough side of the board is usually on the underside, where you can see it through the thickness of the wood.
You may need to use a sharp knife or razor blade to scrape away the surface of the wood, but be careful not to cut into any of the edges of the board.
Start by sanding with 120-grit sandpaper. Don’t worry about the dust; it will fall off when you apply finish coats. Once you have removed all the dust, switch to 220-grit sandpaper for a smoother finish.
If you want your plywood to be incredibly smooth, use 400-grit sandpaper for this step. Use caution, as this can damage a wood surface if not done correctly.
Once you have removed as much of the rough surface as possible, run your palm along one edge of your plywood and check for any splinters or knots hidden beneath it. If there are any, use extra-fine grit sandpaper or finer to remove those areas and smooth out any remaining bumps or holes.
- When you’re sanding plywood, wear safety glasses. Safety glasses protect your eyes from flying splinters and small particles that could injure you.
- You should also wear a dust mask when sanding plywood to prevent breathing in dust particles.
- Wear gloves. This will help you avoid splinters in your fingers and make the job easier. It also helps prevent your wood from getting stained.
4. Smooth the Edges With Fine Sandpaper
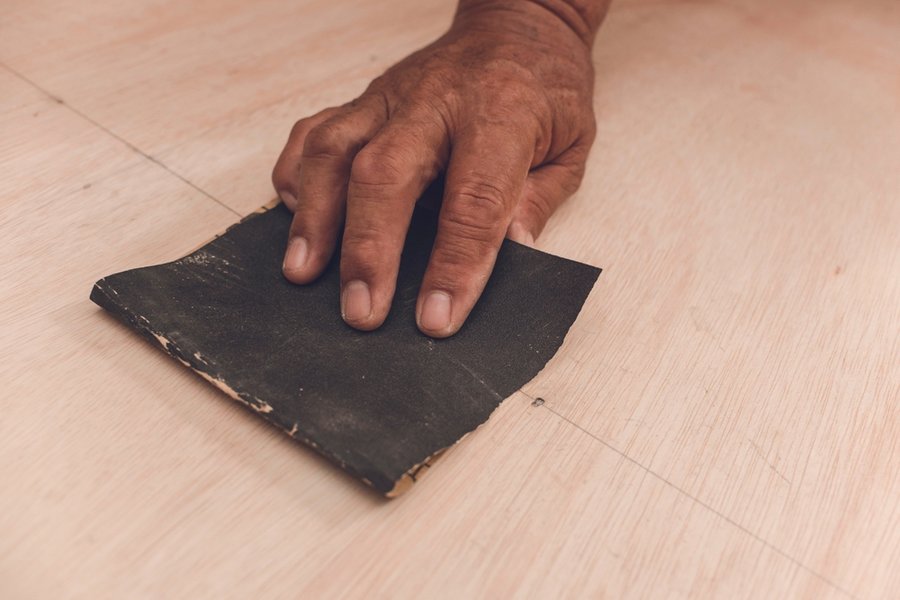
The edges of plywood can be rough. Fine sandpaper is the best tool to smooth out the edges and make them look nice. Use fine sandpaper to smooth the edges of the plywood gently. Use fine-grit sandpaper that is around 120 grit or higher.
Start by sanding down the entire edge of the board with fine sandpaper, then wipe away all the dust with a damp cloth to leave it nice and shiny.
For boards with a lot of textural detail, you may also want to rub a little wax on these areas after sanding each side of the board.
5. Sand the Surfaces With at Least 120 Grit Sandpaper
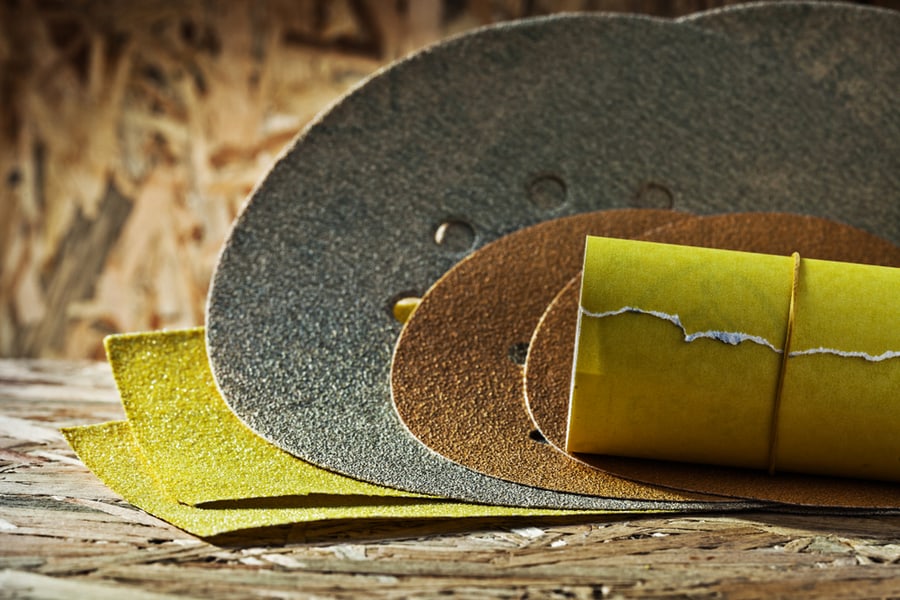
When sanding, you want to ensure your plywood is smooth and shiny. The best way to do this is using coarse grit sandpaper and sanding in circular motions.
Start with 120-grit sandpaper and work your way up to 400-grit sandpaper. Remember that the higher the number, the finer the grit will be, so don’t go too high if you don’t have access to higher-grit sheets of paper.
It’s also important to take time when sanding to eliminate the splinters or uneven spots on your plywood pieces.
If possible, you should also use an orbital sander when doing this step because it will make it easier to remove all of those pesky splinters from your surfaces without risking any damage.
6. Avoid Using an Electric Sander
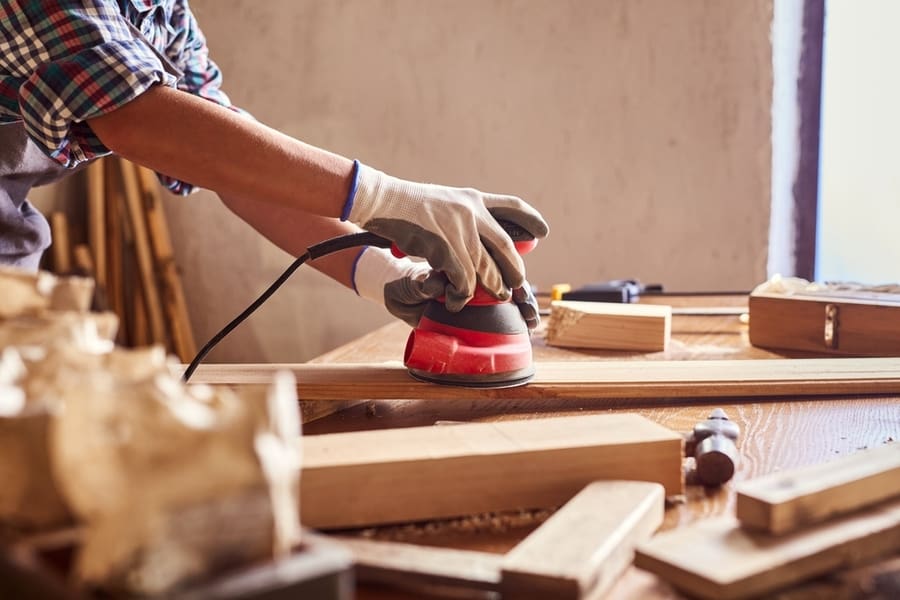
An electric sander is a tool that can be used on pretty much any woodworking project, including plywood. However, avoiding using an electric sander on plywood is essential because of the risk of overheating and burning the wood.
If you decide to sand your plywood with an electric sander, always start with a coarse grit and then move up to a medium grit if necessary.
7. Use a Soft Cloth To Wipe the Surface Dry
Keeping the surface dry after sanding is essential to make plywood smooth and shiny. First, dry the surface with a soft cloth or paper towel. If you d not, the plywood will get sticky, making it challenging to work with.
The reason is that sandpaper removes only a thin layer of the wood’s surface, and if you leave the sanded surface to dry out before wiping it clean, it will become rough again.
But if you wipe it with a soft cloth at once, the wood will be smooth and shiny again.
8. Smooth Down Your Plywood Before Gluing
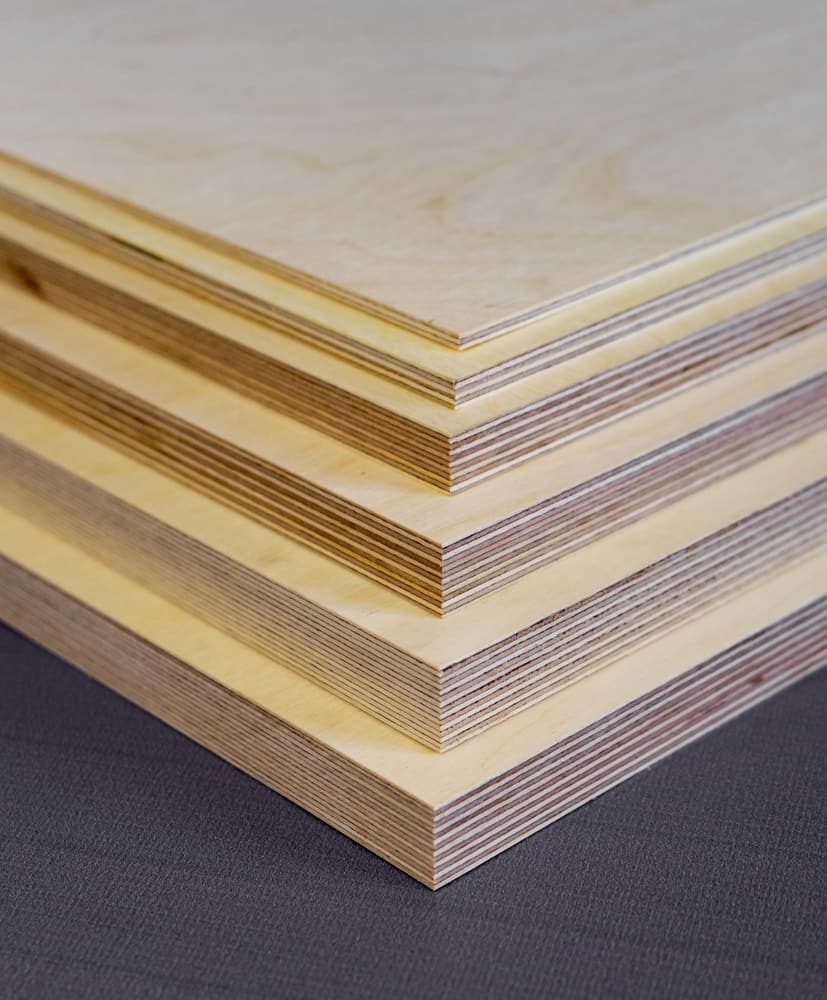
If you have a few hours at home, you can smooth down your plywood before starting to glue it. The easiest way to do this is with sandpaper. You can use sandpaper with grits ranging from 100 to 3000 or higher.
This method works well on dry, tight-grained plywood such as pine and fir. It also works well on soft, porous plywood such as poplar.
The most important thing about using sandpaper is that it must be dry when you use it. If it gets wet while you’re working with it, you’ll need to wait until it dries again before continuing work on your project.
9. You Can Use Polyurethane
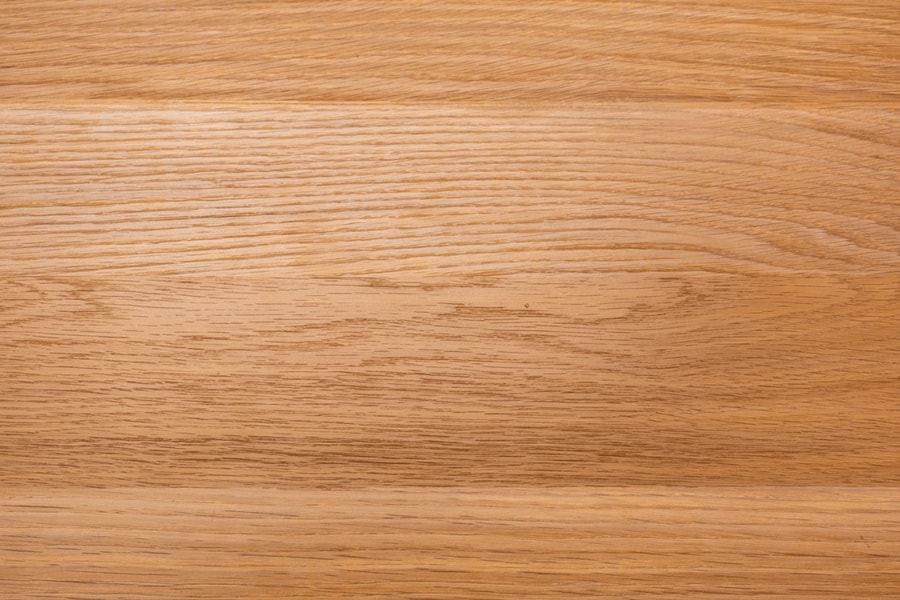
Polyurethane is a type of resin used to coat or protect the surface of the wood. The substance can be applied to plywood in two ways.
You can use it as a finish coat, or you can use it as a primer before applying another coat of paint. Polyurethane will help give your plywood a smooth and shiny finish.
You can use polyurethane to give your plywood a smooth and shiny finish. The process is pretty simple, and you only need a few supplies.
Here’s how you can do it:
- Mix the polyurethane with a bit of water in a mixing cup and stir until smooth.
- Apply it to the rough surface of your board using a paintbrush or roller, and let it dry for about half an hour.
- Sand off any remaining residue with 220-grit sandpaper, then apply another coat of polyurethane if necessary
10. Apply High-Quality Varnish
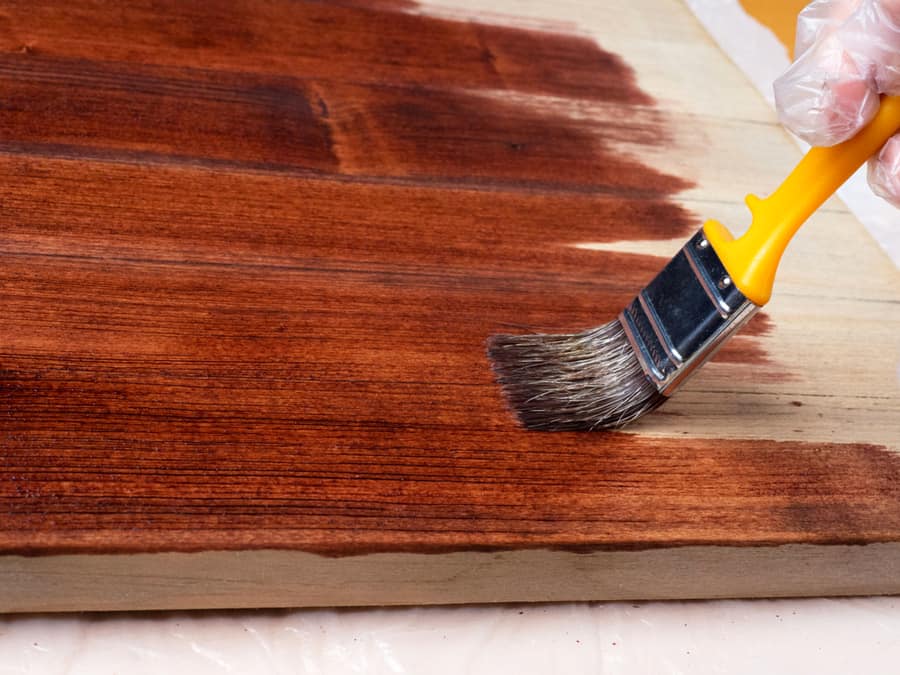
Varnish is a clear finishing coat that provides a smooth, glossy surface that can be applied to any wood. In addition, it prevents moisture from reaching the wood, which keeps it from cracking or warping.
Varnish also protects the wood from harmful UV rays. If you want to make plywood look shiny, apply high-quality varnish.
You can find many types of varnish at your local hardware store. But if you want a higher quality product that will last longer, you should consider using marine-grade varnish. This type of varnish is corrosion-resistant and has a long shelf life.
You can apply this varnish to your plywood by following these steps:
- First, use a soft cloth to remove dust from your plywood surface.
- Apply a layer of high-quality varnish onto the wood using an oil-based stain or wood finish such as Minmax Polyshades or Varathane Wood Finish.
- Use a soft cloth to buff off any excess varnish from the surface of your board.
- Repeat these steps until you have applied several coats of varnish to your plywood.
11. Epoxy Can Enhance the Luster of Plywood
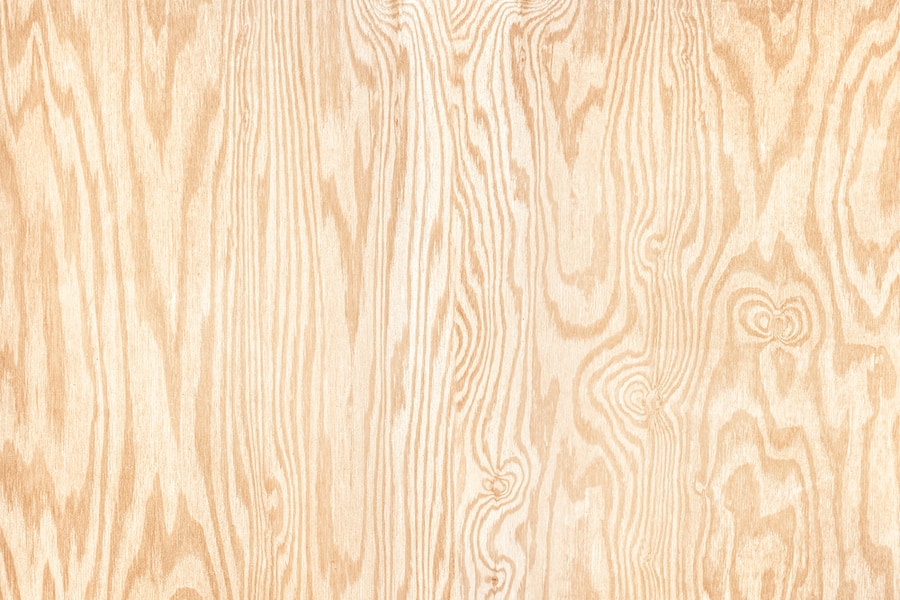
Epoxy is a highly effective way to enhance the luster of plywood. In addition, it’s a waterproofing agent that protects wood from moisture and other contaminants. Epoxy is especially useful when you want to increase the shine of your plywood, but it can also be used as an adhesive or sealant.
You can apply epoxy directly to the surface of your plywood with a brush or cloth, or you can mix it with water and paint thinner before applying it to your project. You can use epoxy on both sides of your plywood if you want a more uniform look.
Here’s how you can do it:
- It would be best to clean your plywood with a degreasing agent like Bar Keeper’s Friend.
- Then apply one coat of epoxy with a brush or roller.
- Let it dry for about 30 minutes, and then apply another coat if needed.
- You can also use a sprayer for this process.
- The final touch is adding some wax after it has completely dried out.
Always follow the manufacturer’s guide when applying finishing products to avoid damaging your plywood.
12. Apply Several Coats of Finish

This will ensure that you get an even, smooth surface. It also ensures that the wood will not be covered with dust, which can cause further problems.
The first coat should be applied with a brush, while the second and third should be used with a rag or rag cloth. After applying several coats, you should allow them to dry completely.
Conclusion
The key to making plywood smooth and shiny is ensuring the wood is perfectly flat. By avoiding this pitfall, you can avoid the temptation to sand down undesirable plank sections, making the wood uneven and affecting its final appearance.
Remember to start sanding the rough side, the edges, and the surface of your plywood for great results. Then, follow the manufacturer’s guide when applying finishing products to avoid damaging your plywood.
This article has shared 10 expert tips to make plywood smooth and shiny. Hopefully, these tips will also help you make your plywood smooth and shiny.
Frequently Asked Questions
What Is the Best Finish for Plywood?
The best finish for plywood is probably a semi-gloss or satin finish. The reason is that the more oil you put on the surface, the more likely it is to attract dust and dirt.
Semi-gloss finishes are easy to apply, don’t require sanding, and don’t leave residue behind. Satin finishes can be a little trickier, but they provide a smooth surface that’s easier to clean up.
How Do You Smooth Plywood Before Painting?
To smooth the plywood, you need a sanding tool. A standard option is a drum sander with a sanding belt. The goal is to remove all the bumps and ridges on the surface of your plywood. To do this, you’ll need to sand it with even pressure until it’s smooth and shiny.

