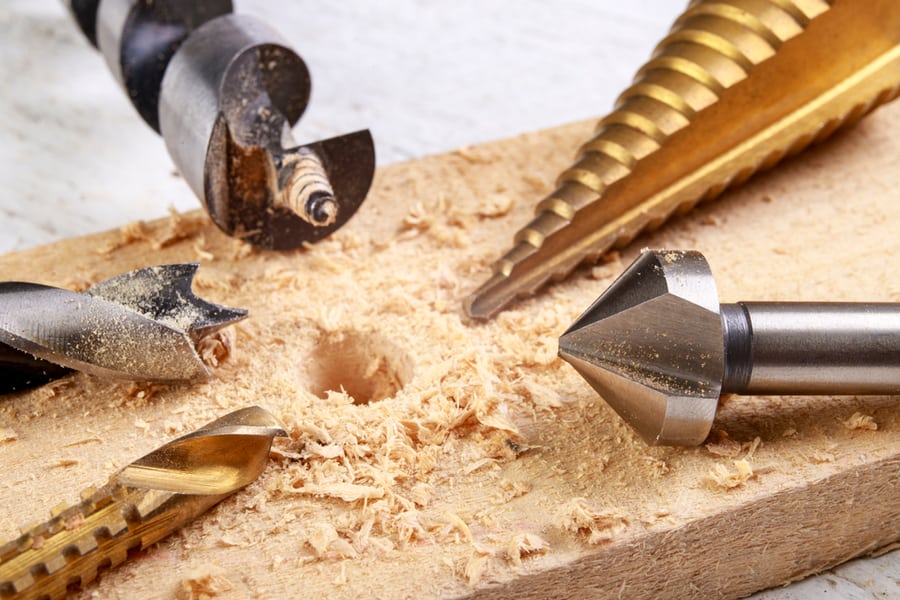
Countersink drill bits are often used for drilling screws into wood. After all, they can reduce splitting and hide the screws too!
But what about metal? Can you use a countersink drill bit for a metal piece as well?
Yes! You can use a countersink drill bit for metal if you follow the right steps and a few safety precautions.
- Choose the correct countersink angle – around 82 degrees or 90 degrees.
- Opt for a proper drill bit size per the screw’s diameter and the hole’s size.
- Next, fit the countersink drill bit firmly into the drill press.
- Finally, adjust the speed and start countersinking the metal piece.
In this how-to guide, I’ll show you how you can use a countersink drill bit for metal. I have also covered a few additional tips!
What Is Countersink Drill Bit?
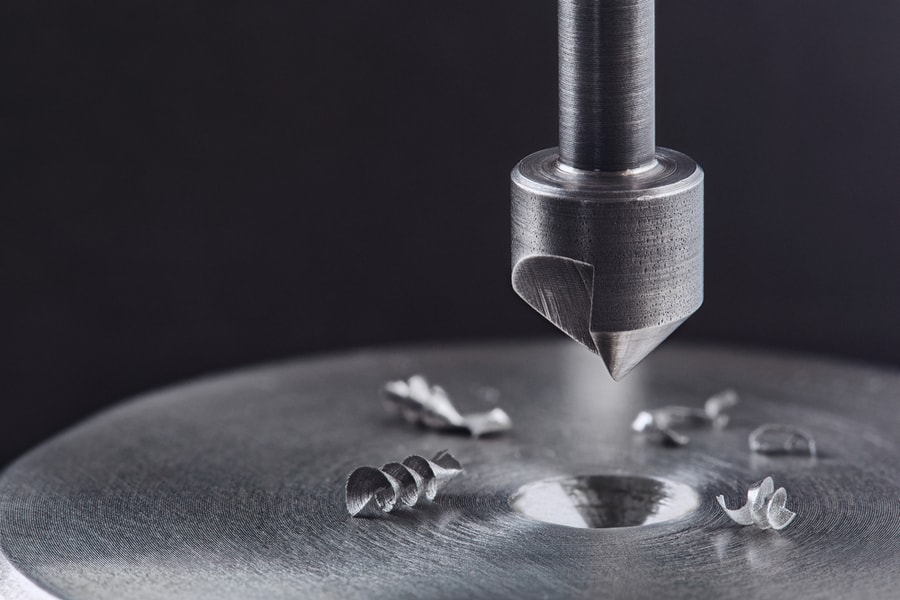
First, let’s understand what a countersink drill bit is and how it works.
When creating a hole for a fastener, like a screw, in your metal piece, you first need to create a pilot hole. Then, you can position the screw near the hole and turn it in.
However, before inserting the screw, you can use a countersink drill bit to drill another surface near the hole.
This drill bit will create a V-shaped cavity near the pilot hole, which can help secure the screws and even hide them.
How Can Countersink Drill Bit Help?
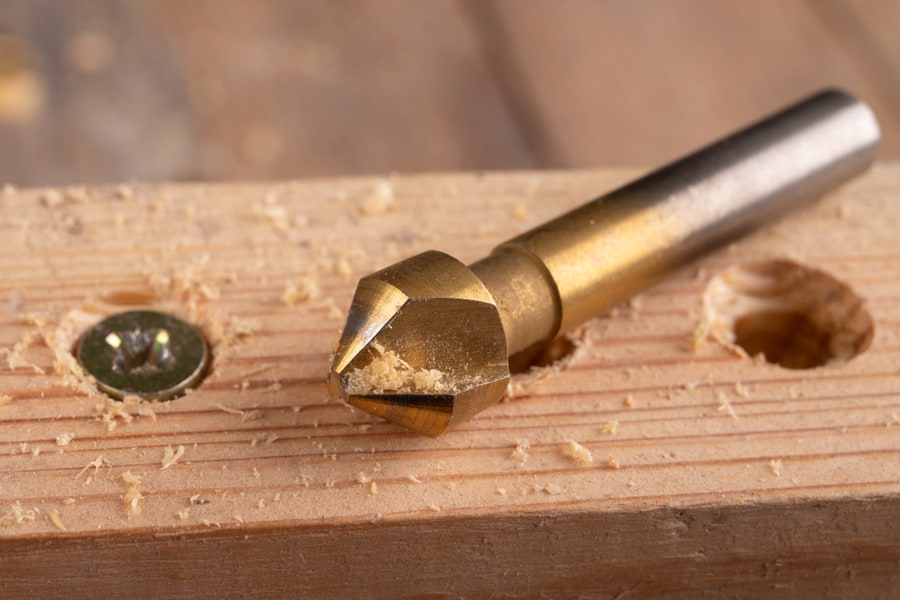
Now, you might wonder – what’s the point of using countersink drill bits?
Can’t you drill a pilot hole in your metal piece?
Well, technically, you can do that. But, using an additional countersink drill bit can help you more for the reasons listed below.
1. Consistent Depth of Screws
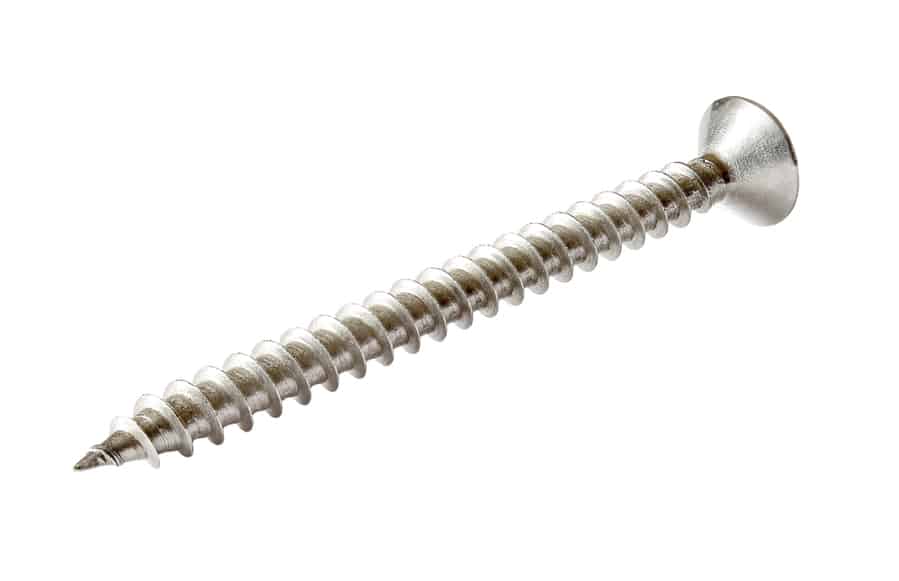
One of the major benefits of using a countersink drill bit is consistency in depth.
When drilling screws into your metal, they might not look uniform. Sometimes, some screws might not fit as well as the other screws.
However, when you use a countersink drill bit, every screw will have a V-shaped cavity to settle in. This way, they will all be at a uniform height and depth.
2. Reduced Safety Risks
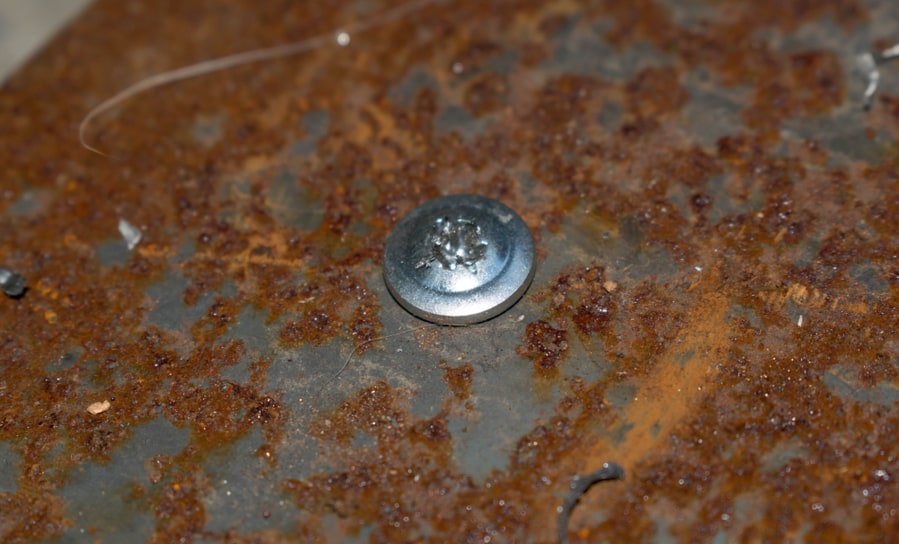
If you didn’t fit the screws tightly in the metal piece, the screw heads might protrude from the surface.
A tiny mistake like this can cause severe injuries and cuts to you or even the people around you.
But, with the help of a countersink drill bit, you create a resting place for the screw head.
So, the head will be firmly secured in the hole instead of protruding out.
3. Allows You To Hide the Screws
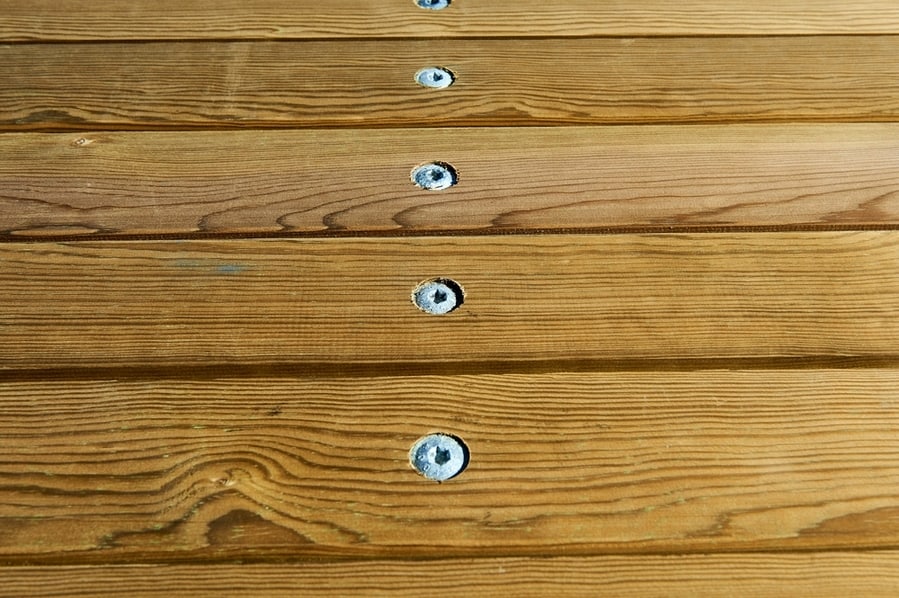
You might not want the screw heads to be visible if you have a classy metal piece.
A countersink drill bit will allow you to insert the screw heads deep within the surface.
Then, you can hide the screw through various DIY tricks or even by using fillers.
Ways To Use a Countersink Drill Bit for Metal
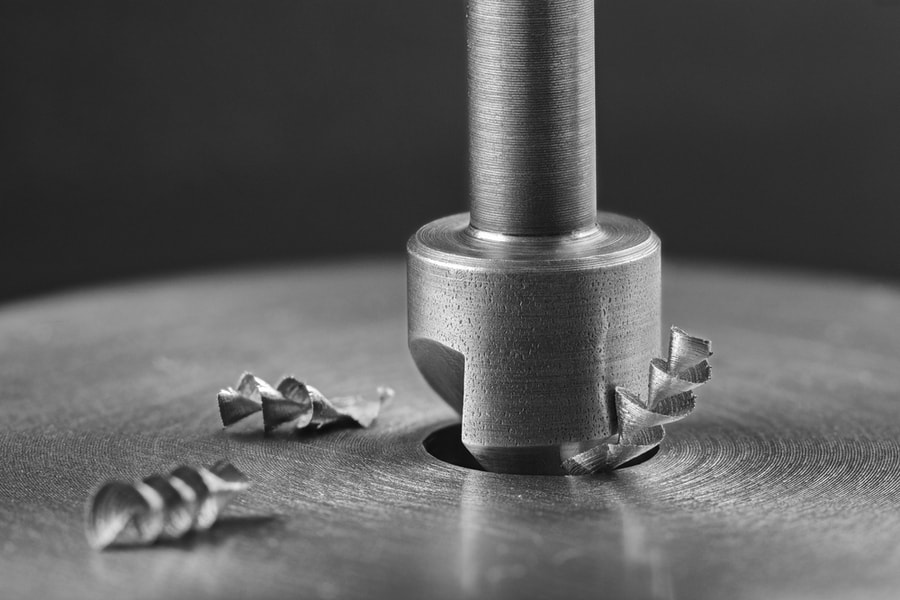
Using a countersink drill bit for metal is quite similar to using it for wood.
Let’s understand all the steps in detail. However, drill a pilot hole into your metal piece before following them.
Step #1: Choose the Correct Countersink Angle
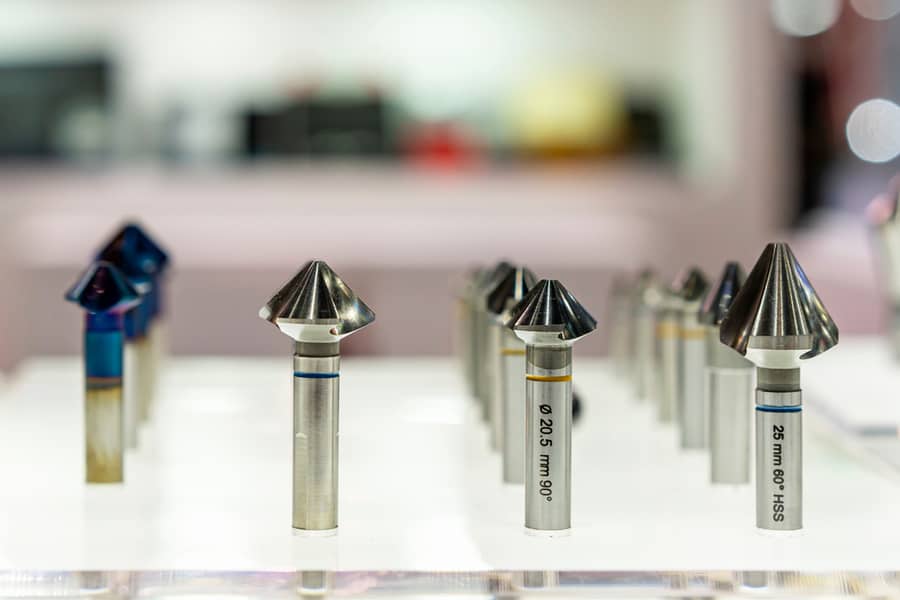
Before you begin, you need to choose the right countersink angle.
Remember that an incorrect angle may cause the screws to loosen up over time!
As per my experience, some common countersink angles are 82° and 90°, whereas most screw heads have an 82° angle.
However, I still suggest double-checking everything so you don’t face any further problems.
Step #2: Pick a Proper Countersink Drill Bit Size
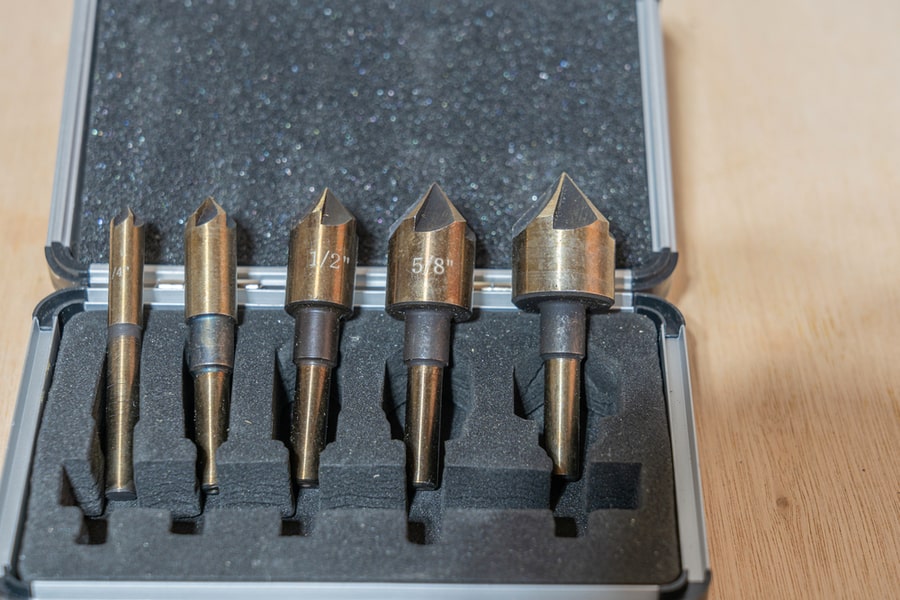
Countersink drill bits are available in various sizes. Now, you need to pick the size as per the sizes of the screws and the pilot hole.
The drill bit’s diameter and the hole size eventually decide how snuggly the screw head fits into it.
As per Champion Cutting Tool, you must choose a drill bit size whose diameter is 50% more than the hole’s diameter.
Step #3: Adjust the Countersink Drill Bit to the Drill Press
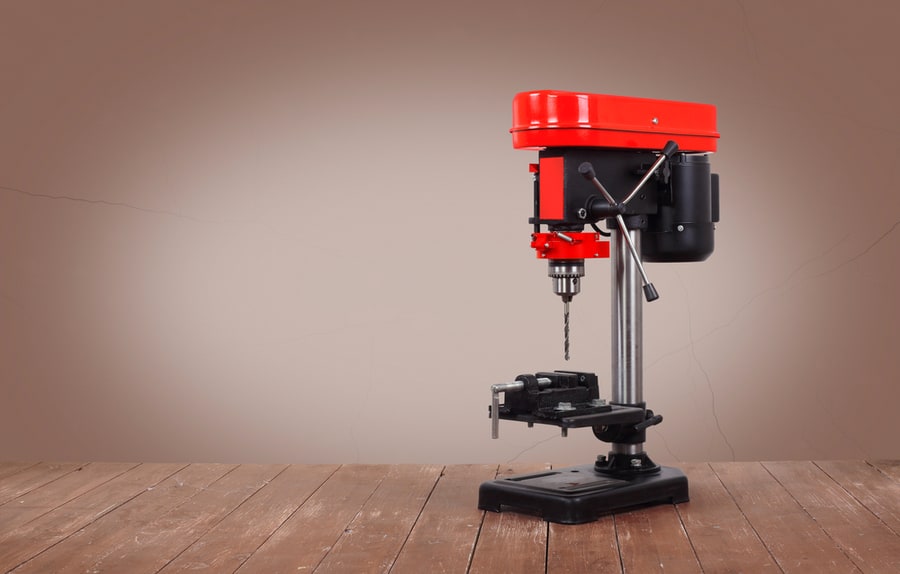
After picking the right-sized countersink drill bit, please insert it into the drill press.
Once you have inserted it, pay attention to the drill chuck, responsible for holding the drill bit in its place.
You must adjust the drill chuck around the drill bit’s shaft by rotating and tightening the chuck’s collar.
Step #4: Adjust the Drill Speed
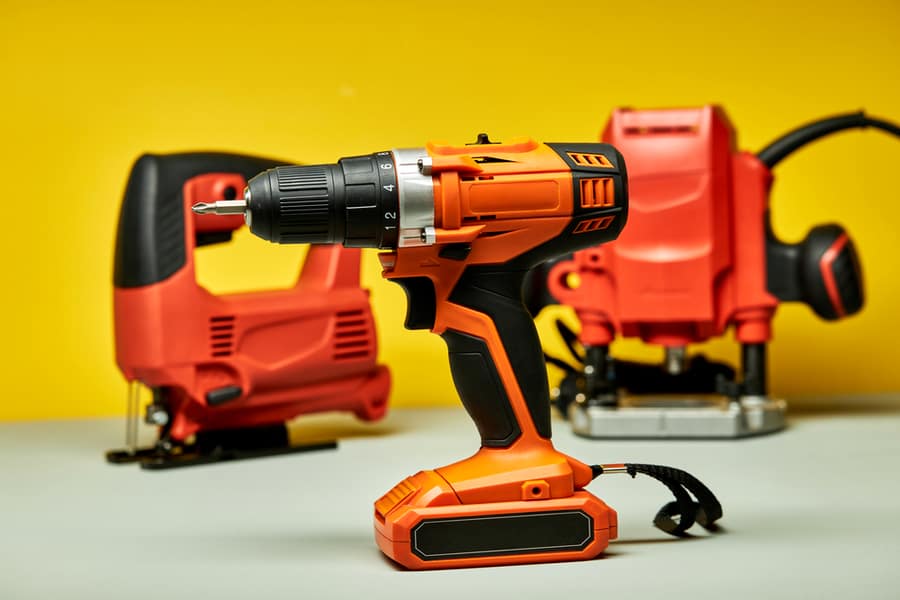
Next, you need to adjust the speed of your drill.
Many experts suggest you keep the speed low for countersinking, as using a high speed might damage the hole.
But now, you wouldn’t want to screw things up! So, I suggest using slow speeds for countersinking.
Step #5: Start the Process
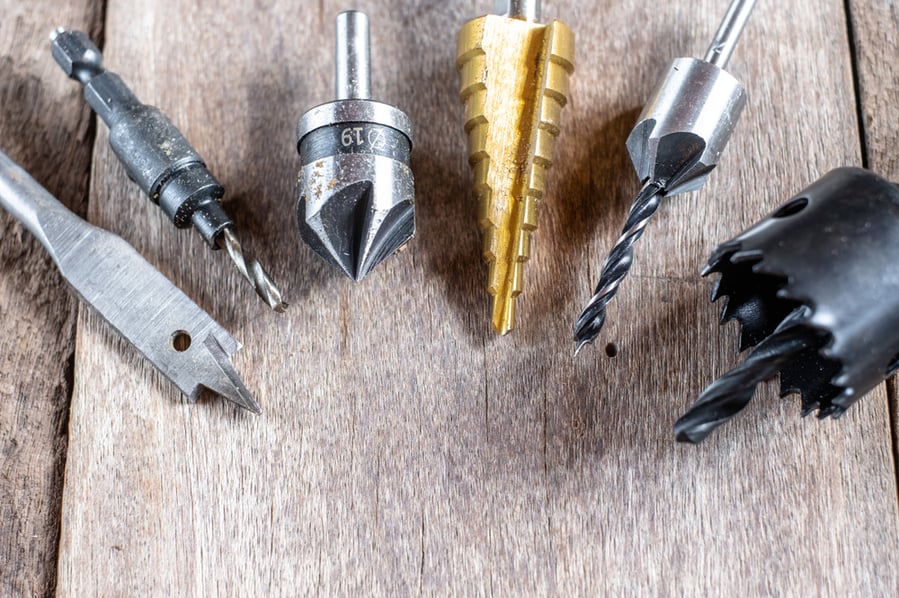
After you finish the prep, you can start the countersinking process.
Again, apply low-to-moderate speed and pressure with your drill.
After you see a proper V-shaped cavity, turn off the drill.
You can then fit your screws and check whether the screw heads are resting firmly against the metal surface.
Safety Tips While Using Countersink Drill Bit

If you’re using a countersink drill bit for the first time, I highly advise taking these safety precautions:
- Make use of protective gear, like safety goggles and gloves, before drilling.
- Ensure that the countersink drill bit is firmly secured in its place. Else, it might slip and cause injuries.
- Avoid applying pressure from the side on your countersink drill bit.
- Hold the drill tightly while conducting the countersinking process.
- Before countersinking the metal piece, put some weight or clamps on the sides, so it doesn’t move abruptly.
Takeaway
Using a countersink drill bit for metal is about choosing the right countersink angle and drill bit size and pressing the screws flush against the metal piece.
You will be able to follow the steps mentioned in this guide easily. However, I recommend trying it out on a rough metal surface before you do it on a vital metal piece.
Frequently Asked Questions
Do You Countersink Before or After Drilling?
You need first to drill the pilot hole and then countersink the drilled pilot hole to fit the screw heads properly.
How Deep Should You Countersink?
If you wish to hide the screw heads, the countersink hole should be 1/8 wider than the diameter of the screw heads.
What Is the Most Common Countersink Angle?
Two of the most common countersink angles are 82° and 90°. You’ll mostly find 82° to be useful.
